
So you might have noticed that I’ve been on a bit of a photography bender lately.
Mostly sunsets,
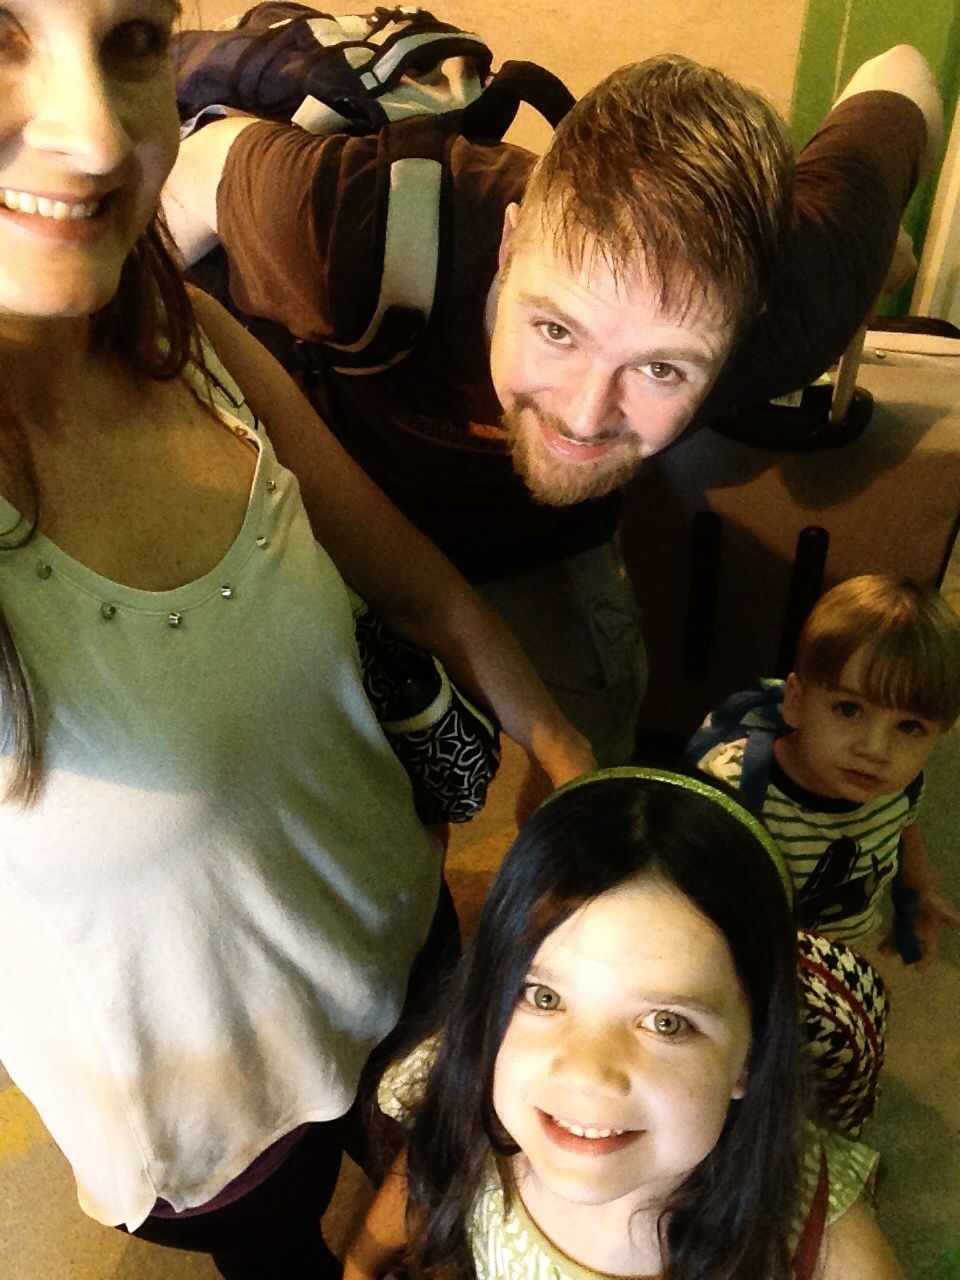
with a few kids thrown in.
All of my recent photos have been taken with my iPhone, and not my big, fancy DSLR with a bigger, even fancier lens. In fact, I didn’t even get it out during our last two trips.
I have been doing all of my photography and editing with these apps:

Camera+: photography and editing
ProHDR: photography and editing
Instagram: editing and sharing (I’m @ObjectivityRach if you want to follow me)
Big Lens: editing (specifically adding Bokeh)
Pic Stitch: square collages for instagram
Pic Collage: full size collages
Photo Eraser: Noise cleanup
iMovie: video editing and stitching
Please note that the native iPhone camera is NOT included in my collection – I try to never use it. Which brings me to my first tip:
1. I shoot all of my “regular” photos in Camera+ because of the higher photo quality and the ability to control Focus and Exposure, something you cannot do in the native camera app.
This trick is not intuitive – I didn’t know it until Jamie showed me (photogeek friends are the best.) When you touch your main focal point,

Click on the plus in the top right corner. It then gives you separate controls for focus and exposure, which allows you to have much better lighting without compromising the focus.

2. I use ProHDR when taking landscape stills – all of my sunset photos have been the product of ProHDR. HDR is an option that is in the native camera app, but the ProHDR app is much more intricate and gives you control over the brightness, contrast, saturation, warmth, and tint after shooting.

In case you wondered, HDR stands for “High Dynamic Range”, and is a beautiful facet of digital photography where your camera or phone takes two or more photos of the same scene at high and low light, then stitches them together to simultaneously prevent overexposure and underexposure. The benefit is a much more realistic, deeper image.
Here are two photos shot at the same time to show the difference:

3. The scenes and effects in Camera+ are fantastic when used in moderation –
unlike Instagram or ProHDR filters, which are all or nothing, you can control the amount of effect that you want in Camera+ (but not the scene, so you have to be a bit more selective with your choices there.)

There are also 36 effects available, offering a wide range of choices for your photo.

When it comes to the scenes, you’ll find that some work well in some settings but not in others. For instance, on landscapes, I often use the “Clarity” scene because it adds such crispness, but I never use it on people, because it just looks freaky.

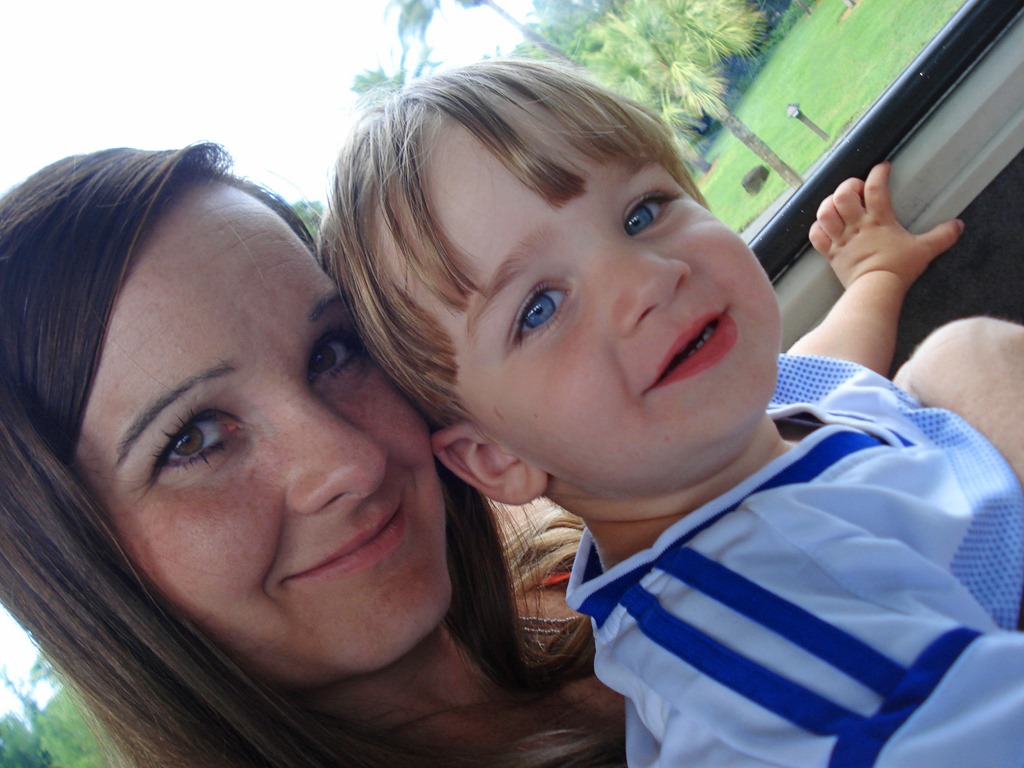
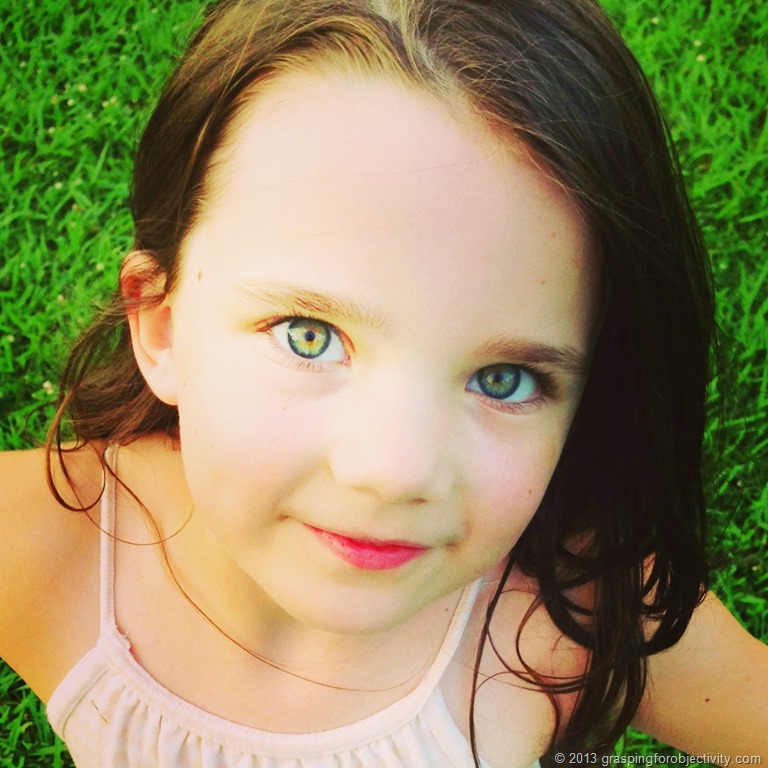
4. I have learned to watch for great lighting – This applies mainly to photos of my kids. When I look into their eyes, I can tell whether the lighting is going to be good or not based on how “cloudy” their eyes look. I have also learned to get Ali to turn in a circle as I follow her around to find the best lighting.
Noah is not nearly as cooperative (he’s actually quite anti-photo right now), so I just have to catch him when I can. Such as when he’s busy eating my jewelry.

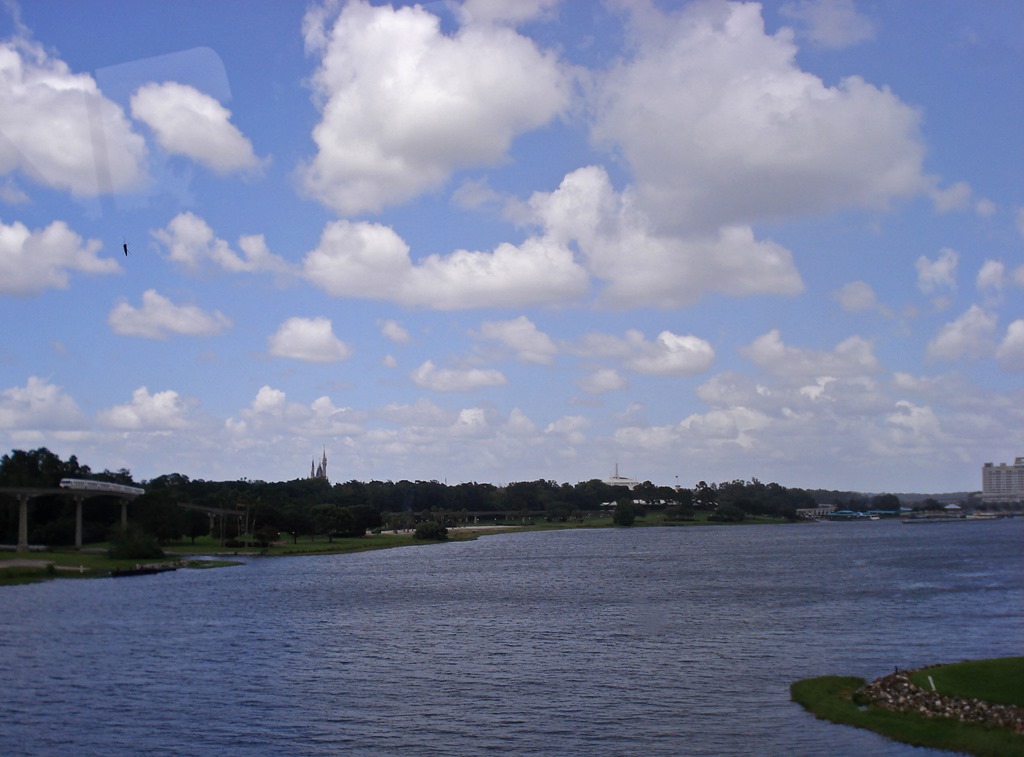
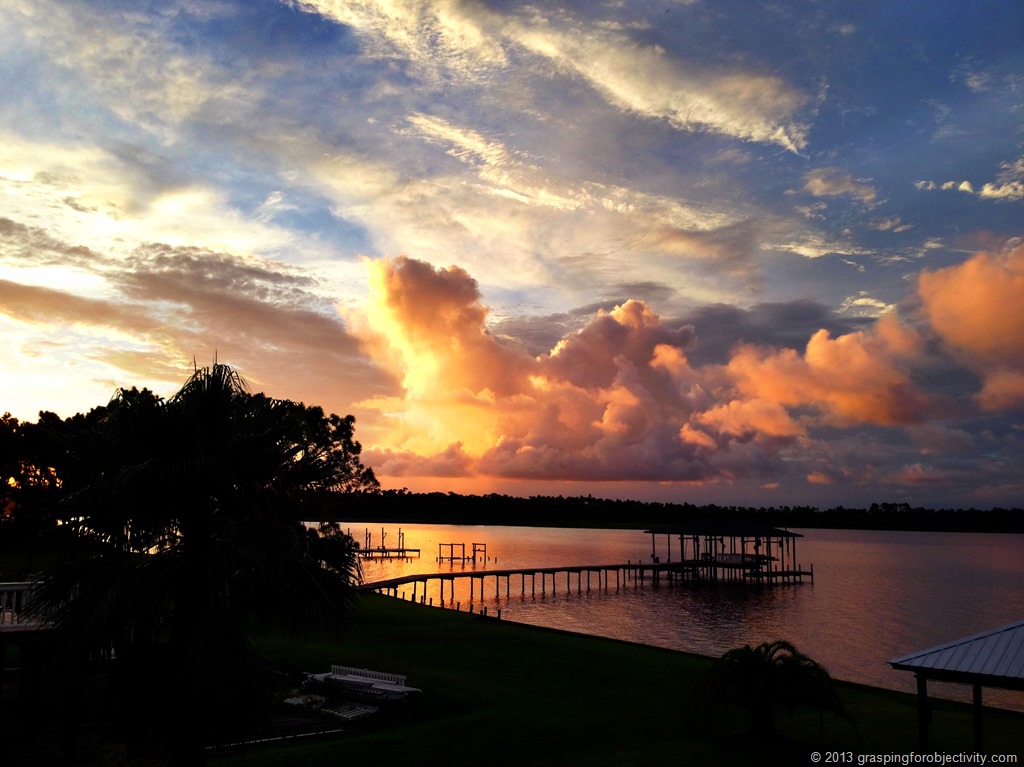
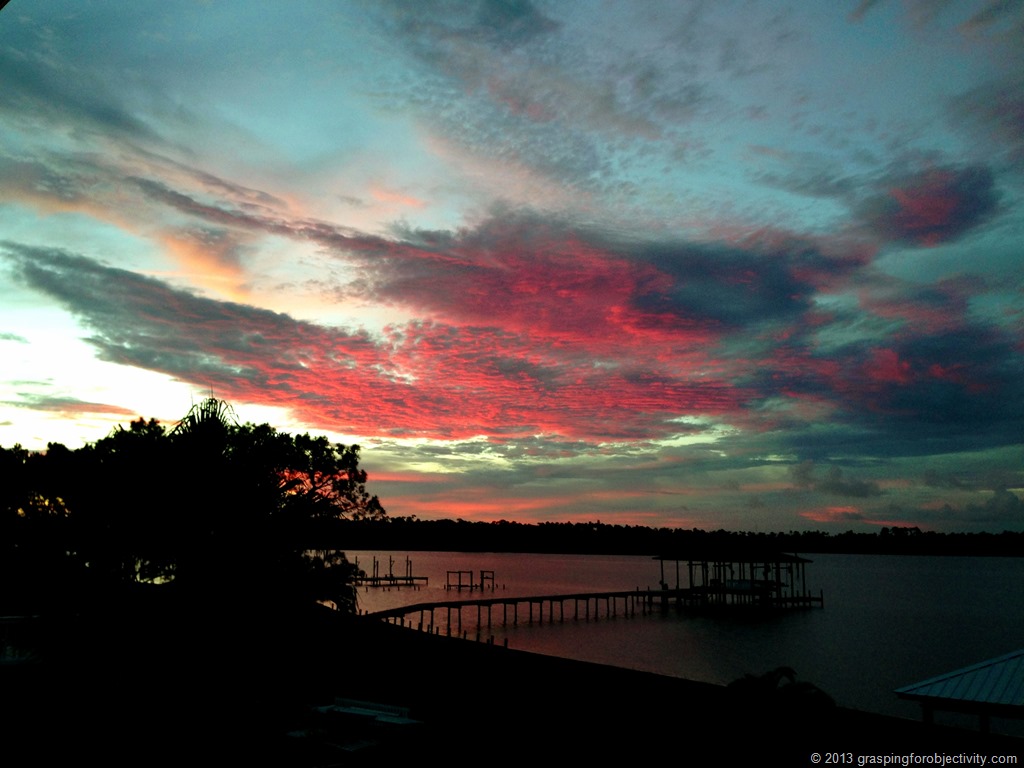
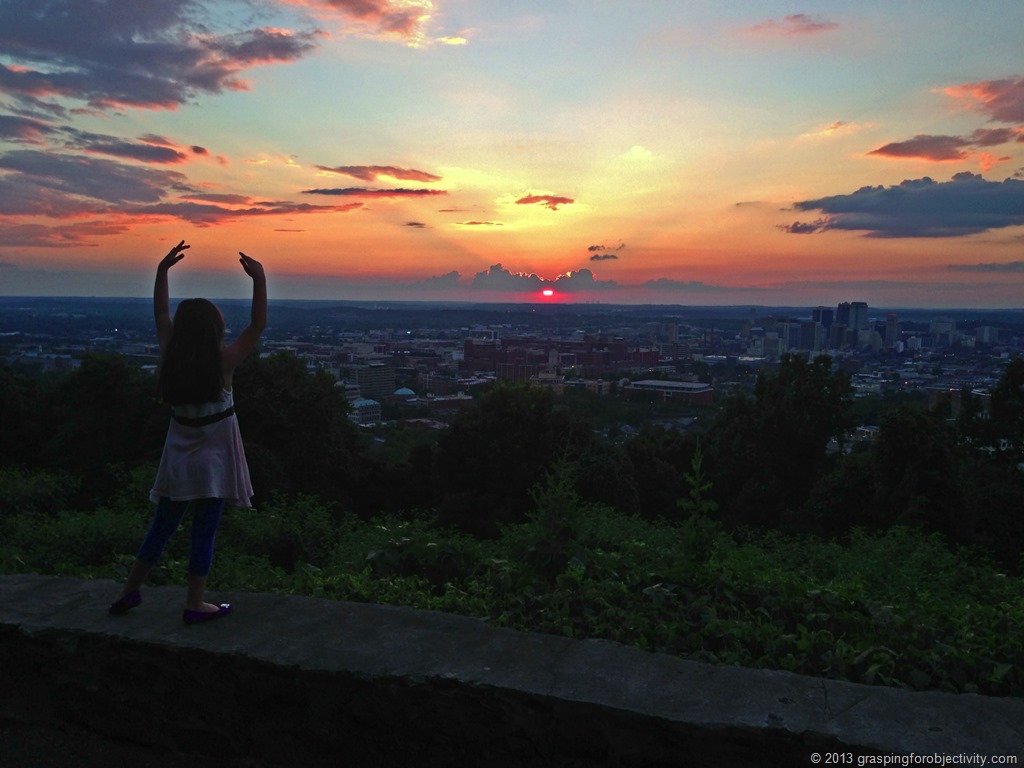
5. I stare at the sky a lot.
Sure, sometimes it’s obviously beautiful,
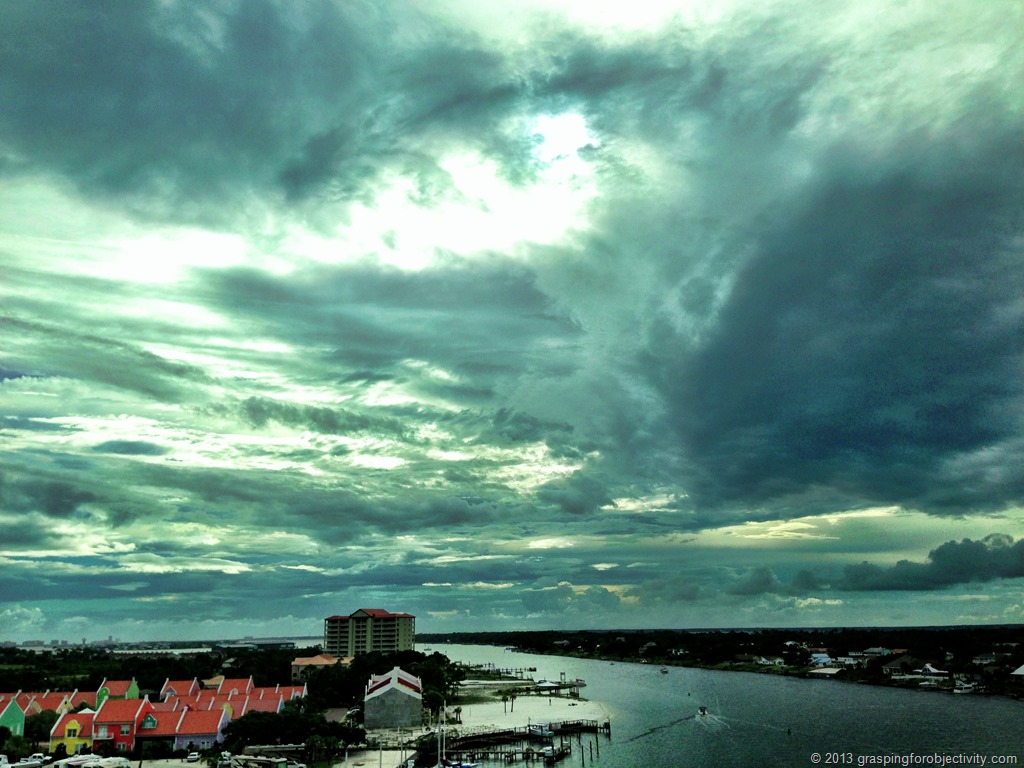
But other times I wouldn’t have noticed before my sky-obsession.
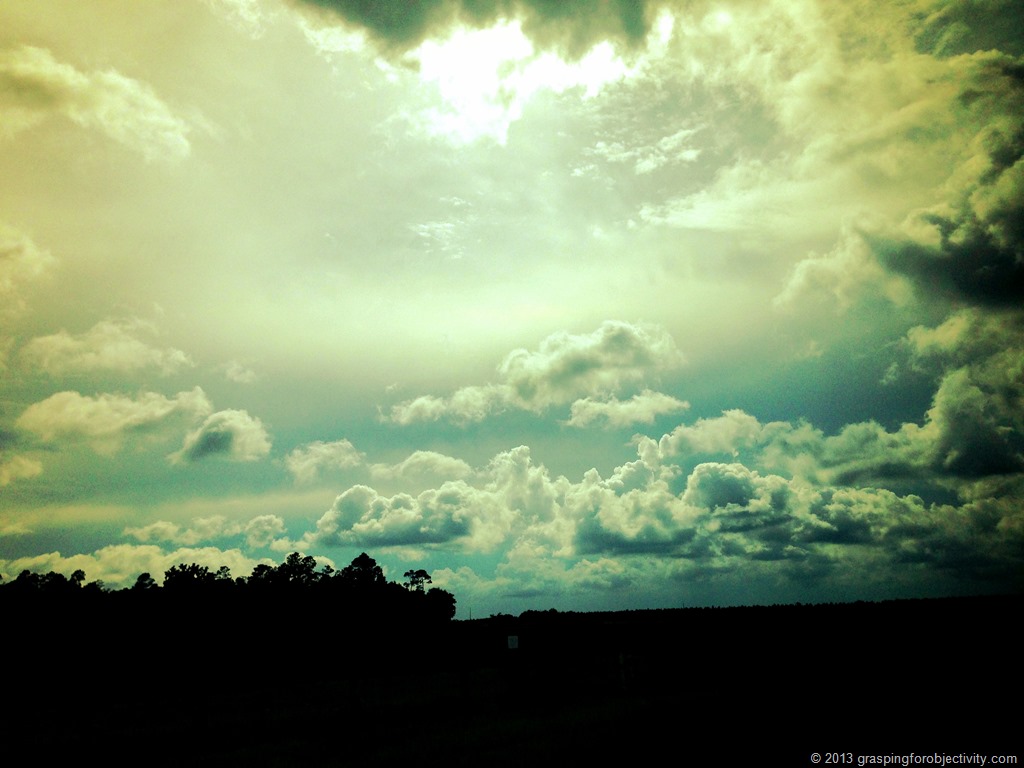
Also, sometimes the sky is more magnificent if it encompasses almost all of the shot.
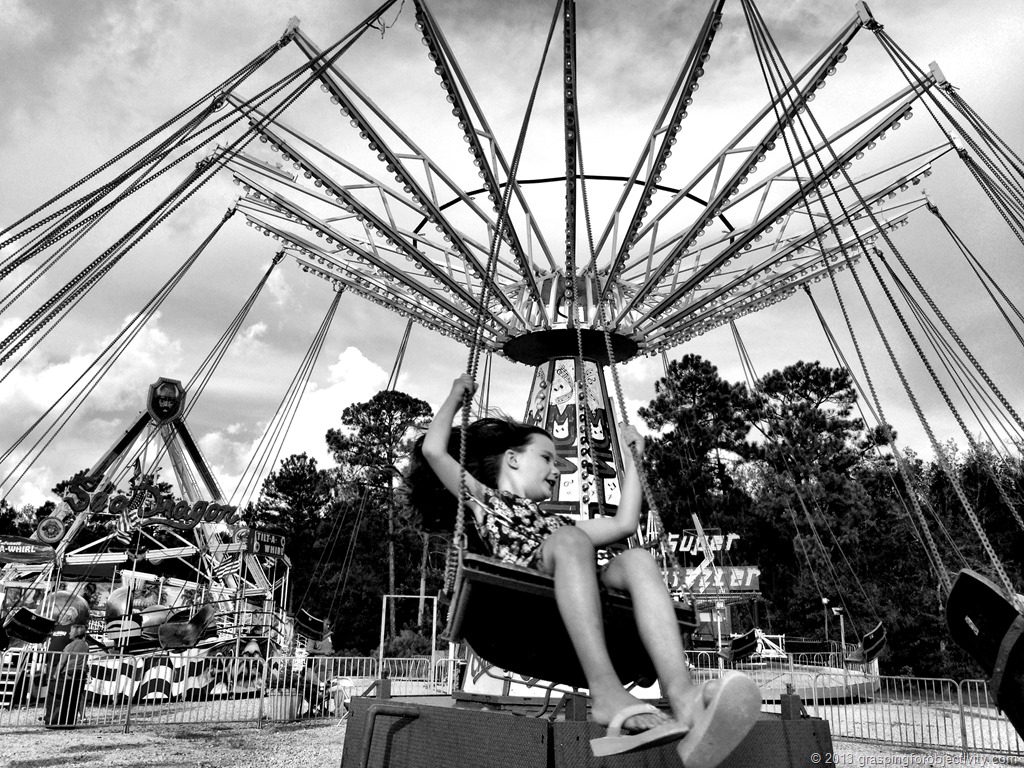
6. I take hundreds of pictures to get keepers.
I got photos of many empty seats and blurry Alis to get these three shots.

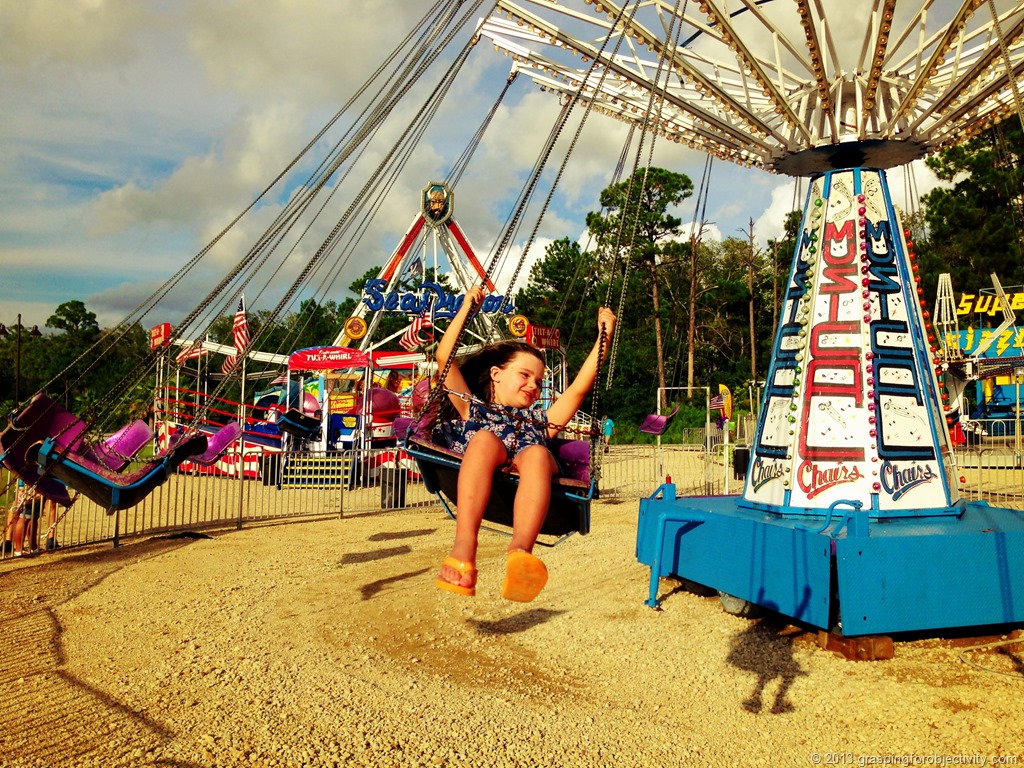

But since they were all taken in Camera+, I could delete the ones I didn’t need before saving them onto my main camera roll, preventing further junking up of my iPhone.
7. I try to find a spot where my foreground and background are equally interesting. Both of them having equal lighting is usually due to the help of the aforementioned ProHDR.


Although Ali is perfectly happy to strike a still-enough-for-HDR-pose,
Noah usually just gets a regularly-shot photo, and on a good day, it comes out well.
For toddlers, being quick is your most powerful photography tool.

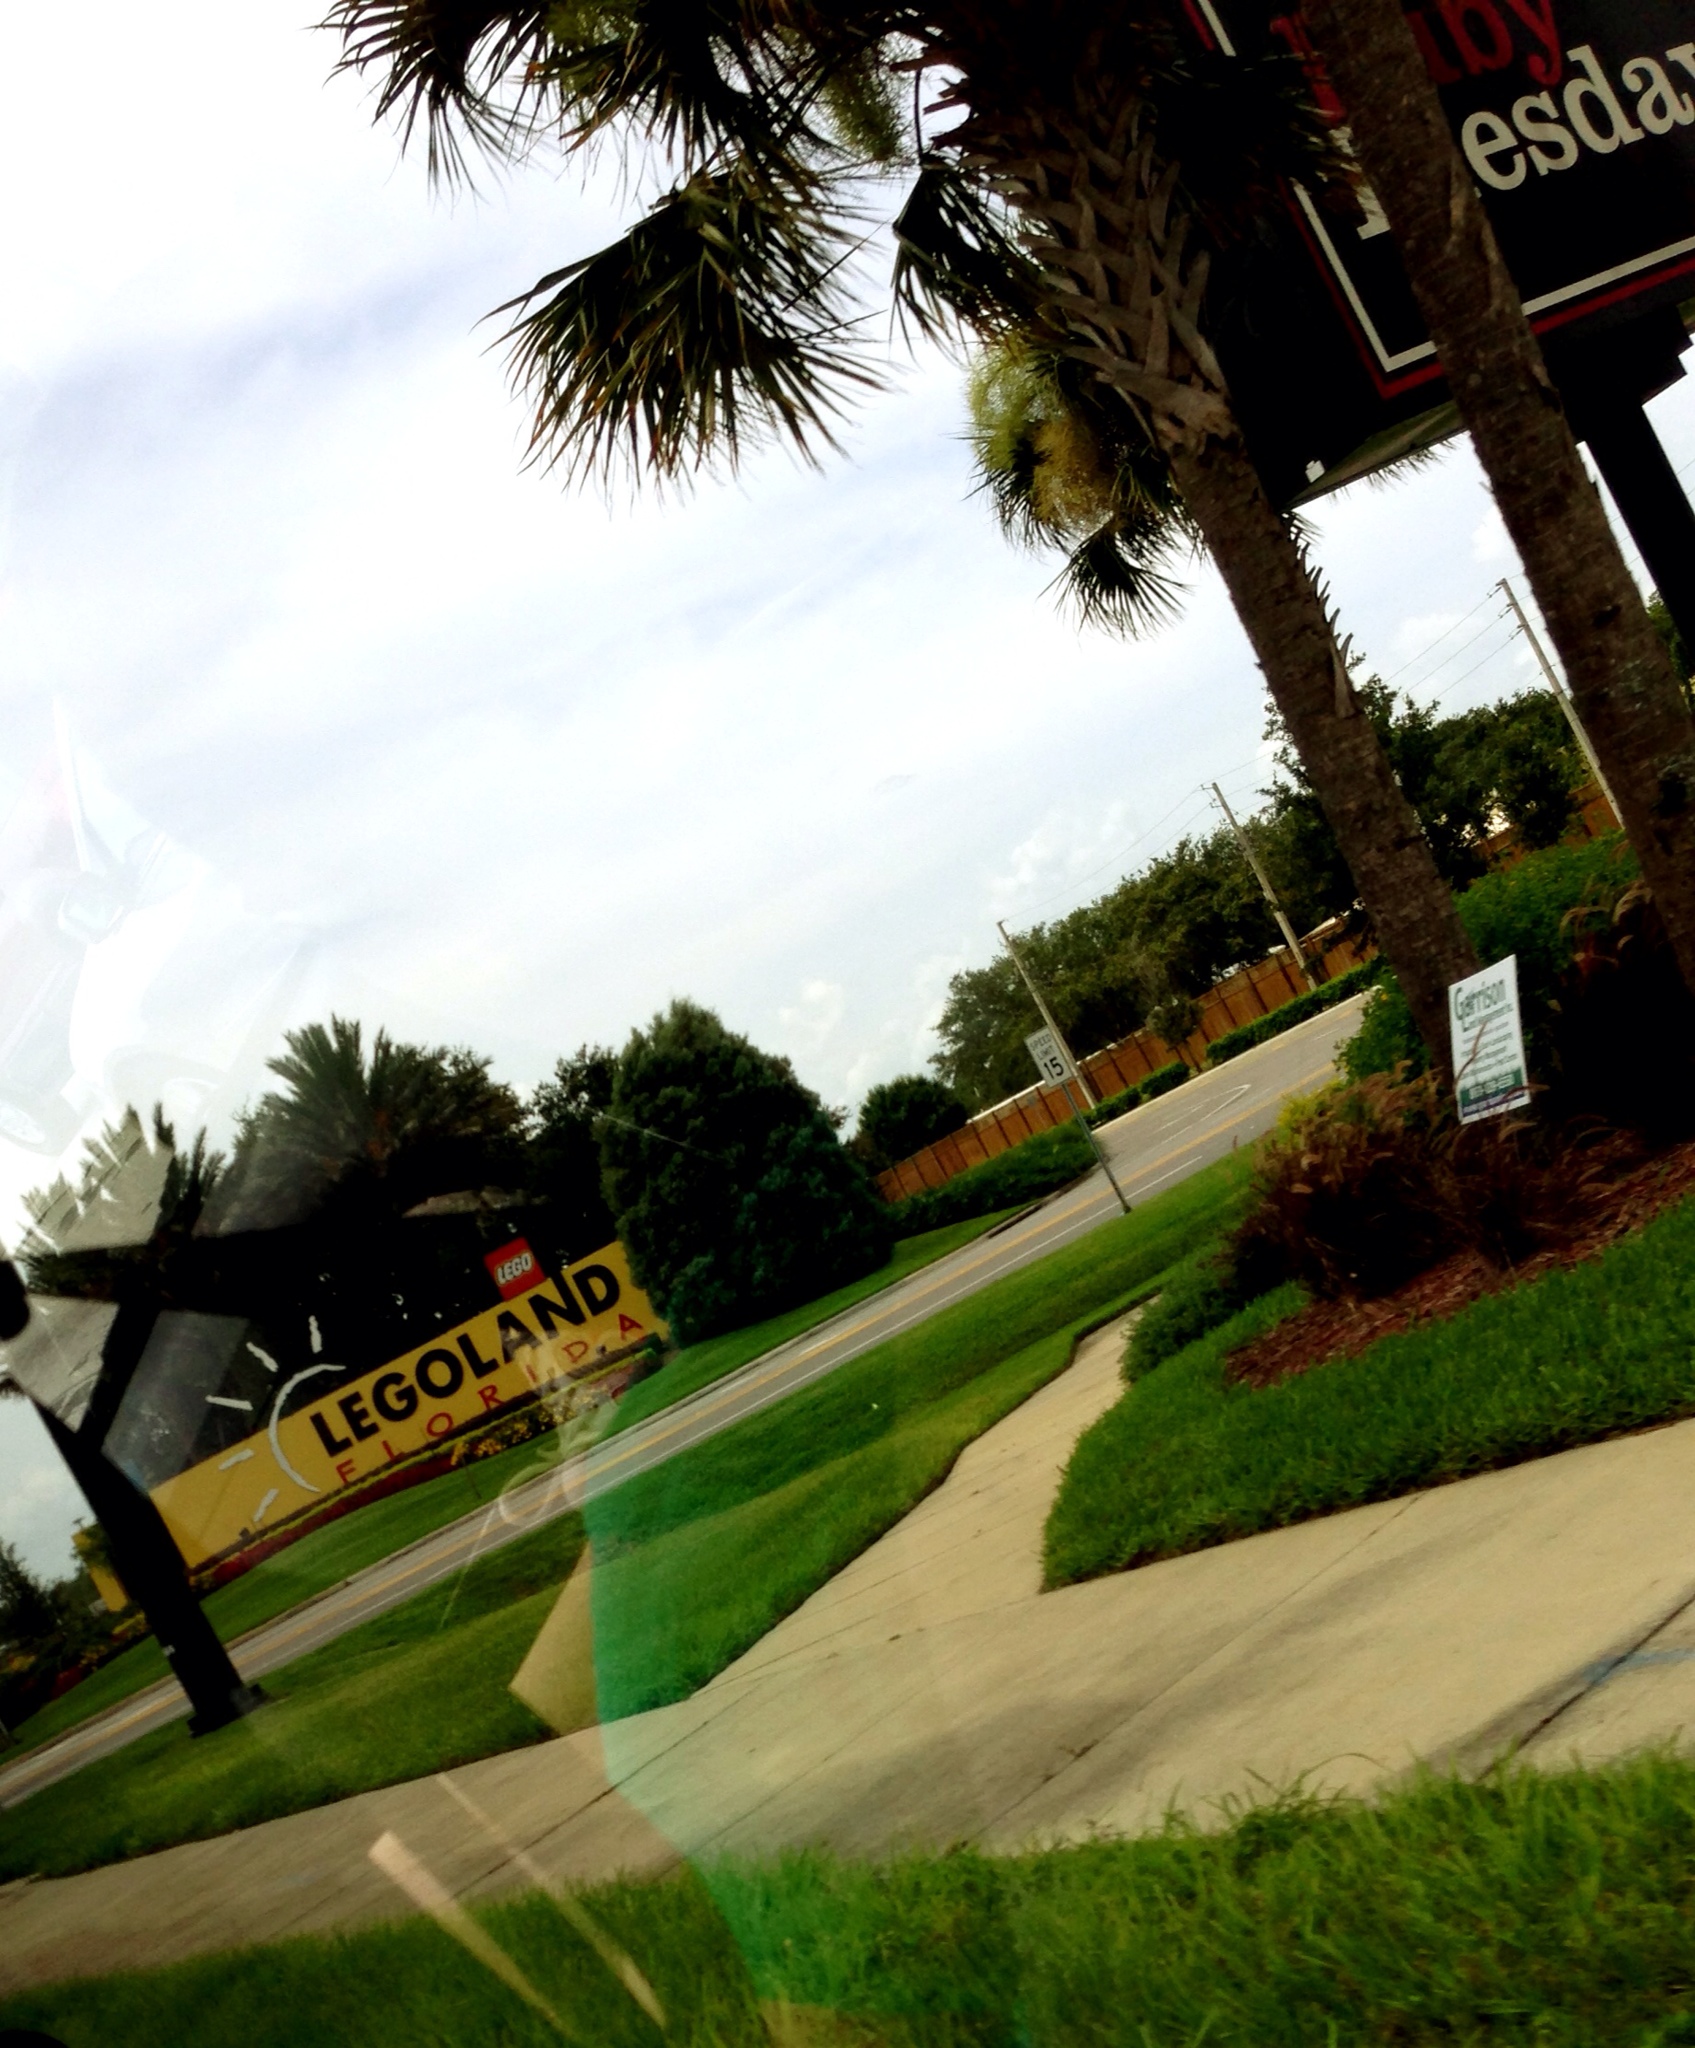
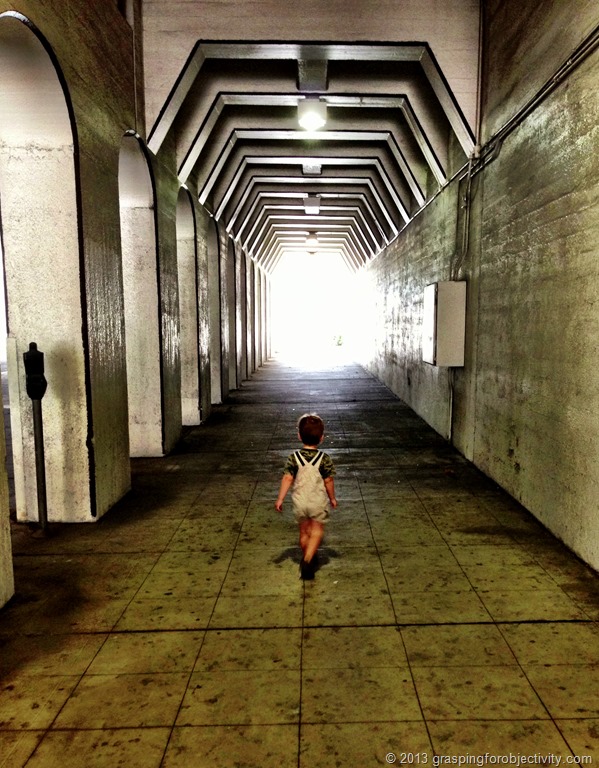
8. I try to shoot above the noise.
This photo was taken in a very crowded parking lot, but I angled the shot upward so you can’t see any of the cars – except for an annoyingly high Jeep-top.

I can often be seen holding my phone with two hands above my head, John-Cusack’s-boombox-style.
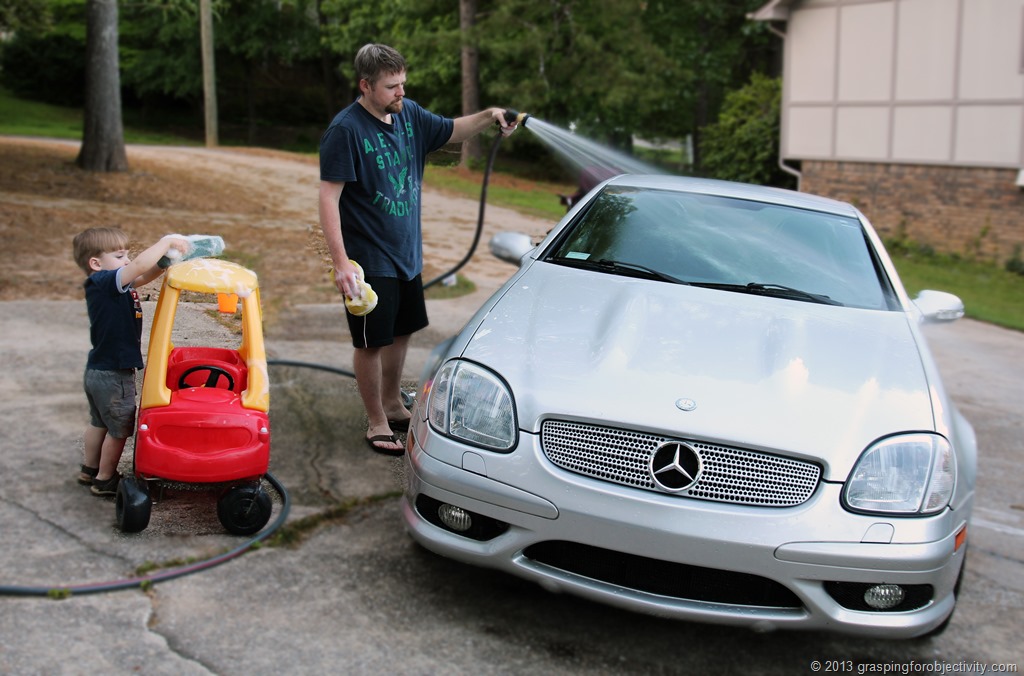
9. The Big Lens app adds a very controllable Bokeh (blurred) Effect. I have even been known to import my DSLR photos into my phone because Big Lens gives me more control than Photoshop.
I used it on this DSLR photo to lightly blur everything but Chris, Noah, and their respective cars:
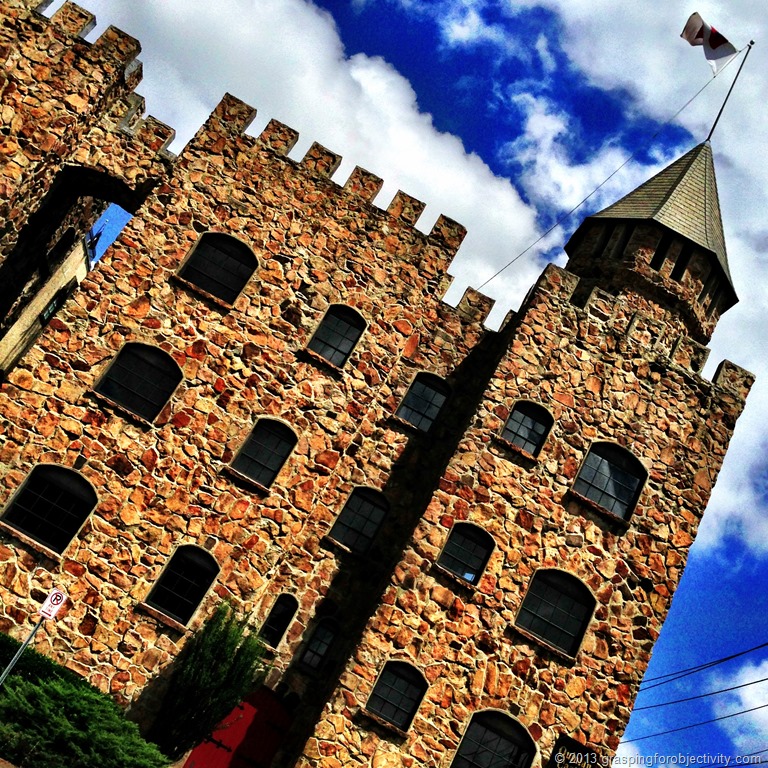
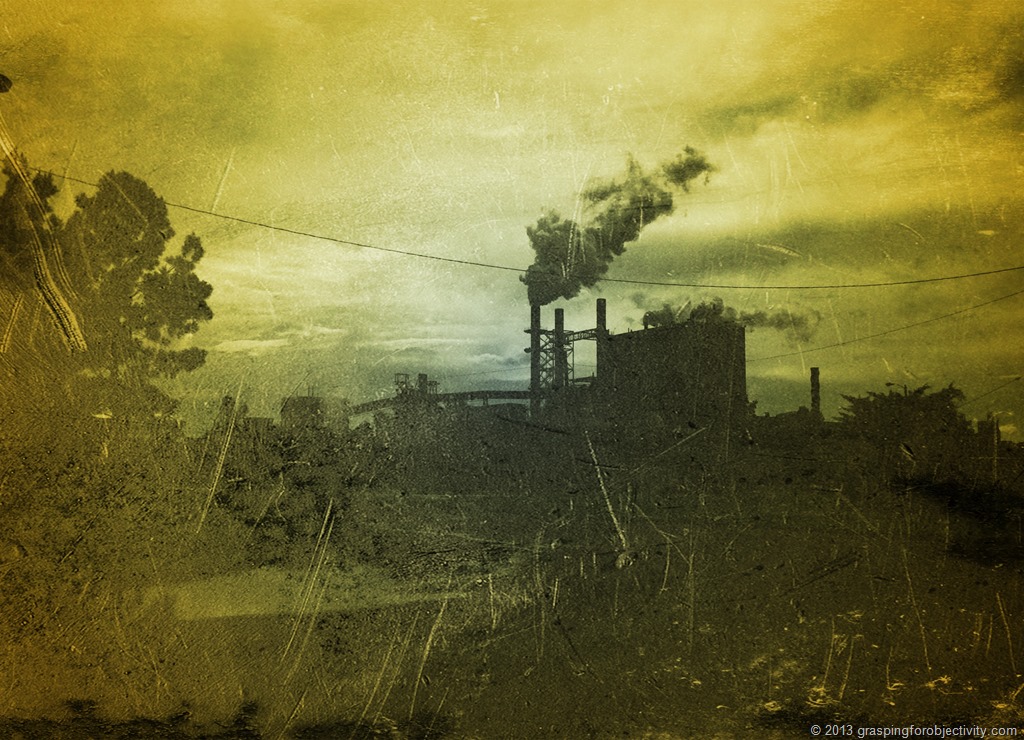
10. I try not to overdo filters, scenes, and effects, but every now and then, a little drama goes a long way.
We passed a spooky factory on a dreary day, and it begged to be turned into an antique.
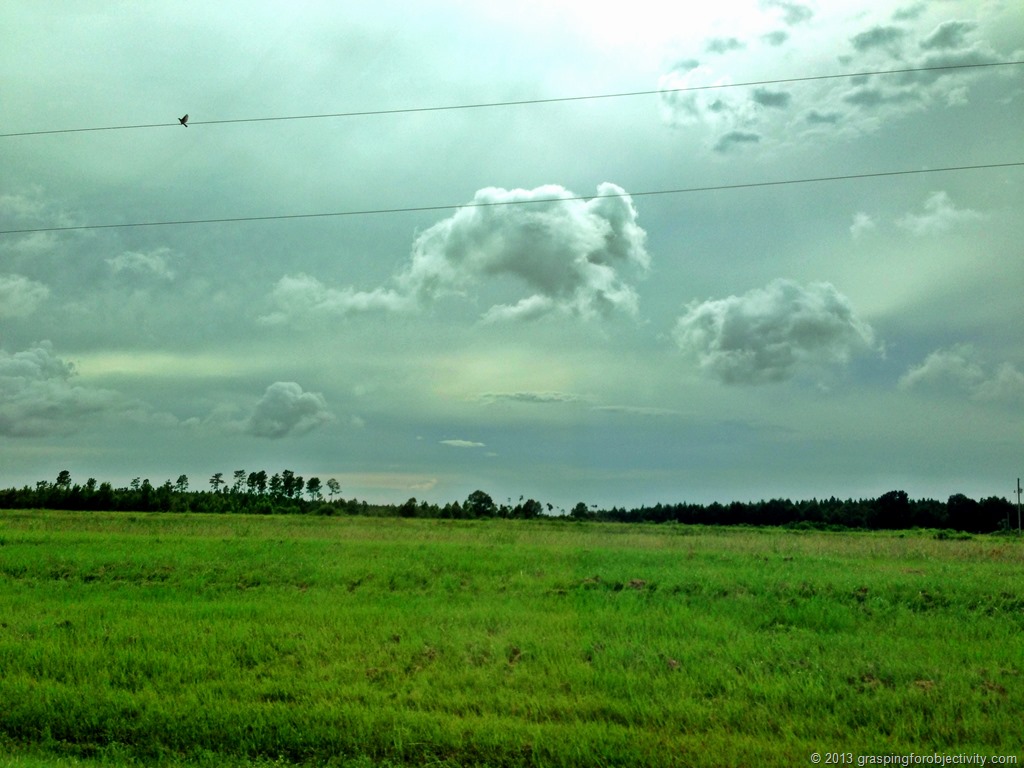
And this photo, of a bird on a wire, looked so much like a painting already that I didn’t feel guilty making it a little more so.
When photographing water, using highly contrasting filters and effects nicely catches the movement of the moment.

11. I’ve embraced less-than-ideal clarity.
The weather doesn’t always cooperate with photography. But sometimes that rebellion can be turned into a haunting photo – especially when using ProHDR.


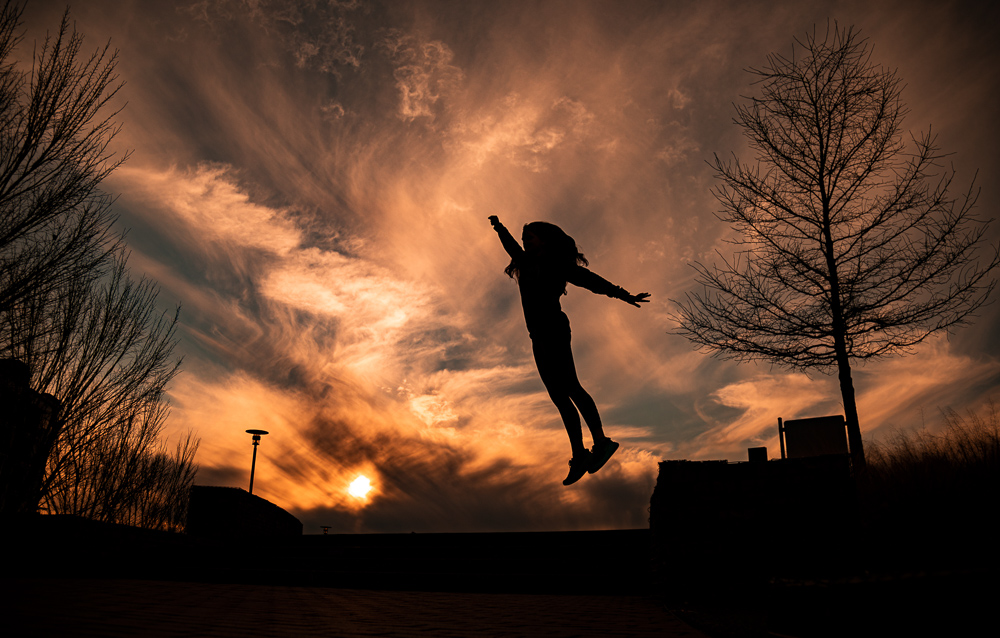
12. Sometimes, a little magic is called for.
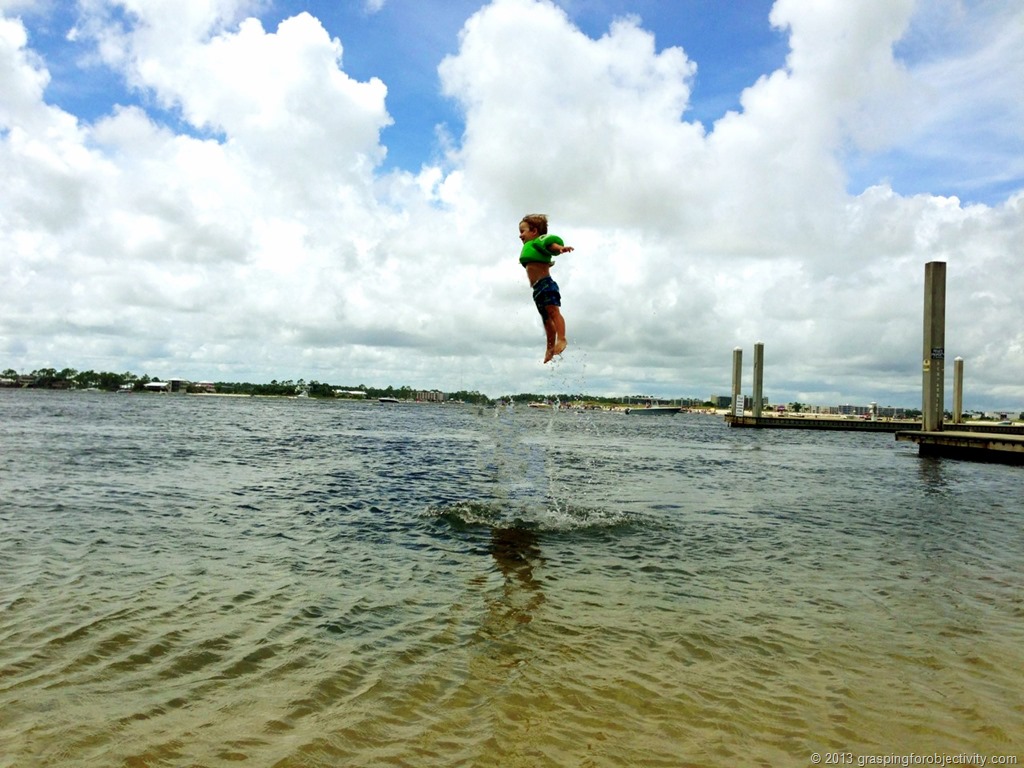
Noah LOVES this photo. He asks me to see the photo “where I fly”, and will occasionally look in the sky and ask “can I fly up there, Mommy?”
Here’s the raw photo:
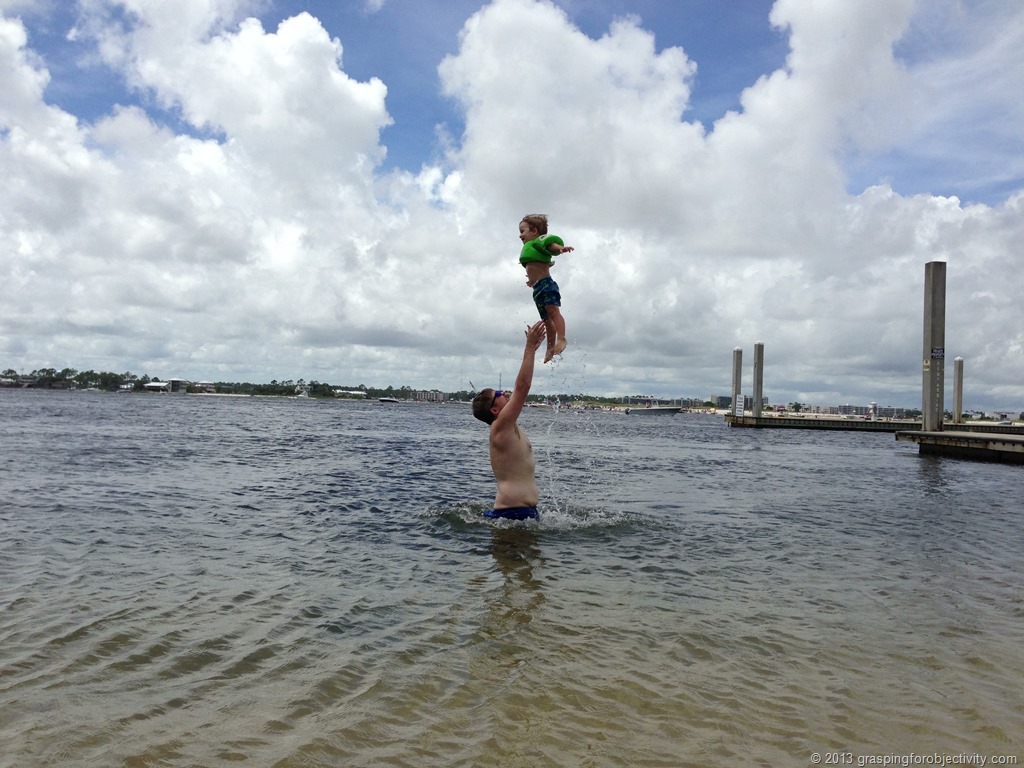
I saw his posture and “jetpack” and imagined what it could be, so while still on the beach, I found the Photo Eraser app. And I made this photo a thousand times better by erasing my husband – something I shouldn’t be allowed to say too often.

It really was that simple – lasso Chris and hit “Start Processing.” I did two touch-ups, but the whole process took less than five minutes, and Noah was soaring, an experience he didn’t have but will never forget.
What are your favorite tips and apps? Also, please let me know if you have any questions!