From a distance, December always looks like this euphoria of slow, quiet days and a relaxing break from school.
In reality, December becomes a crazed sprint of shopping, planning, gathering, familying, Christmasing, and Birthdaying.
With two children’s birthdays sandwiching Christmas, there’s never a lull in my to-do list. And then I end up in mid-January, shaking my head dizzily, wondering “What happened and how did I get here?”
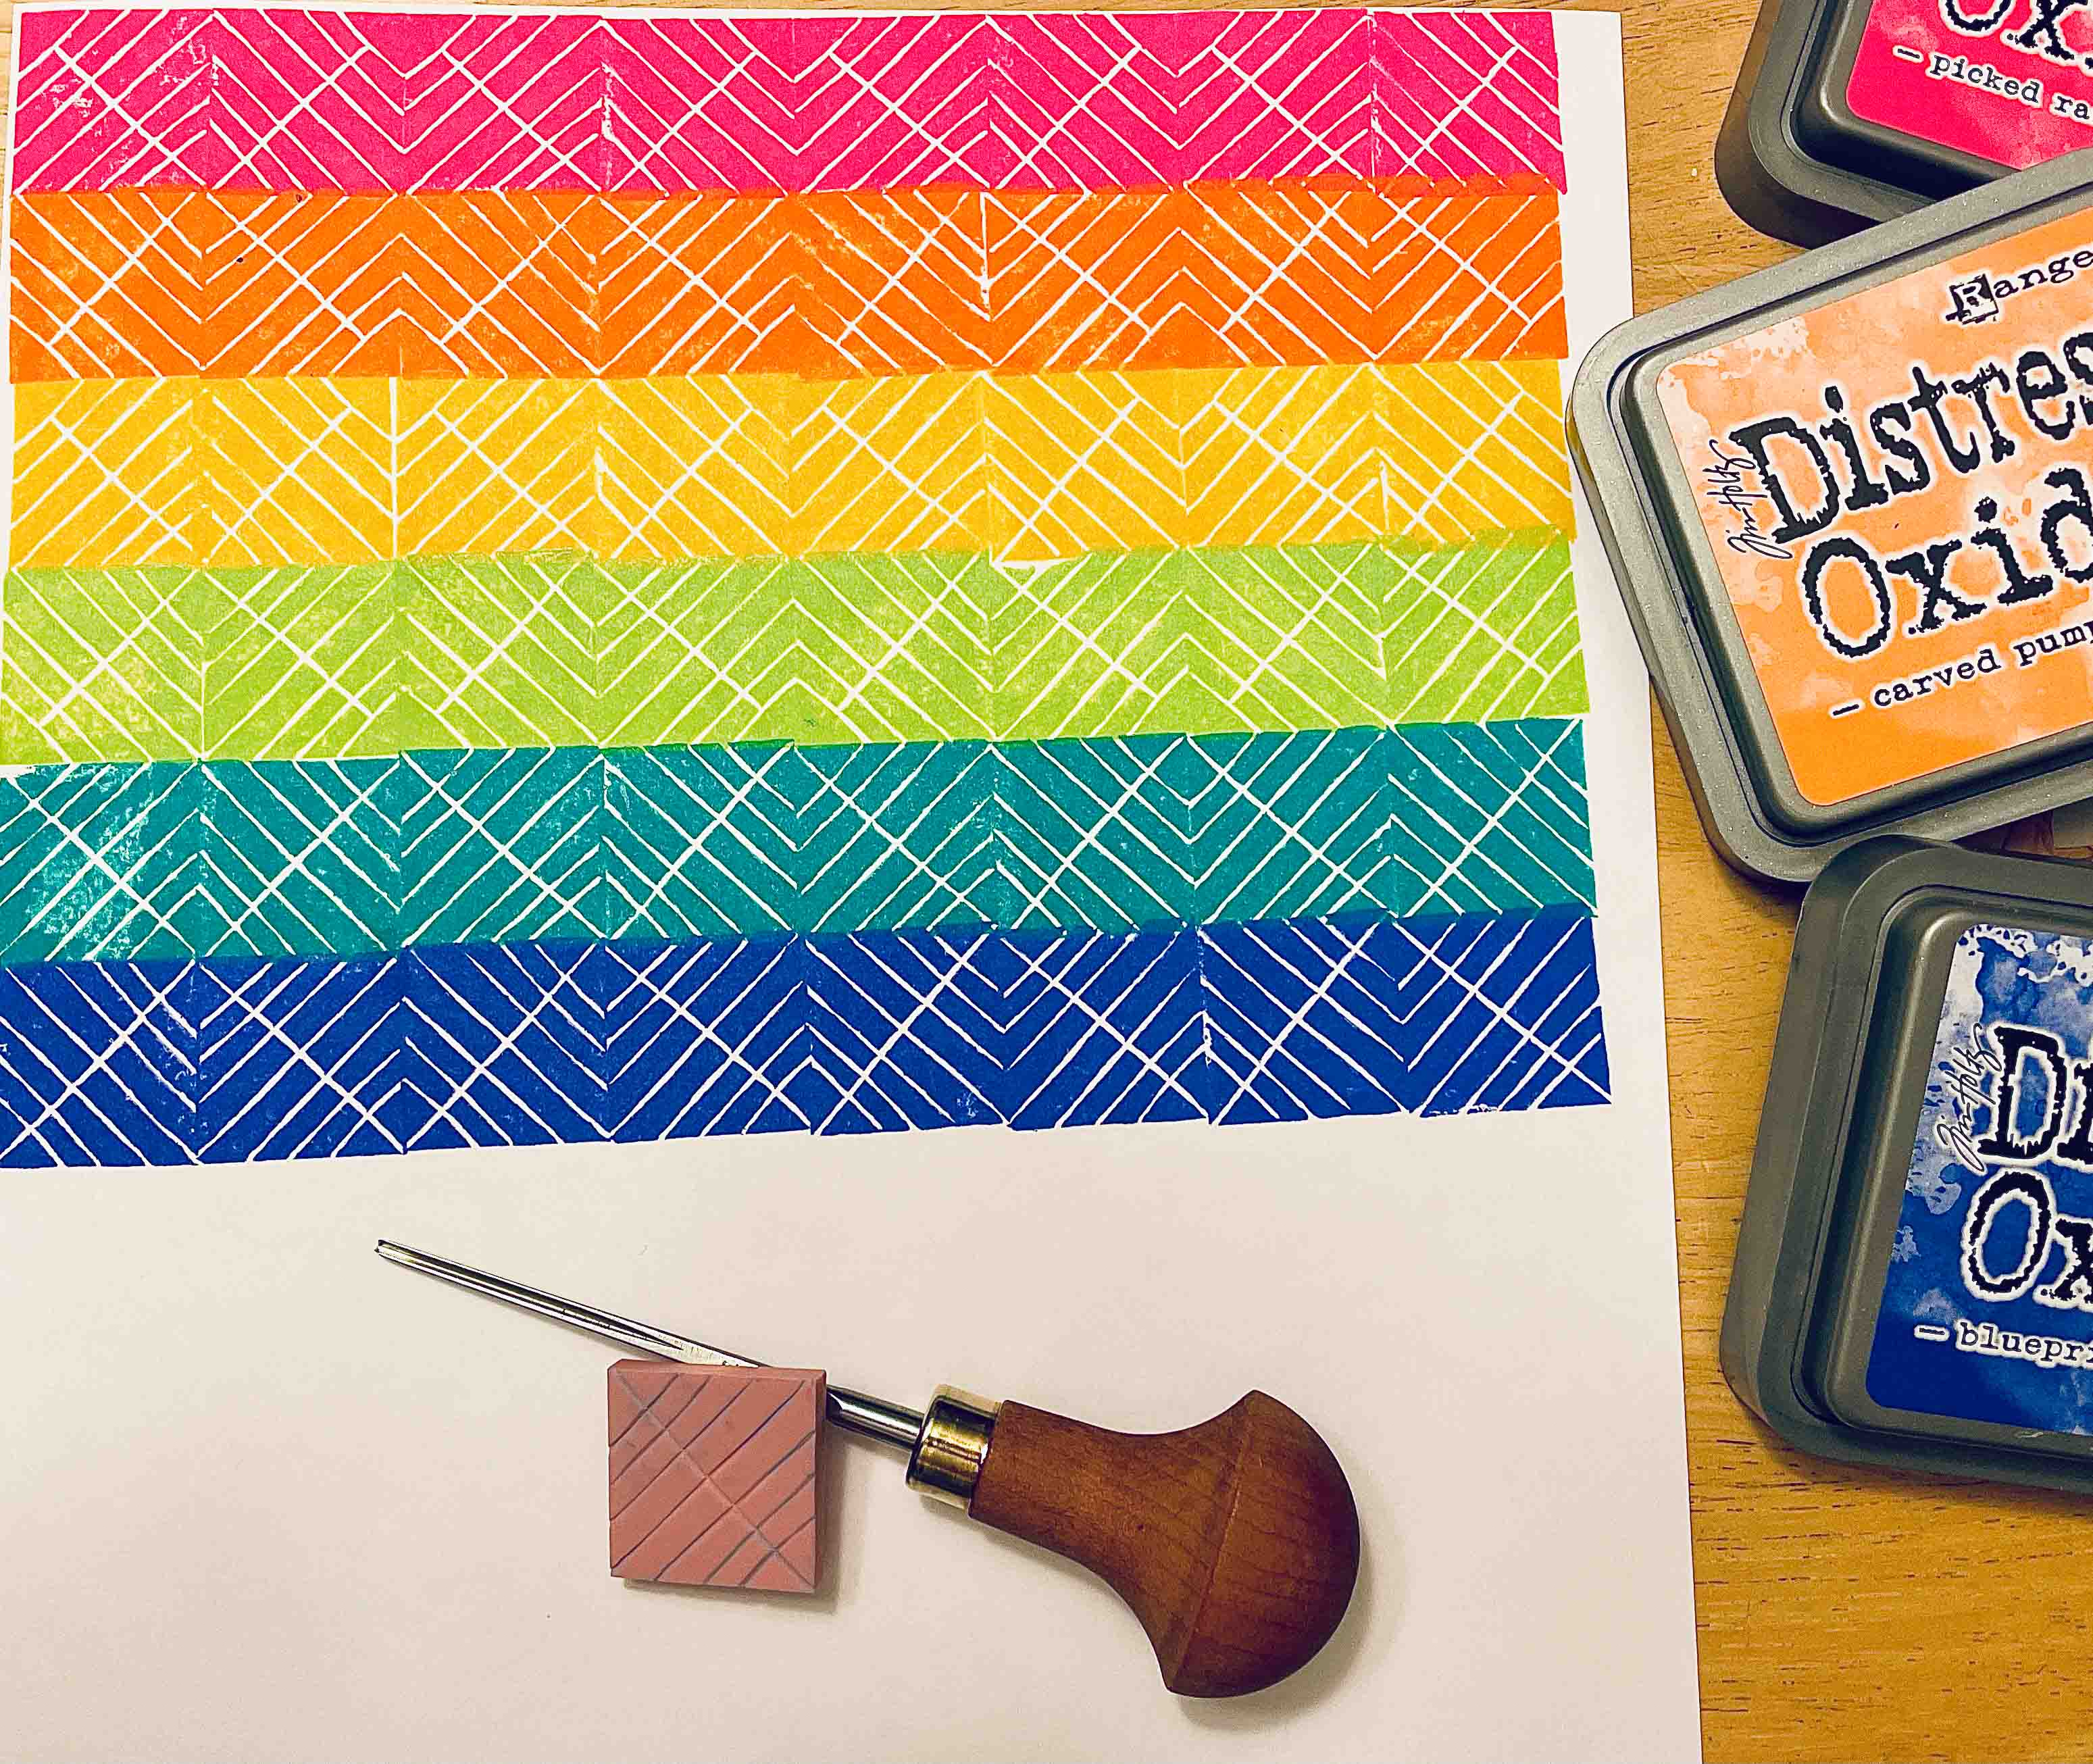
This year, though, I happened upon the perfect relaxing craft to help me stop and breathe during December. And I immediately had a vision for how the kids and I could do it together and incorporate it into two different Christmas projects.
The craft is stamp carving, which I found via Instagram via @CraftyHope, and further delved into the deep end of stamp carving wonder in the #CarveDecember hashtag – seriously – when you need a calming moment, go search that hashtag on Instagram. It was so lovely I literally dreamed about it. The process just looked so satisfying. So delightful. So patternous.
The Carve December challenge was started by Julie Balzer of Balzer Designs, and she has some great tutorials and information about stamp carving on her site.
And shockingly, it was not an unattainable art – even my very first attempt.
Now. Mine aren’t nearly as perfect and detailed and artistic as the magical people on Instagram, but I was pretty amazed at how simple it was and how I DIDN’T immediately screw it up with my complete lack of artistic abilities.
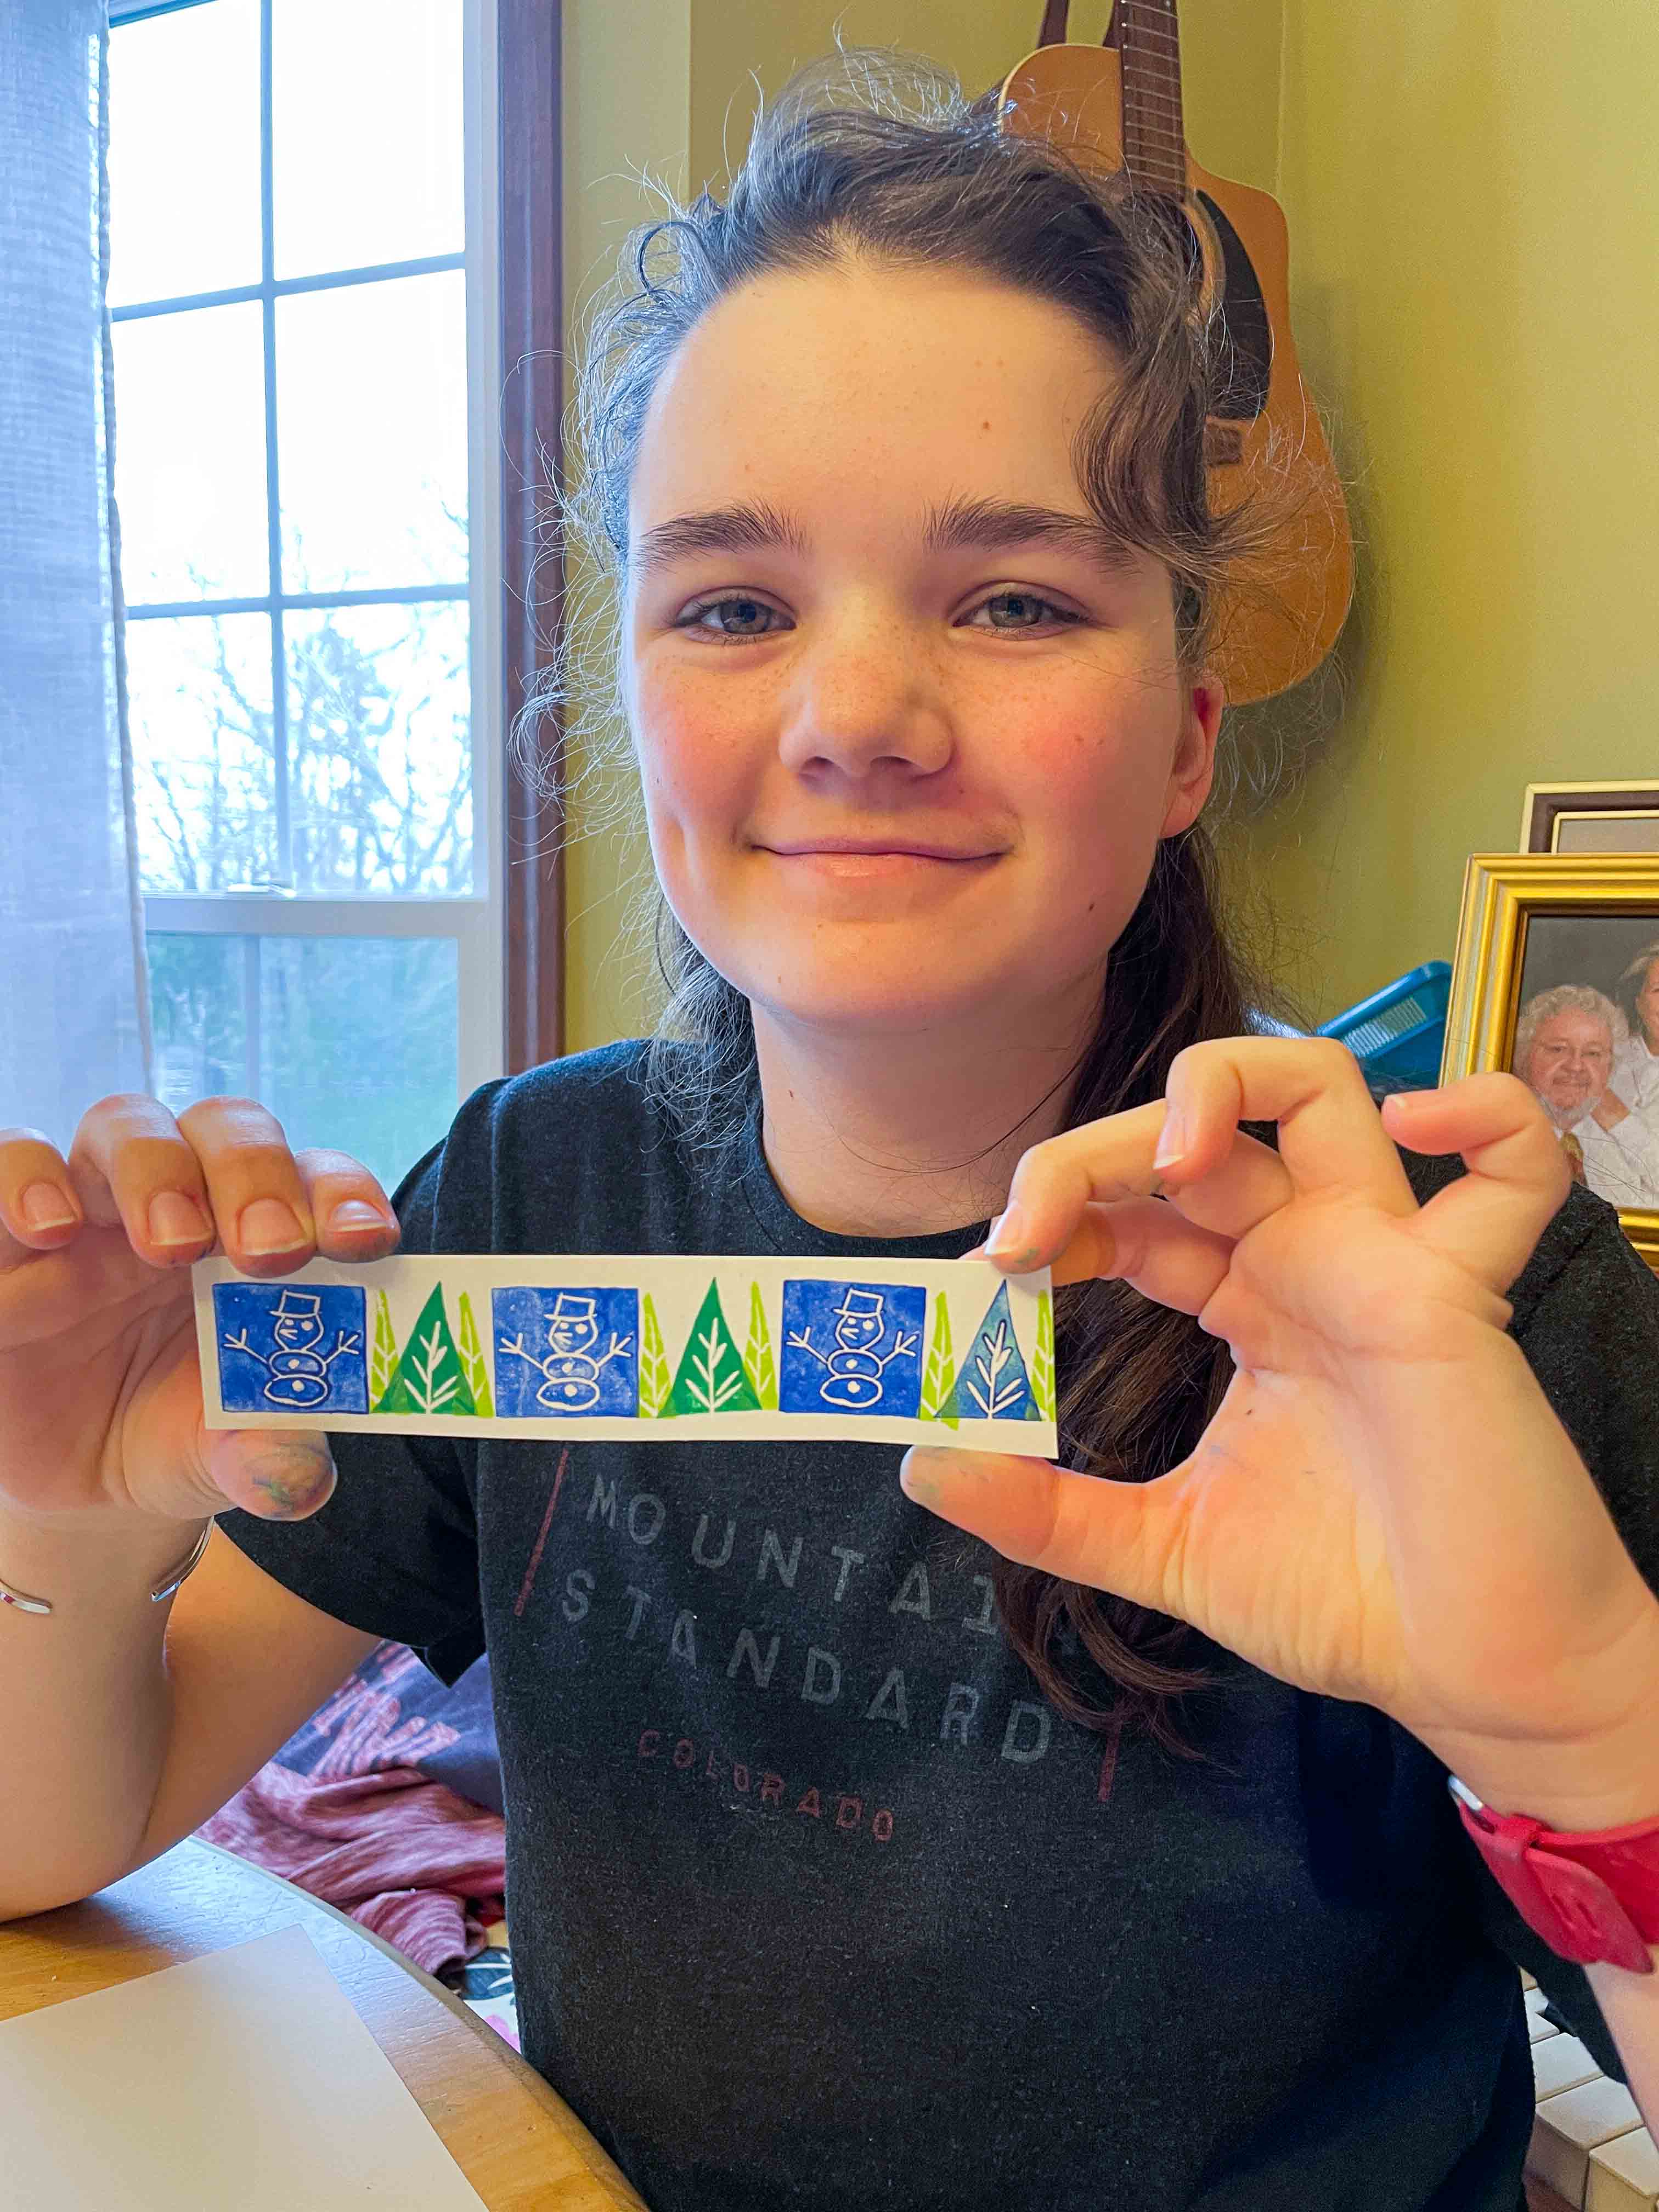
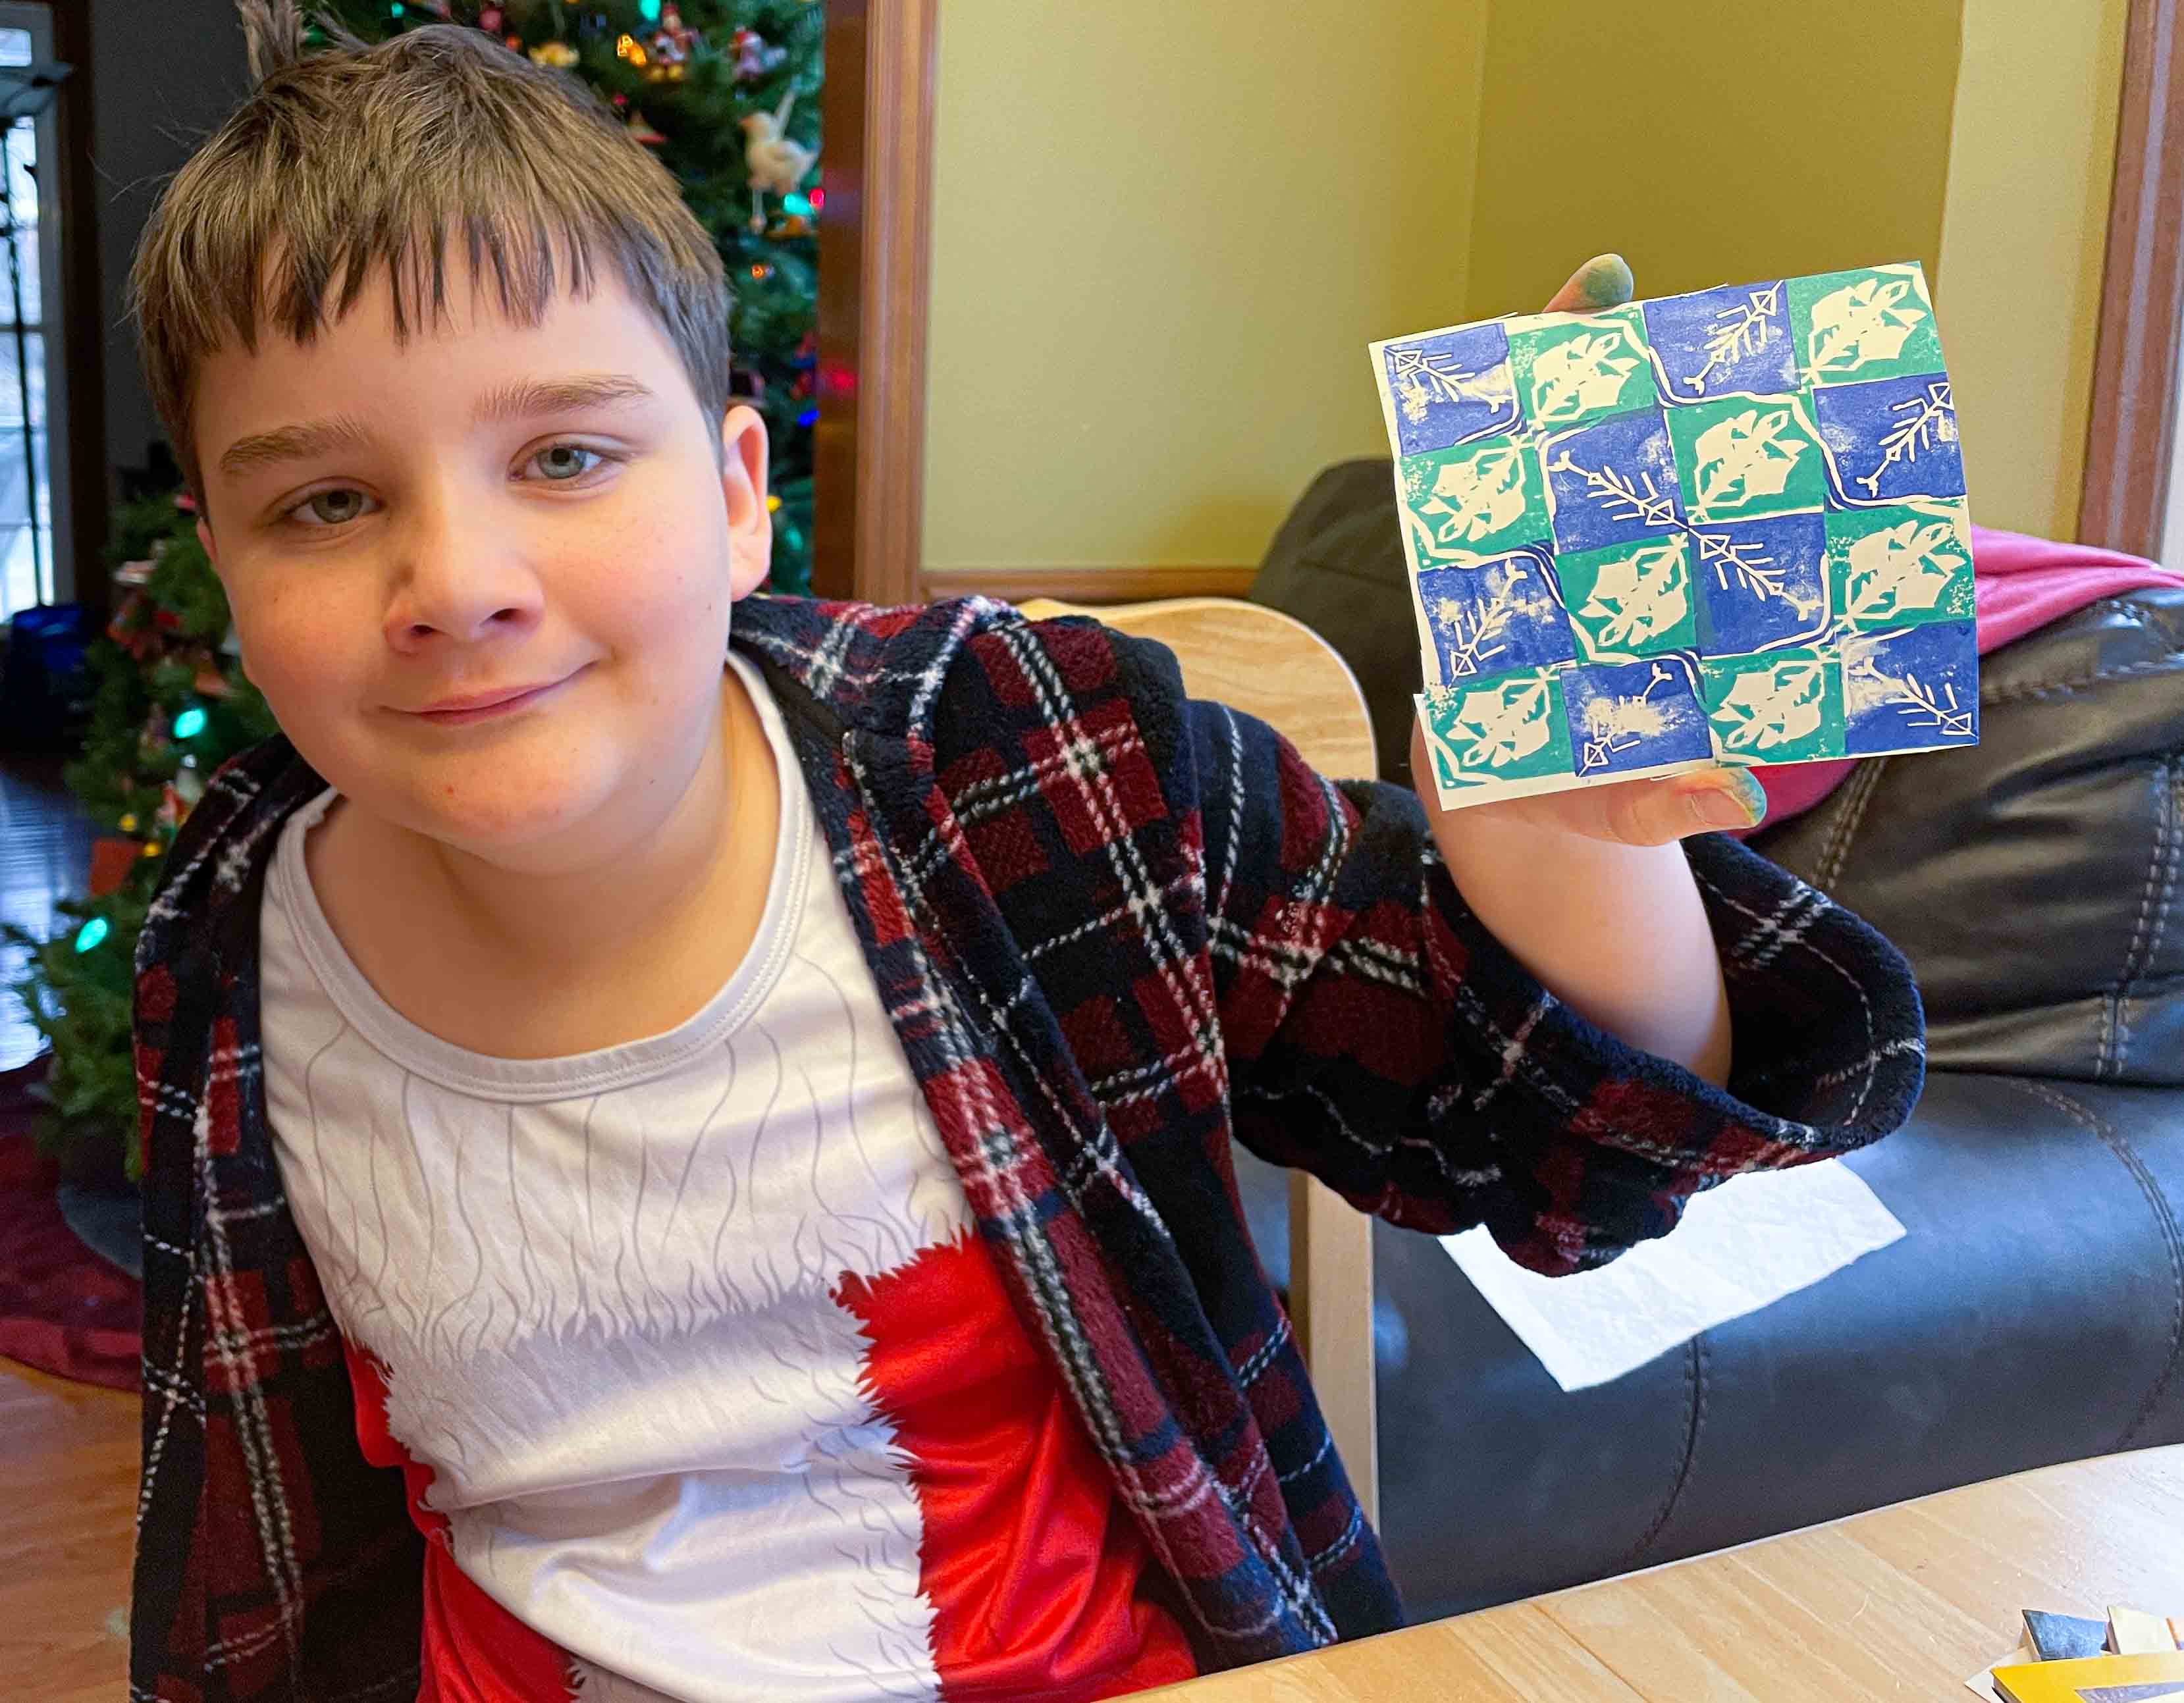
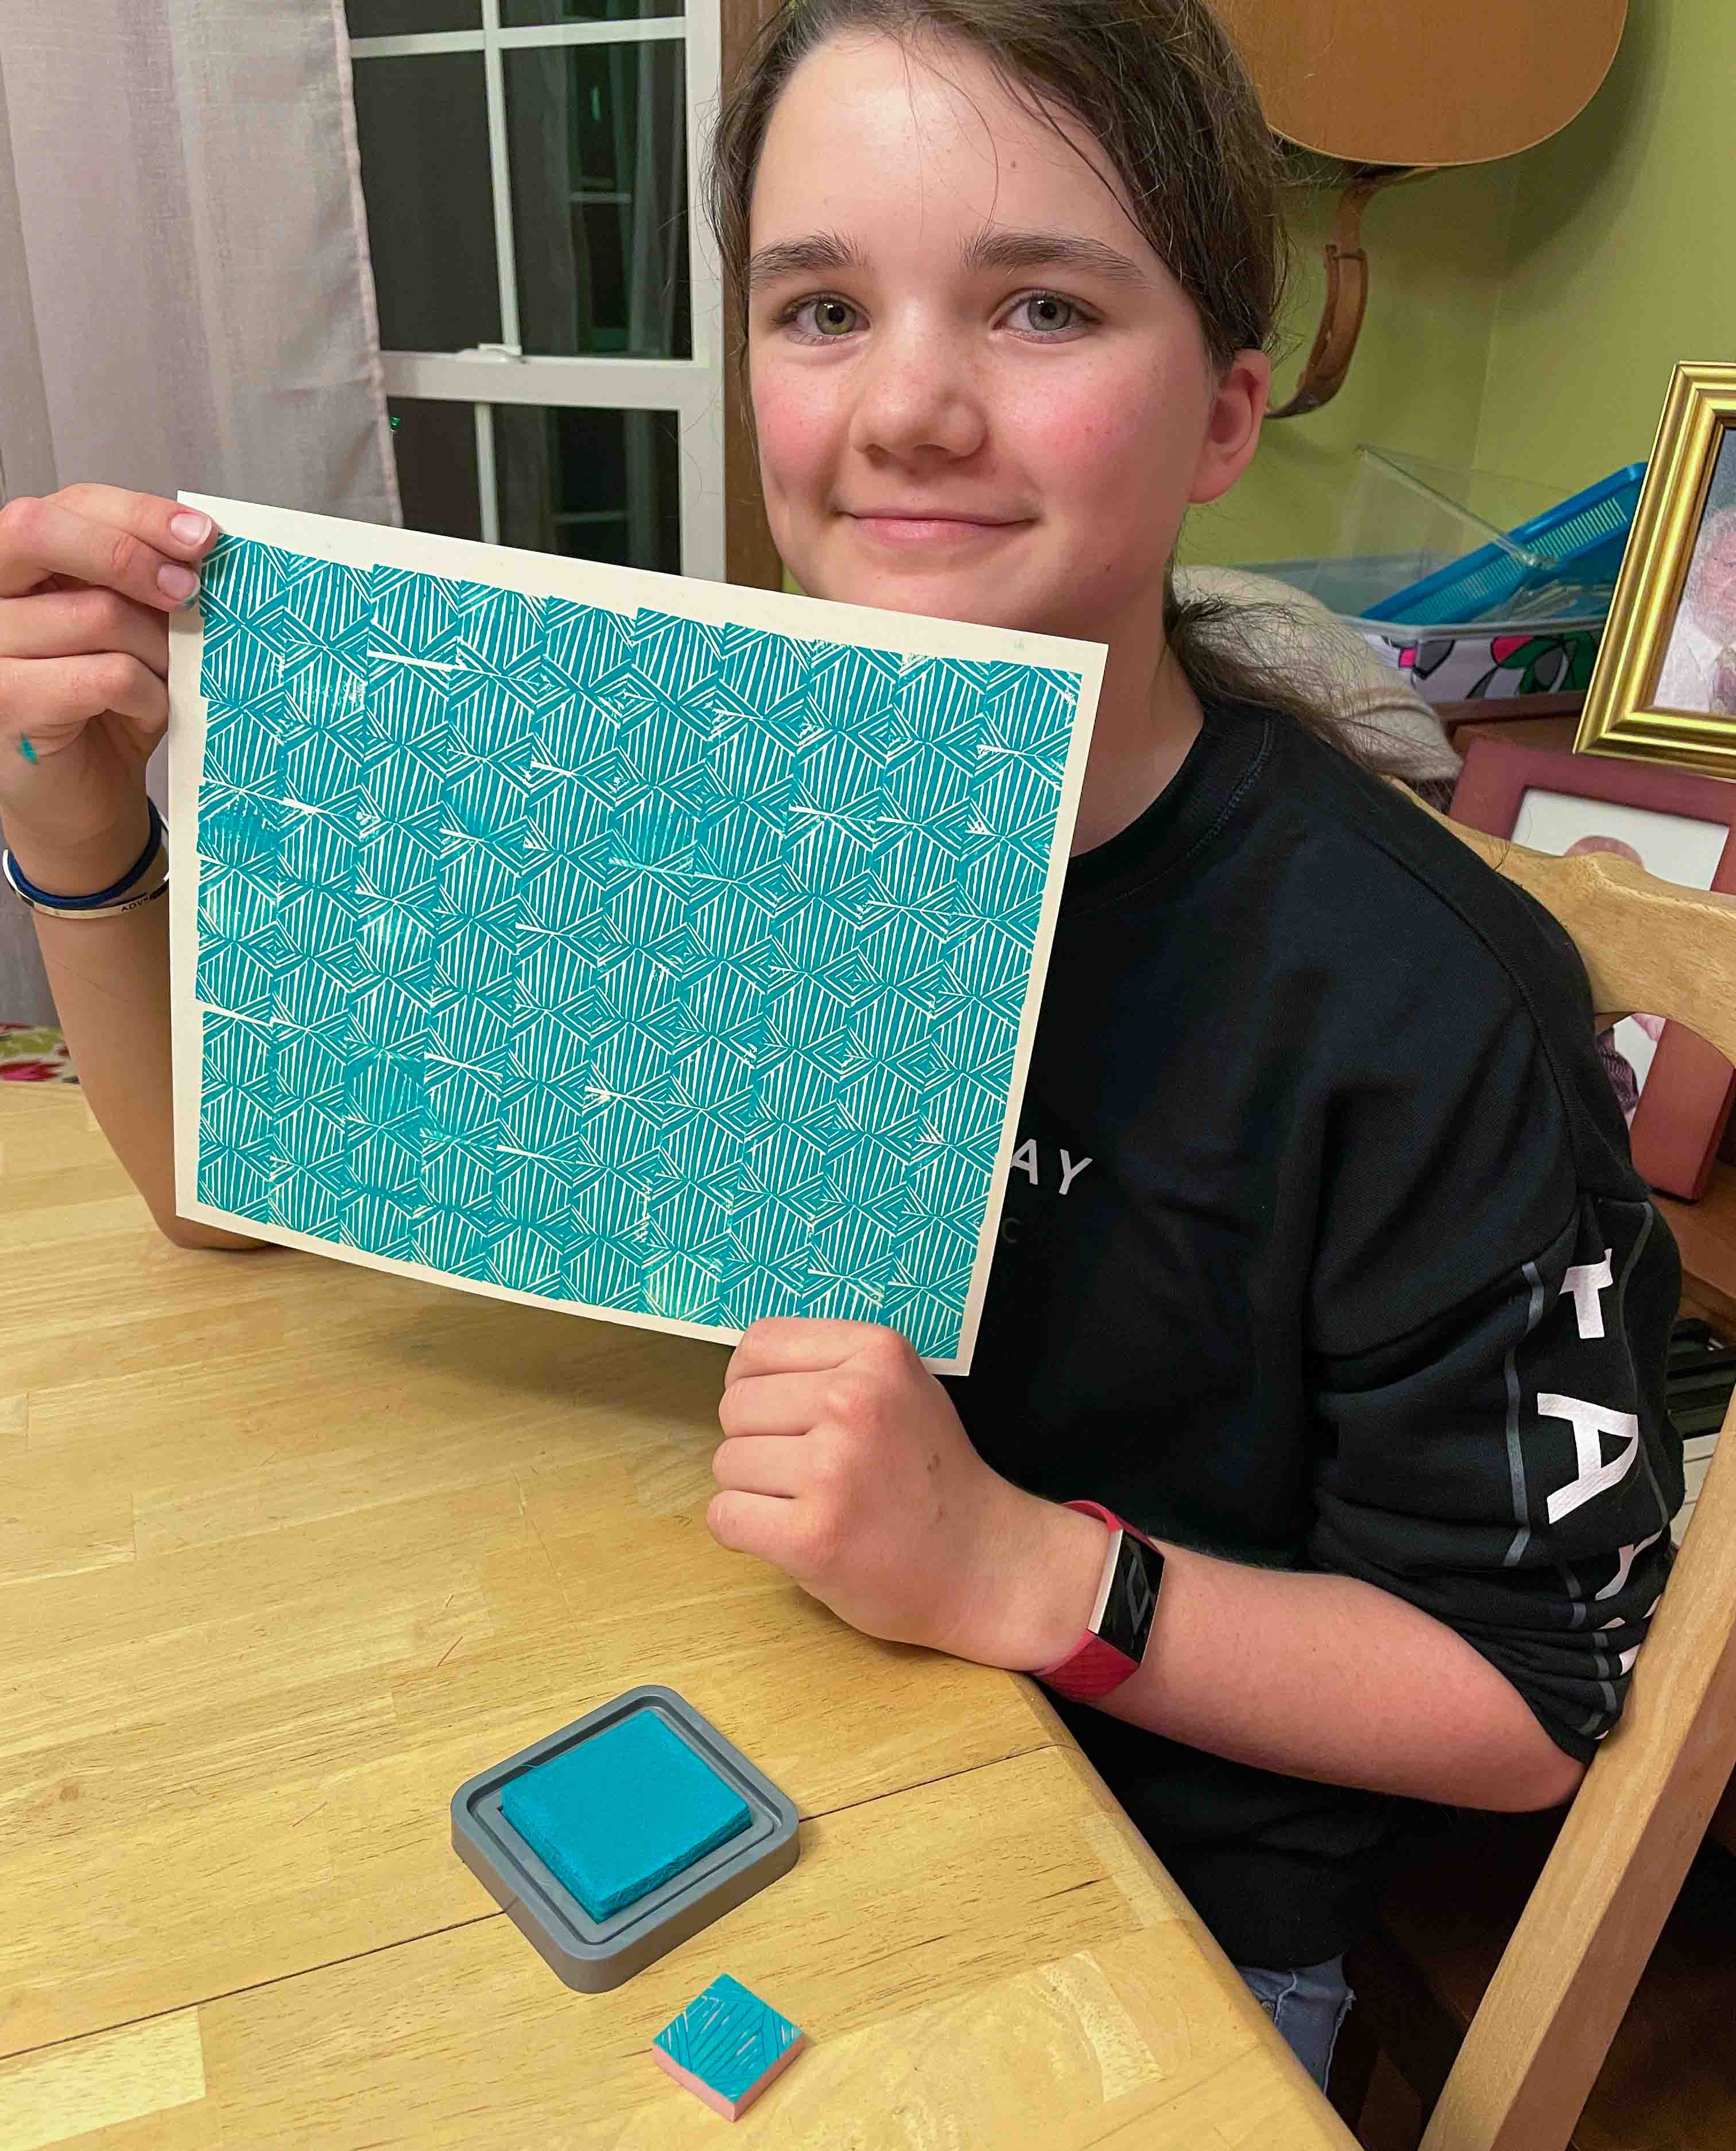
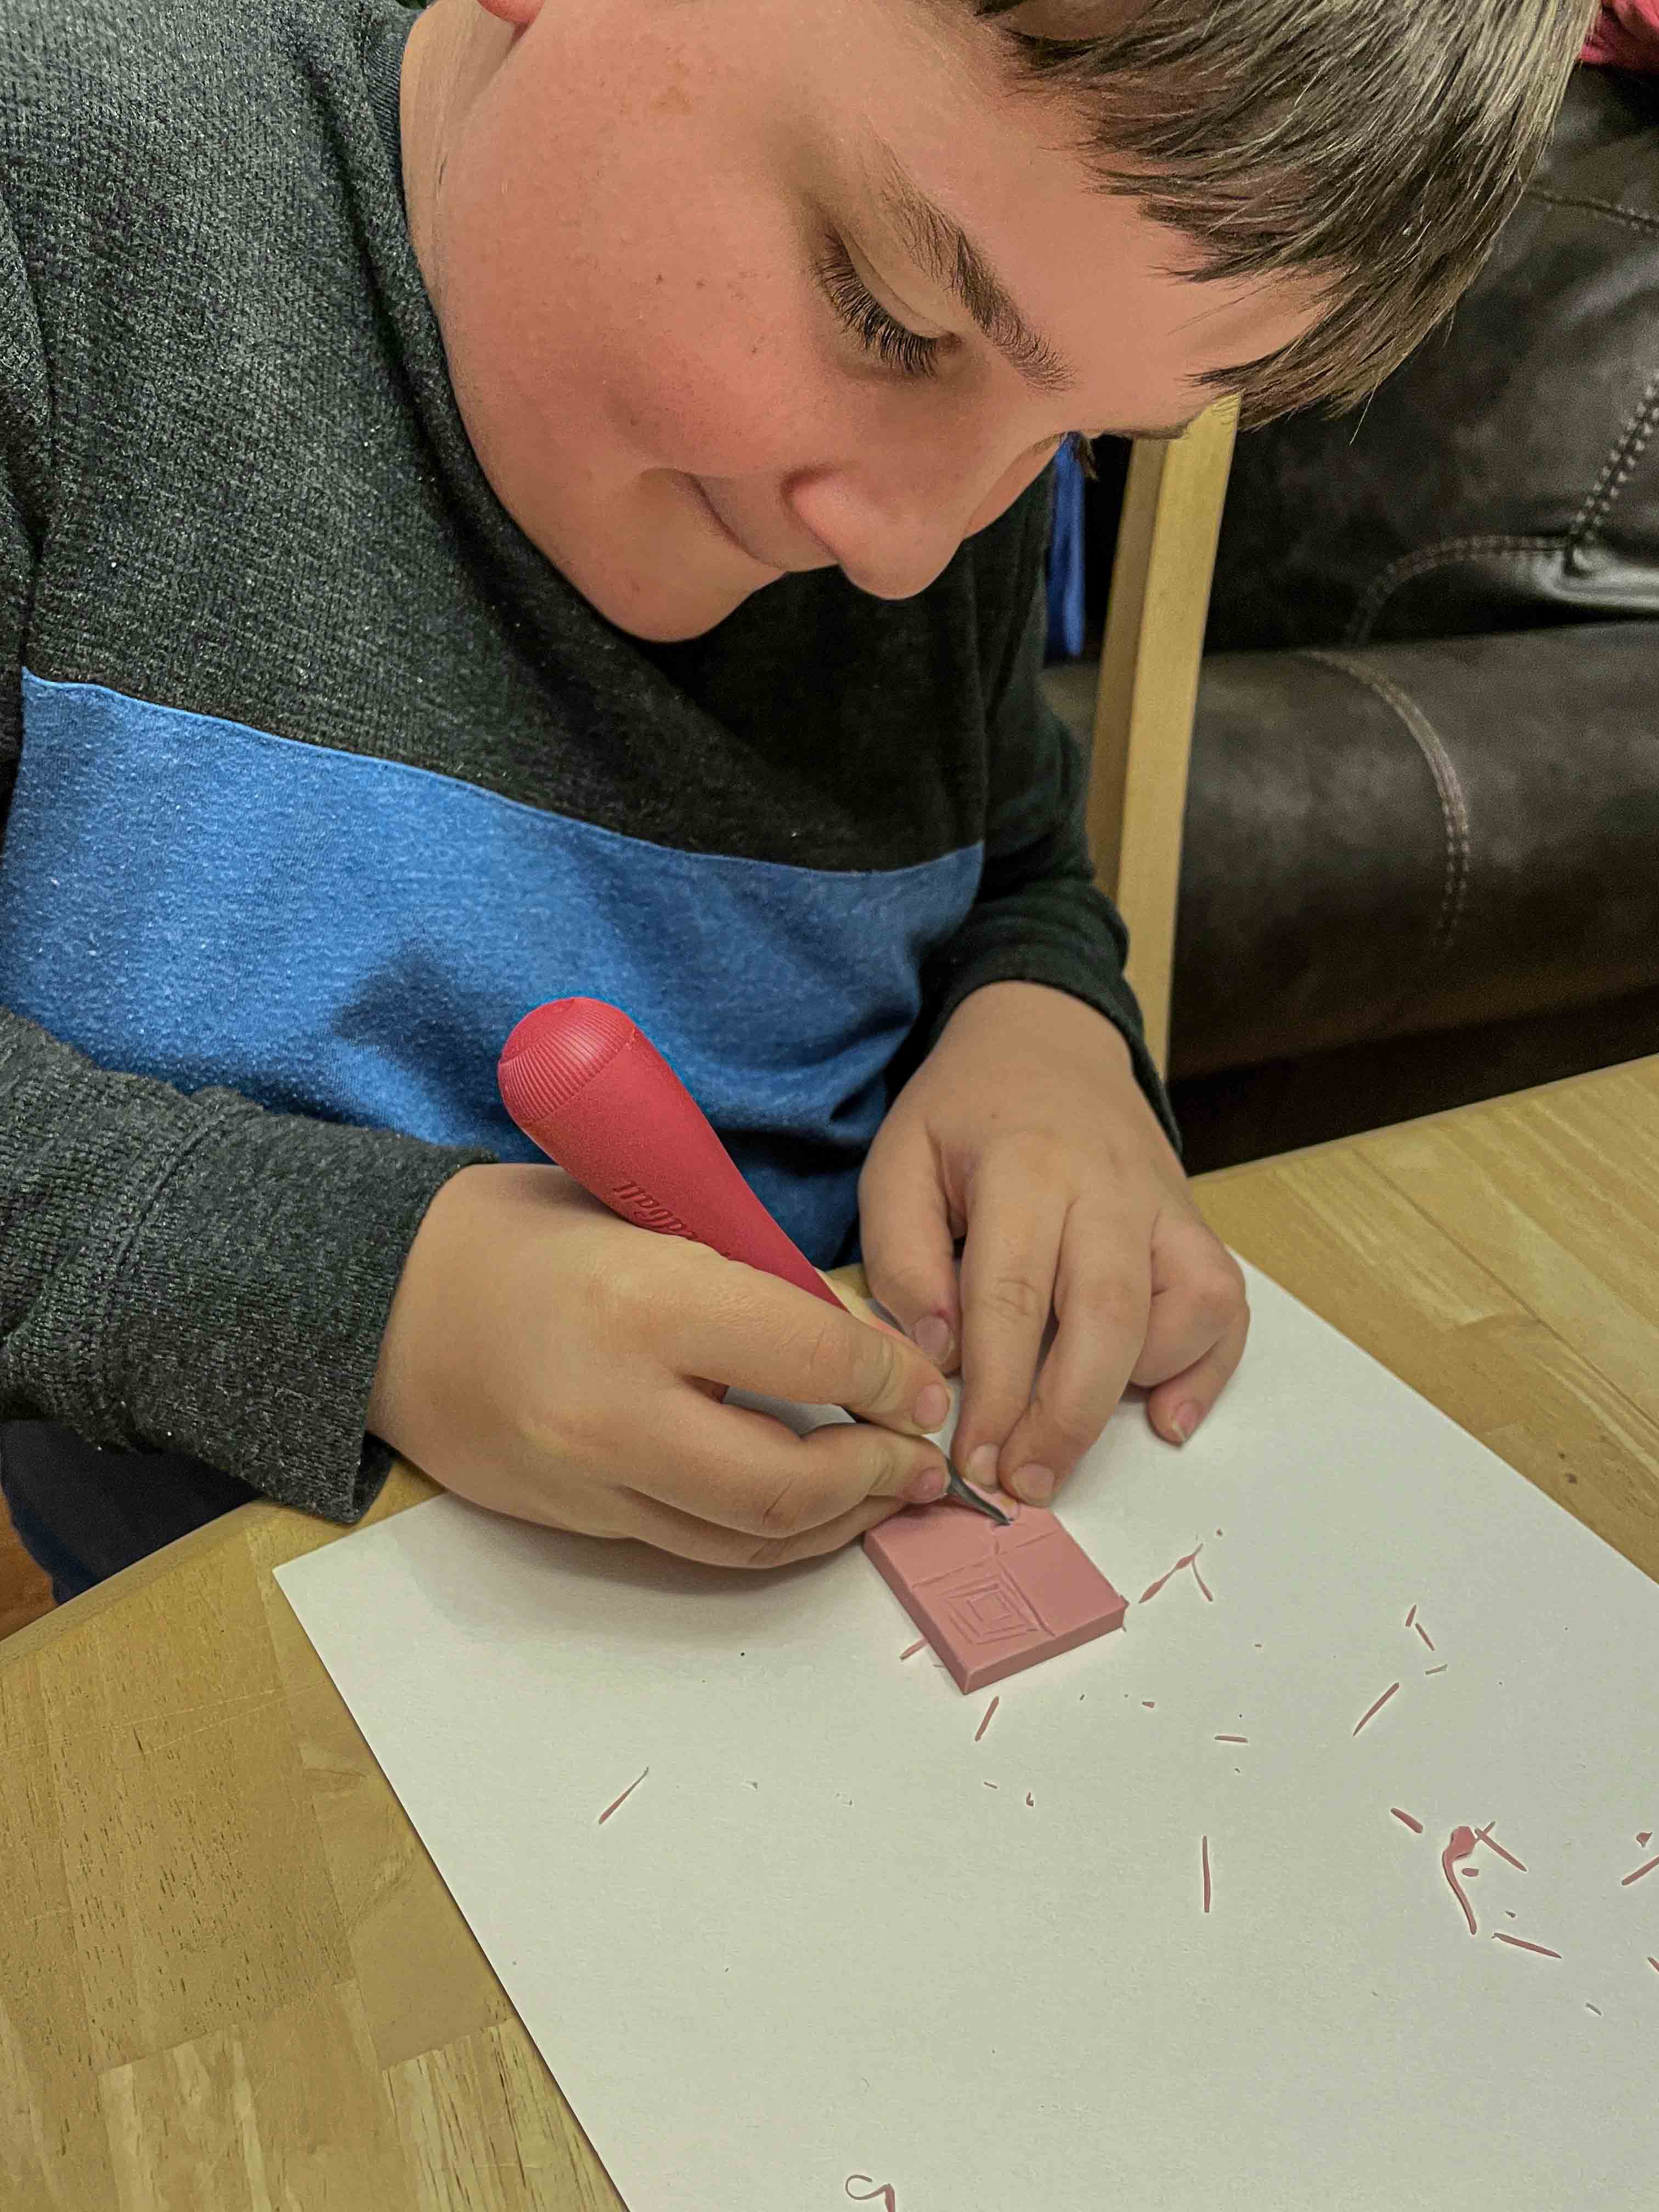
Furthermore, it was something that both the kids could easily do without my help or much instruction, and they made some pretty amazing designs.
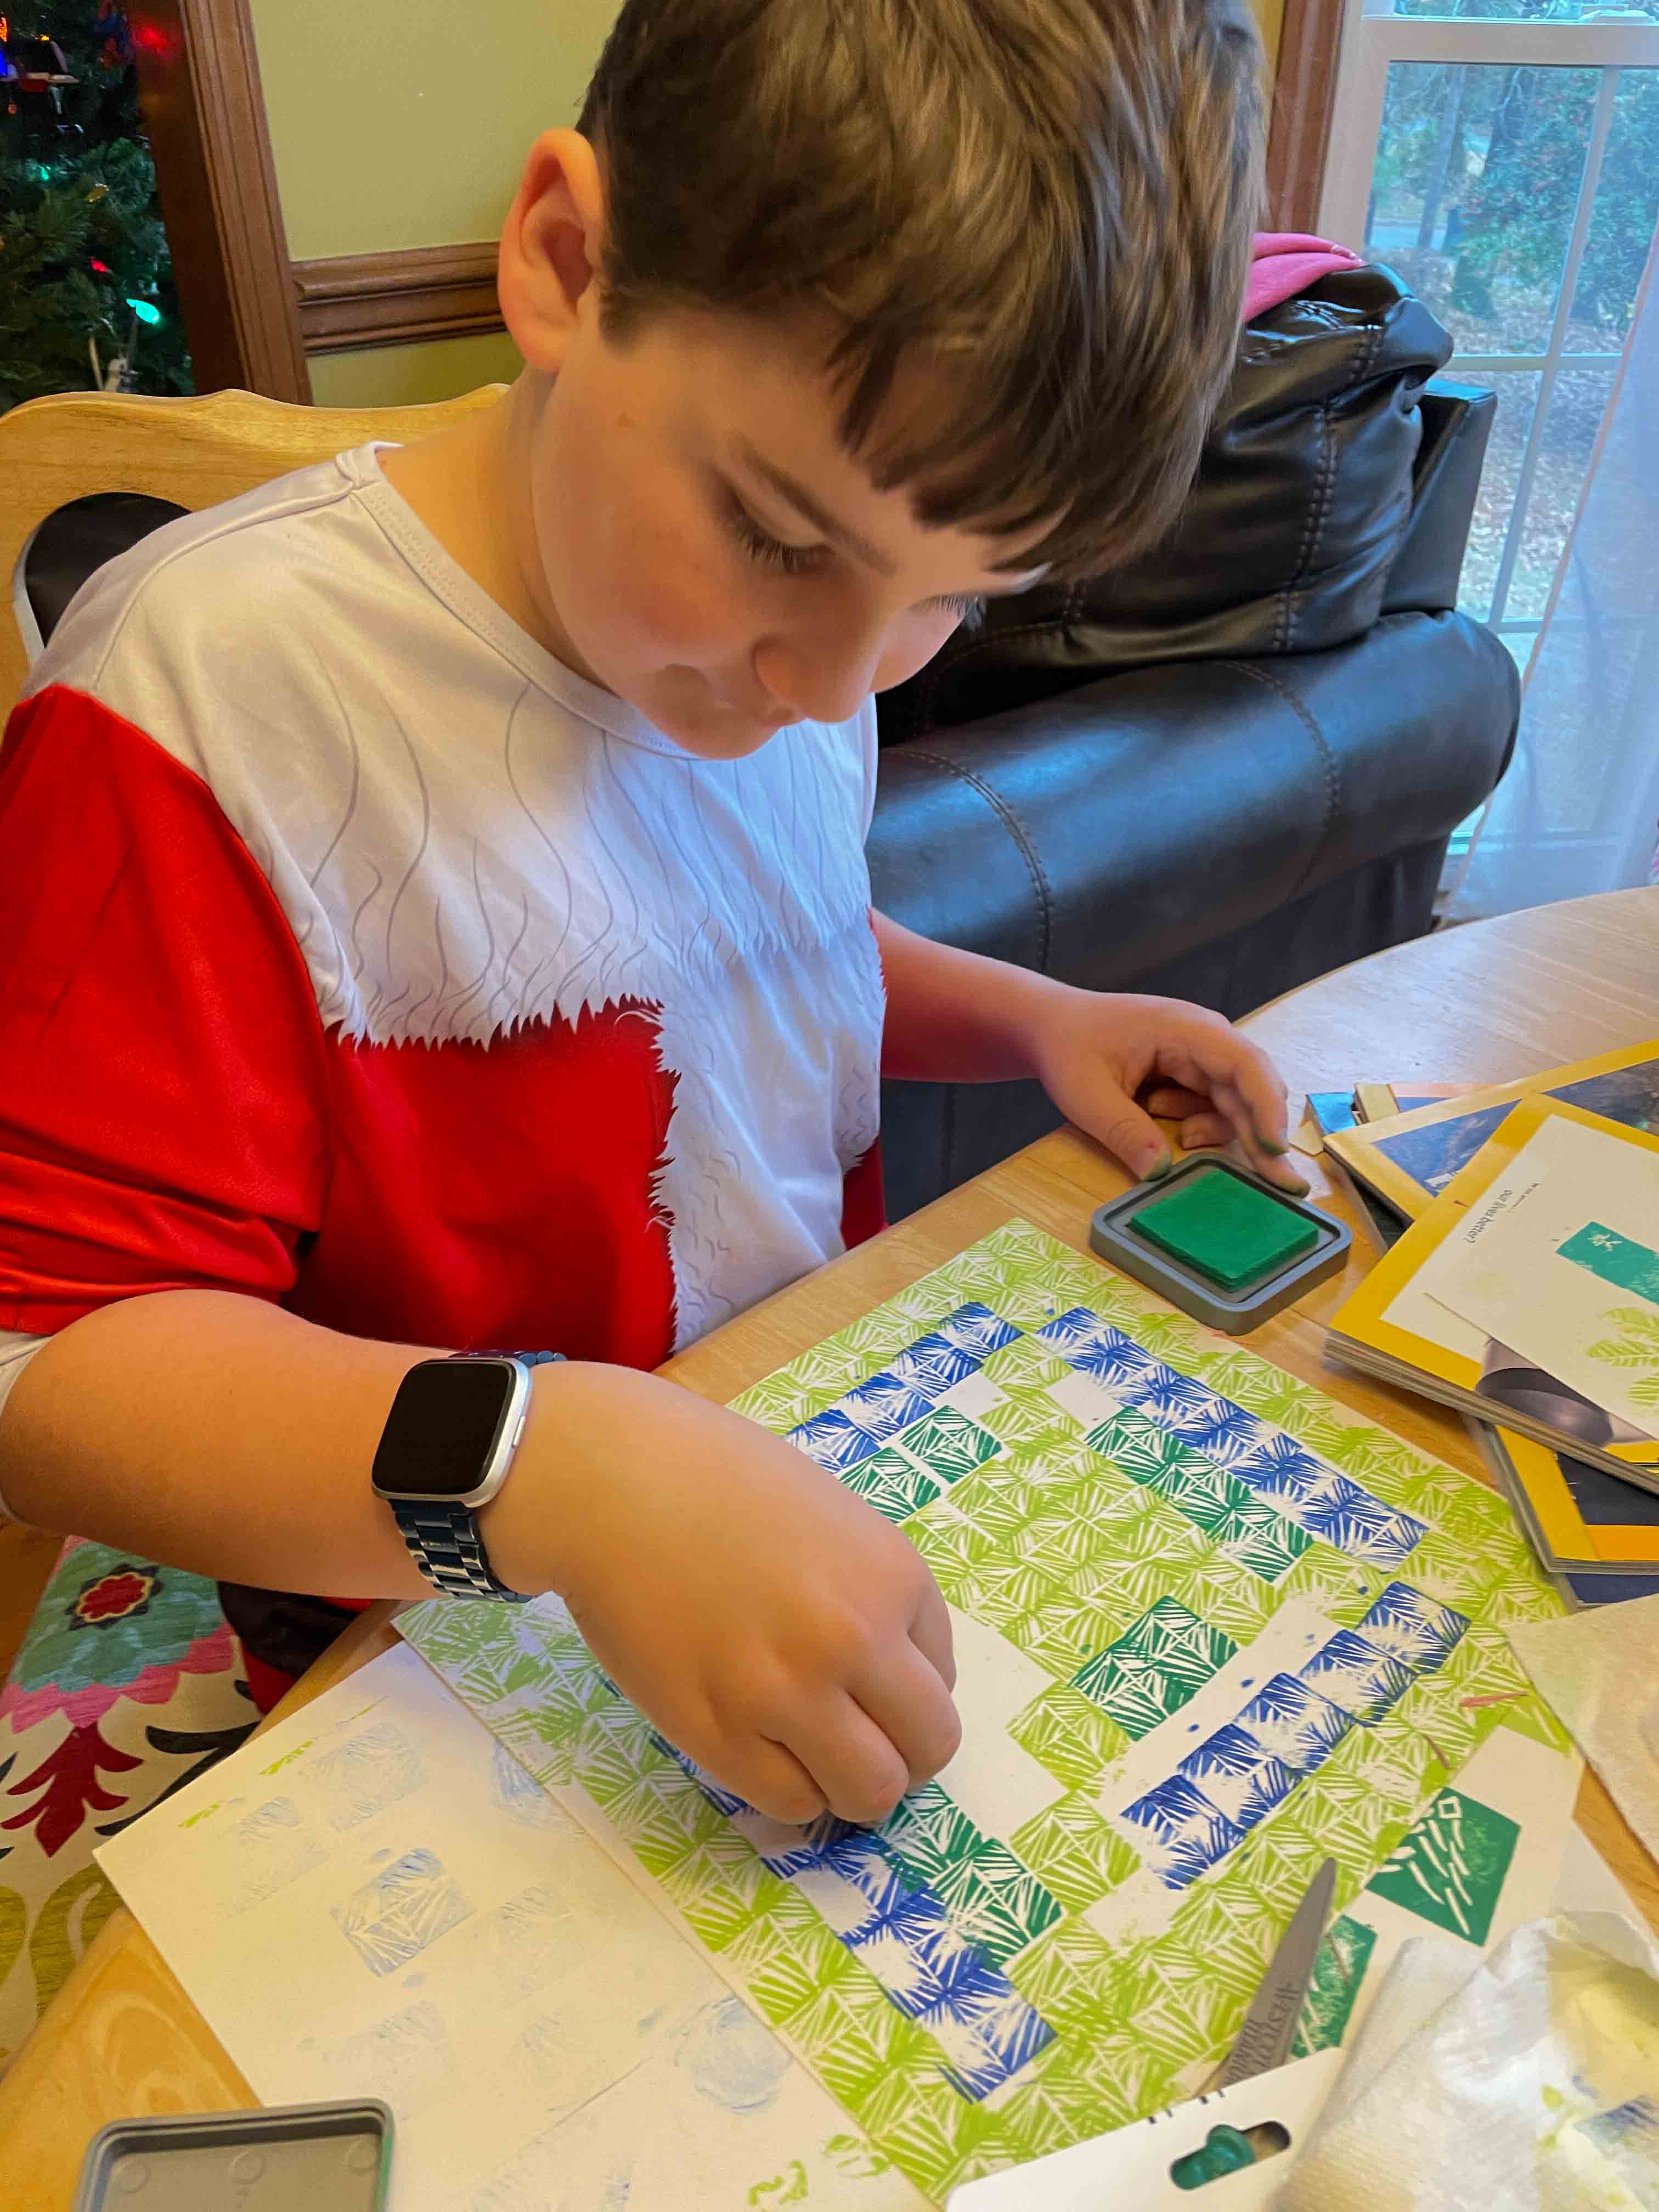
Okay – they’re actually better at it than I am.
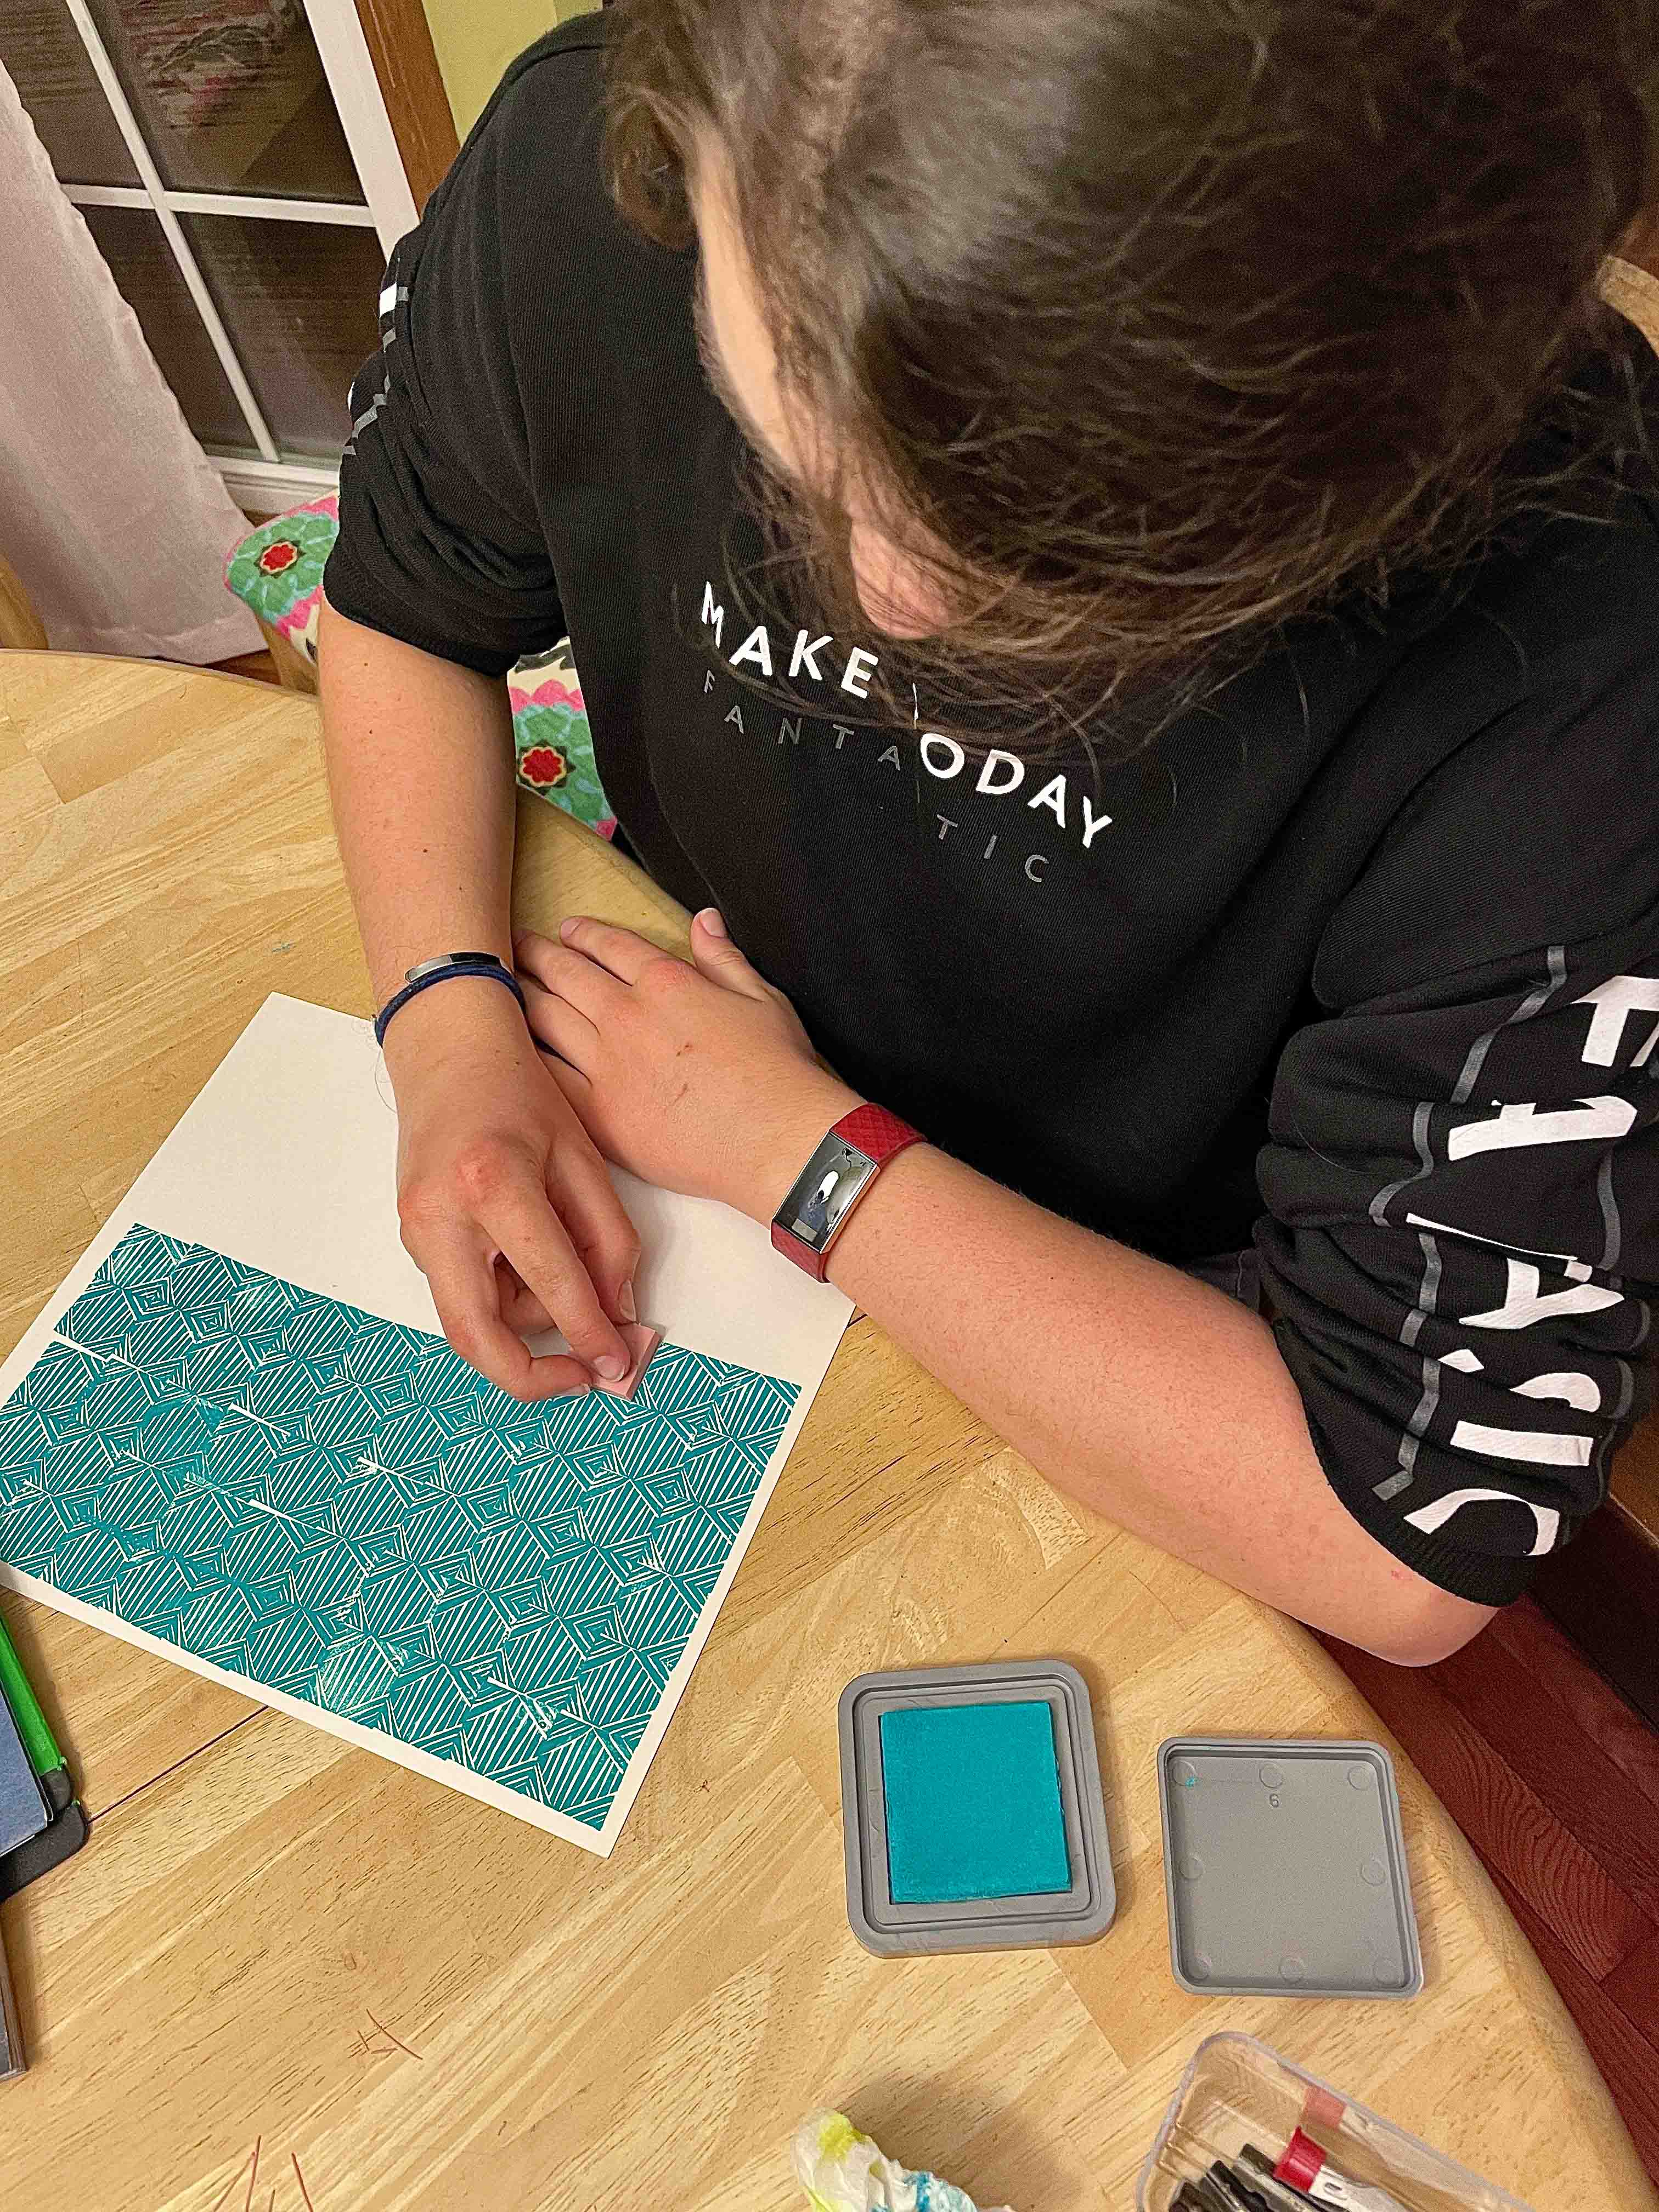
So we used our cleaned-off-for-the-holidays school table and set up an entire stamping extravaganza. It is a glorious mess. A mess that I highly recommend.
It takes very few supplies, and is quite simple.
The three main supplies you need are:
- A very small carving tool – I’ve only used the narrowest tip. If you want to be really precise, get this one or this one – they have 1mm tips, but are a bit more expensive.
- Rubber Stamp Carving Blocks (it’s kinda like eraser material). The pink ones are the standard ones, but these white ones are extra smooth.
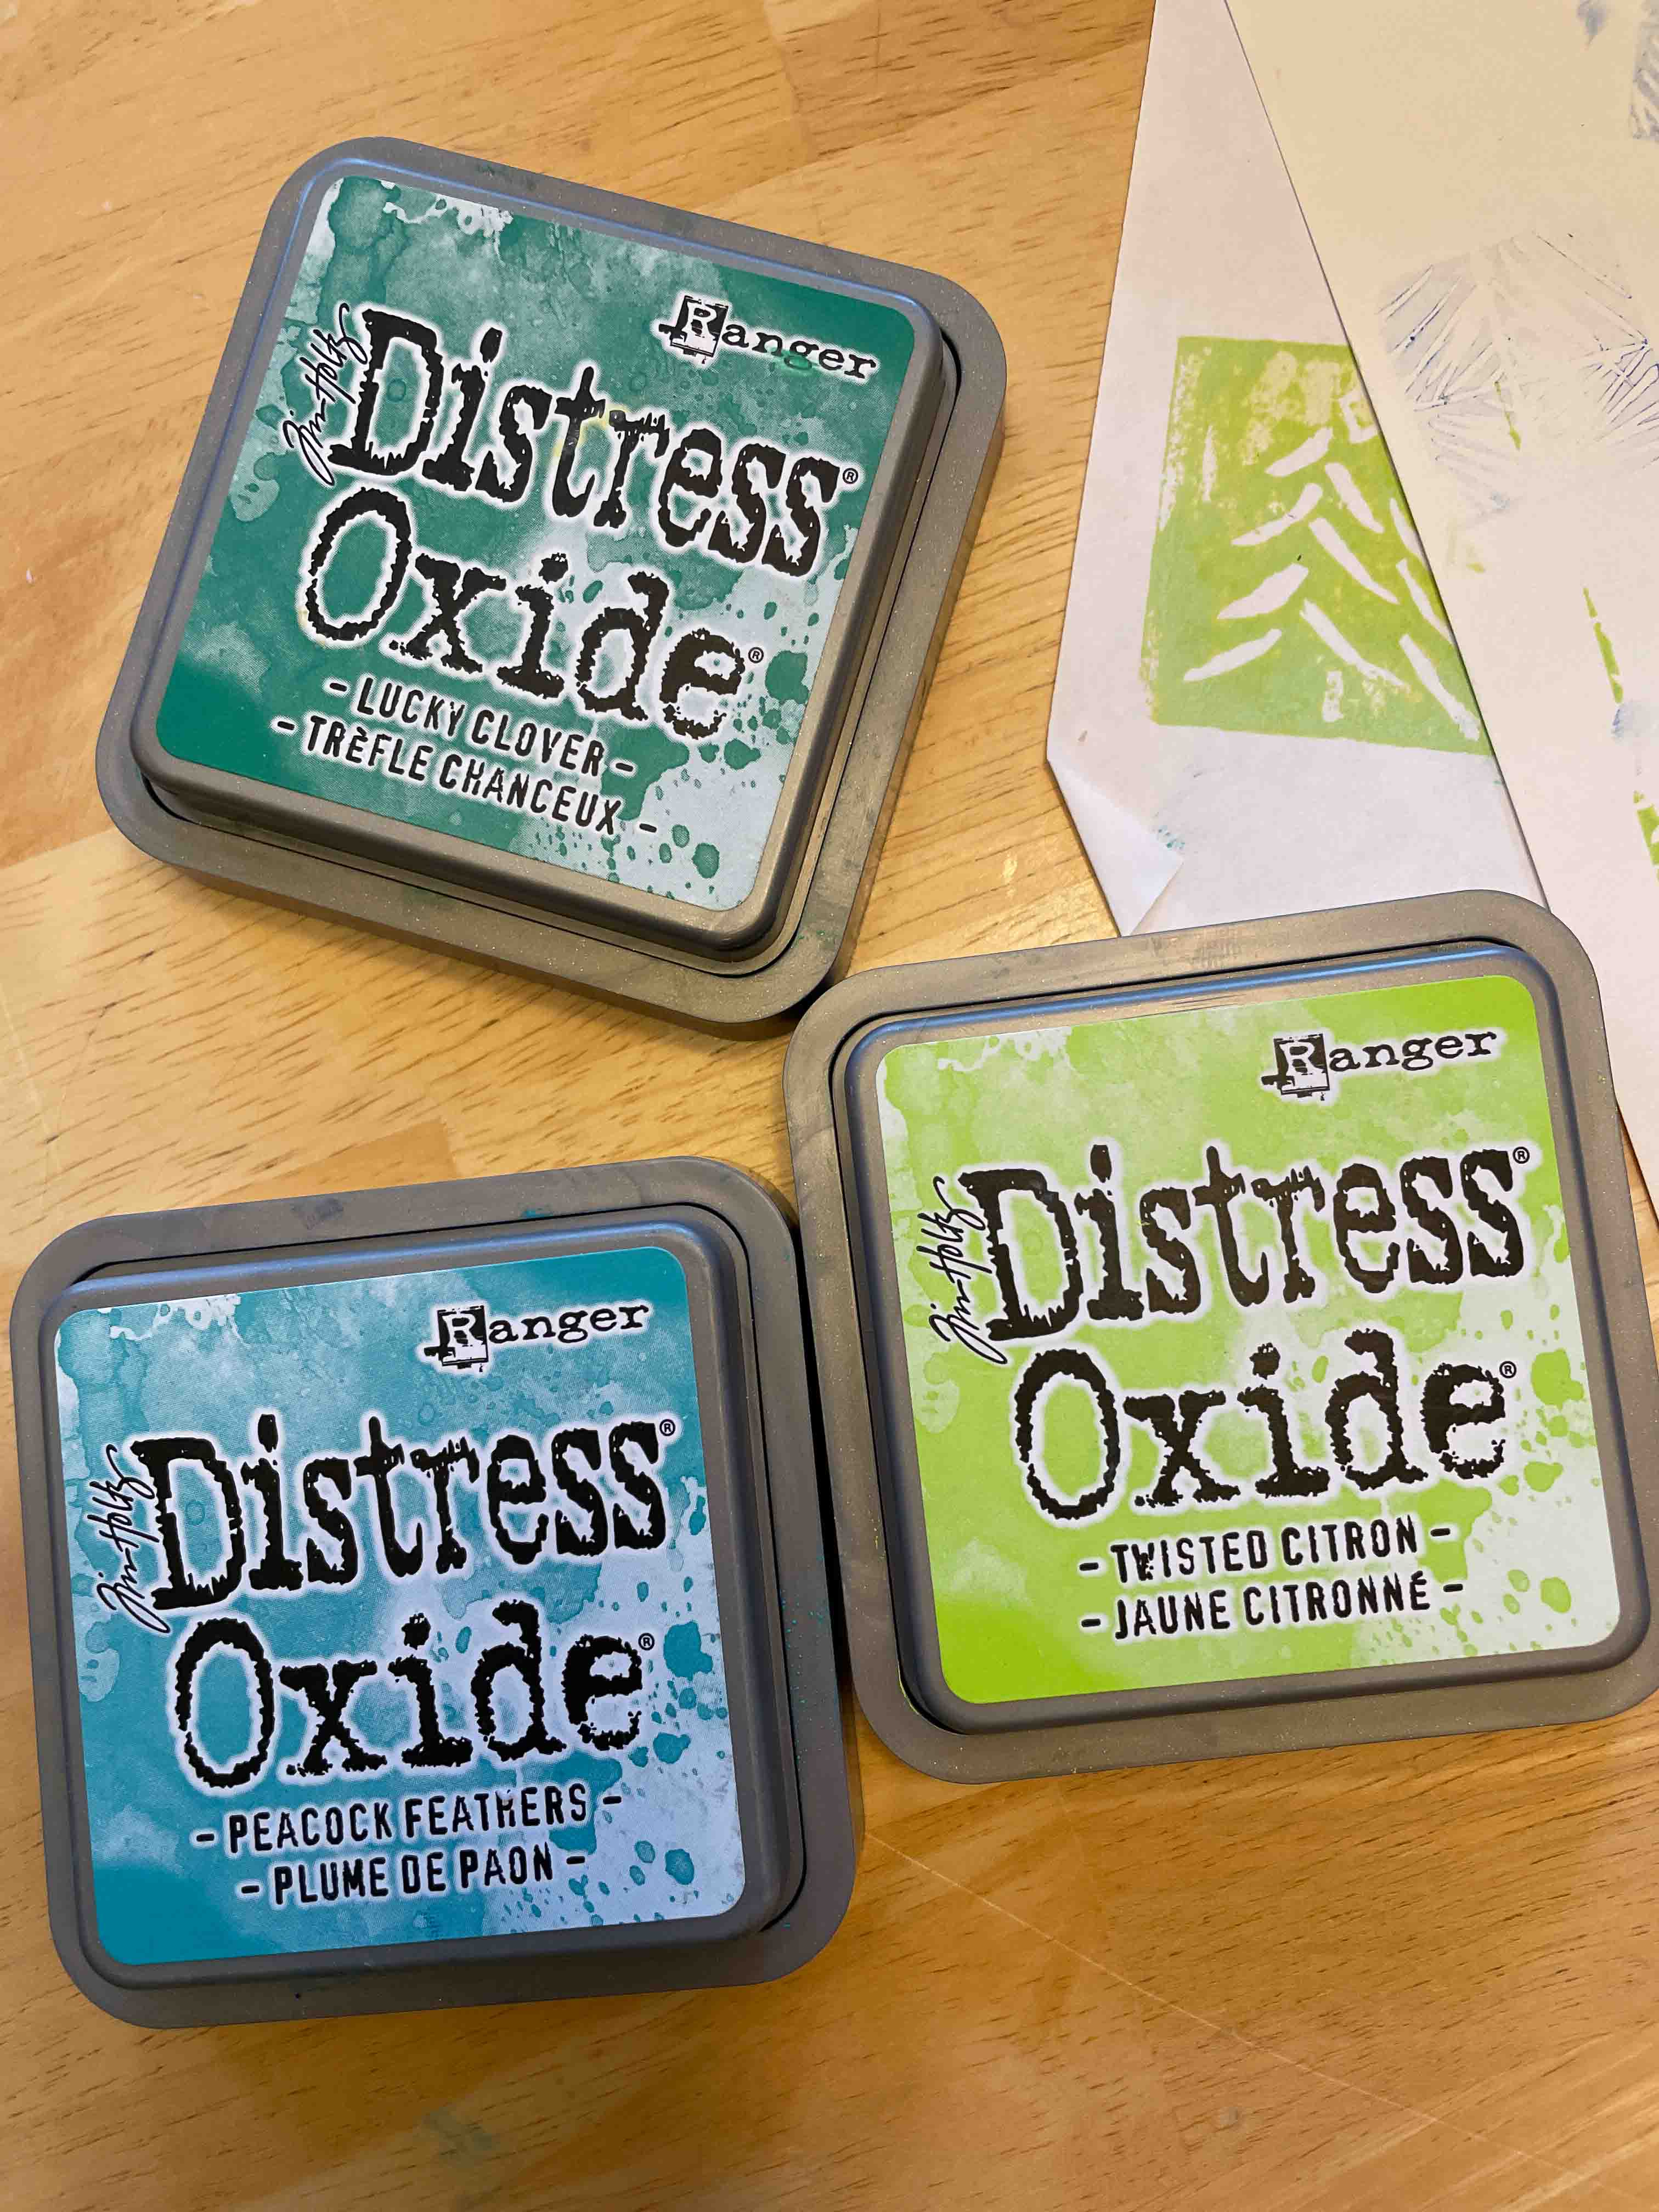
- Stamp pads – I prefer super dark ones, and this brand delivers:
Other things you’ll need on hand that you probably already have: paper (the thicker the better), a pencil, a ruler, an x-acto knife or something like it, something safe to cut on (I like this cutting mat) and some damp paper towels for your fingertips.
The steps are:
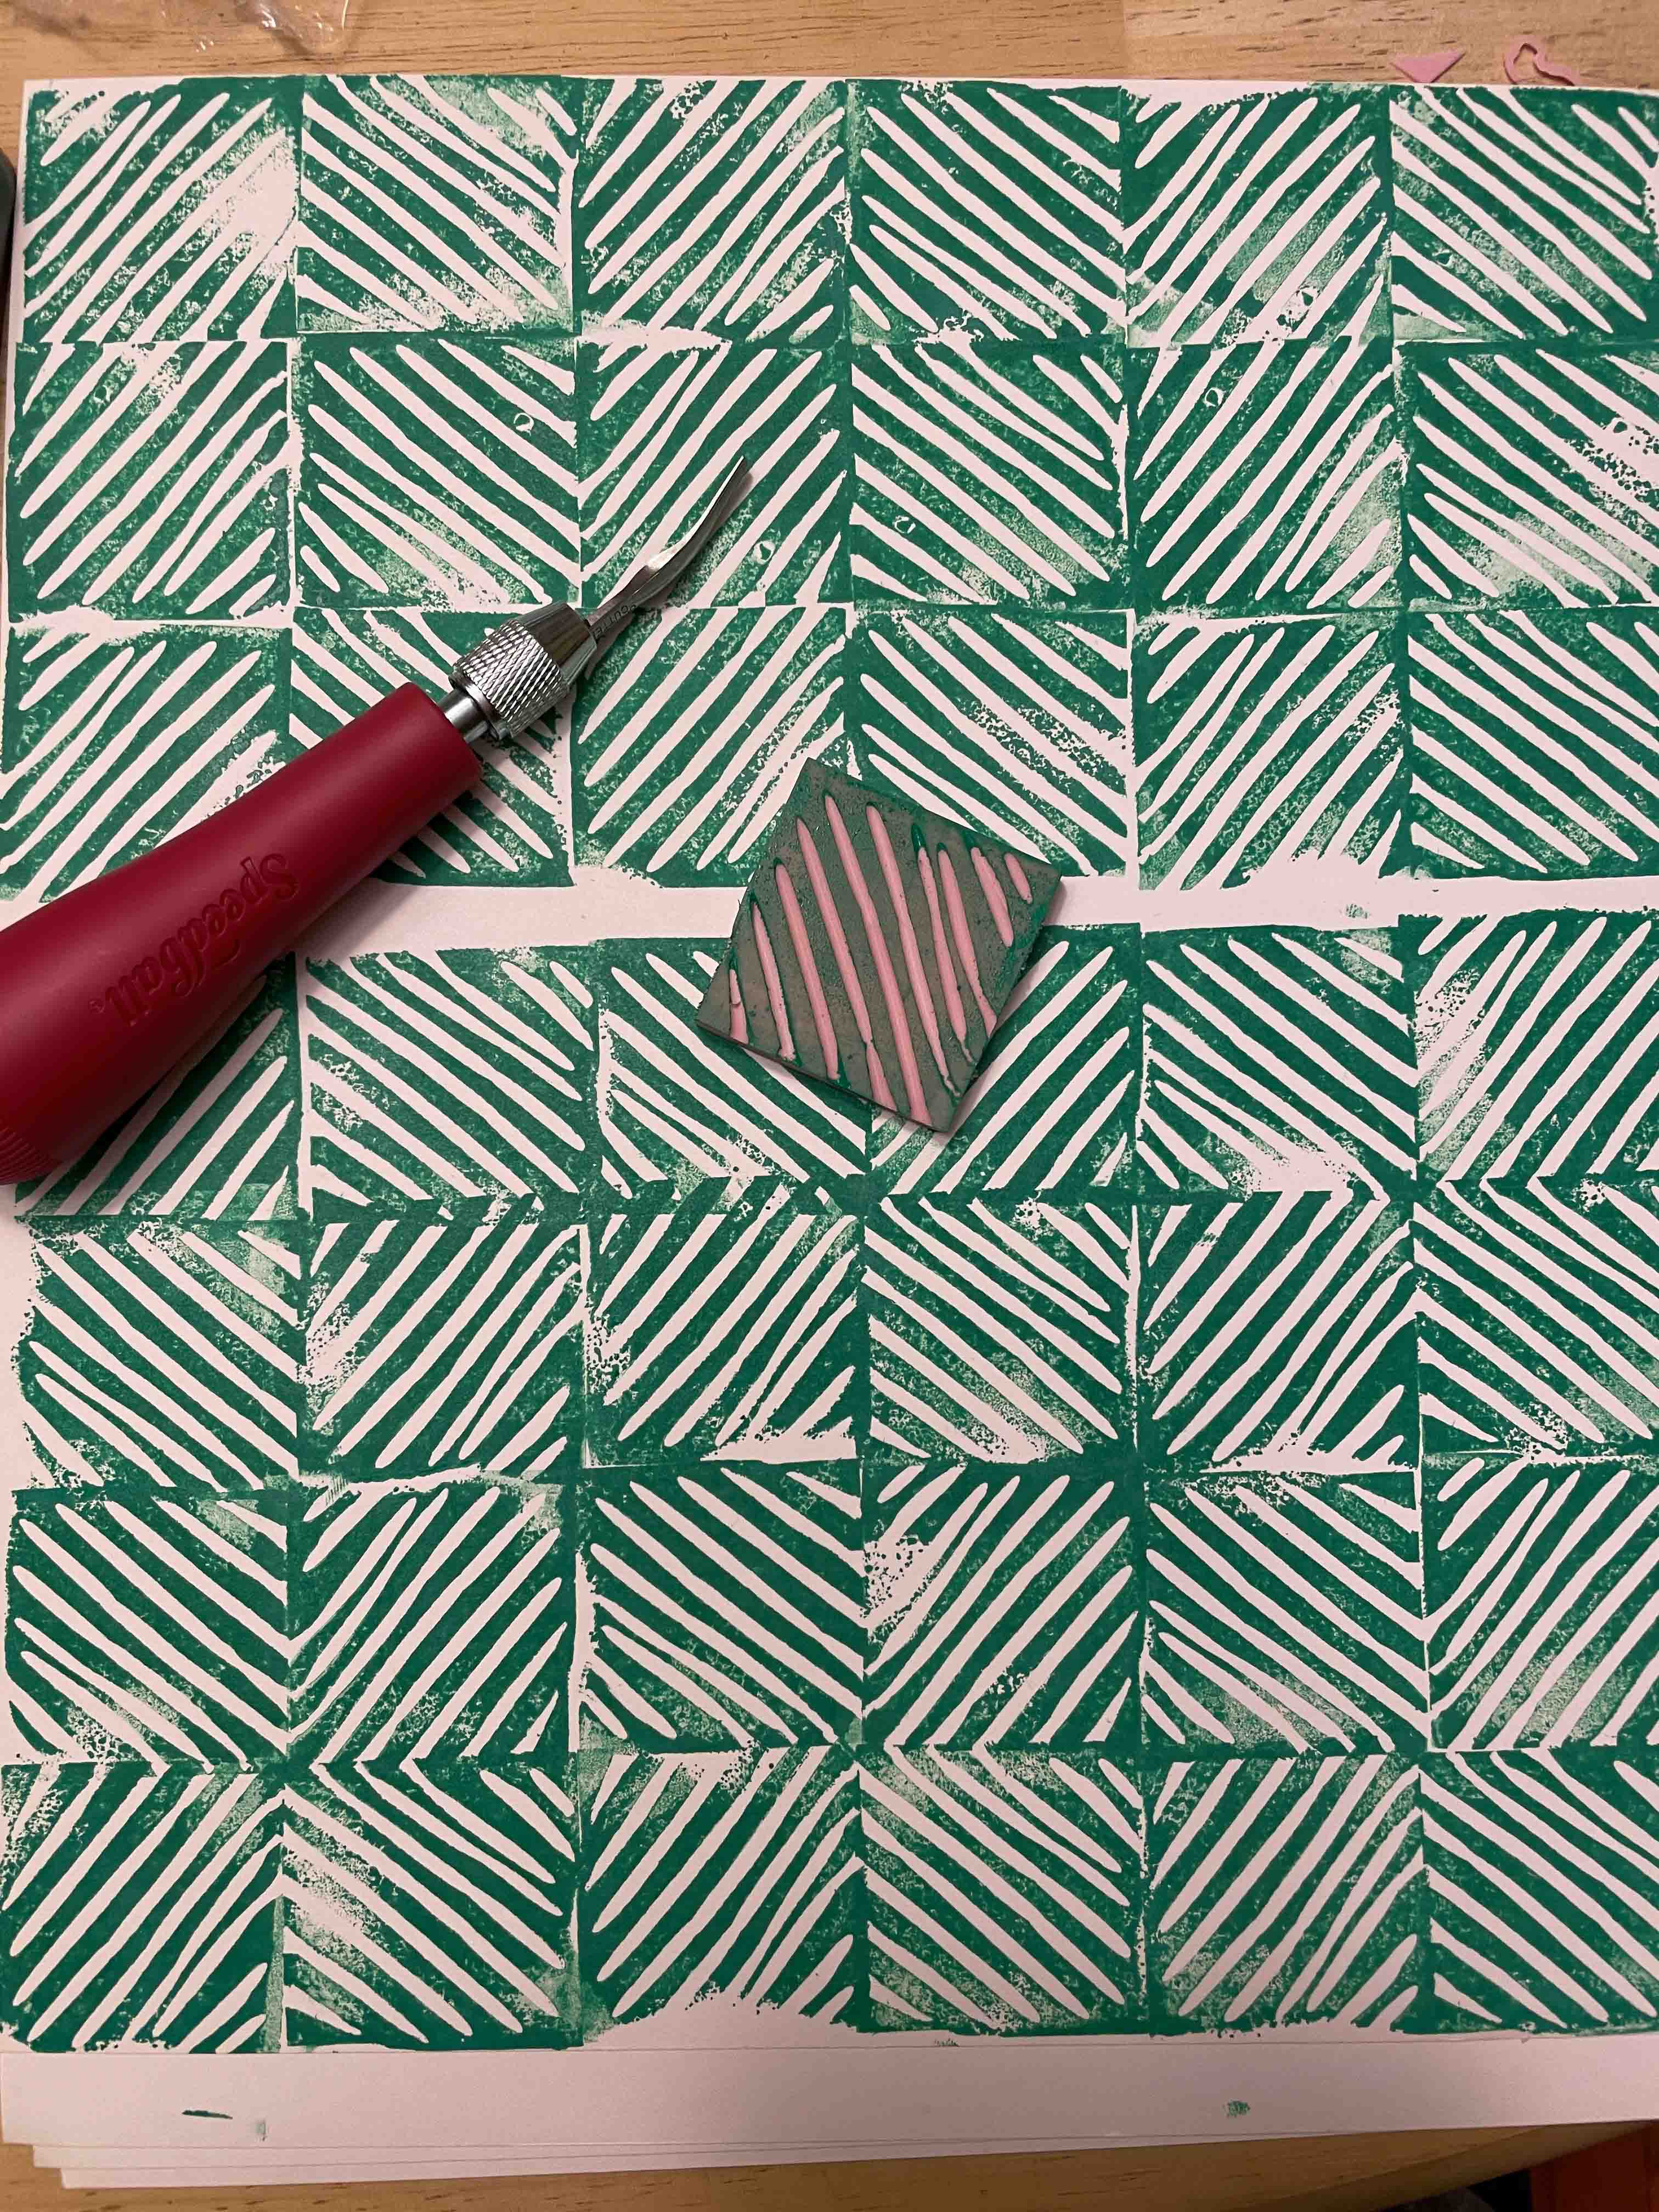
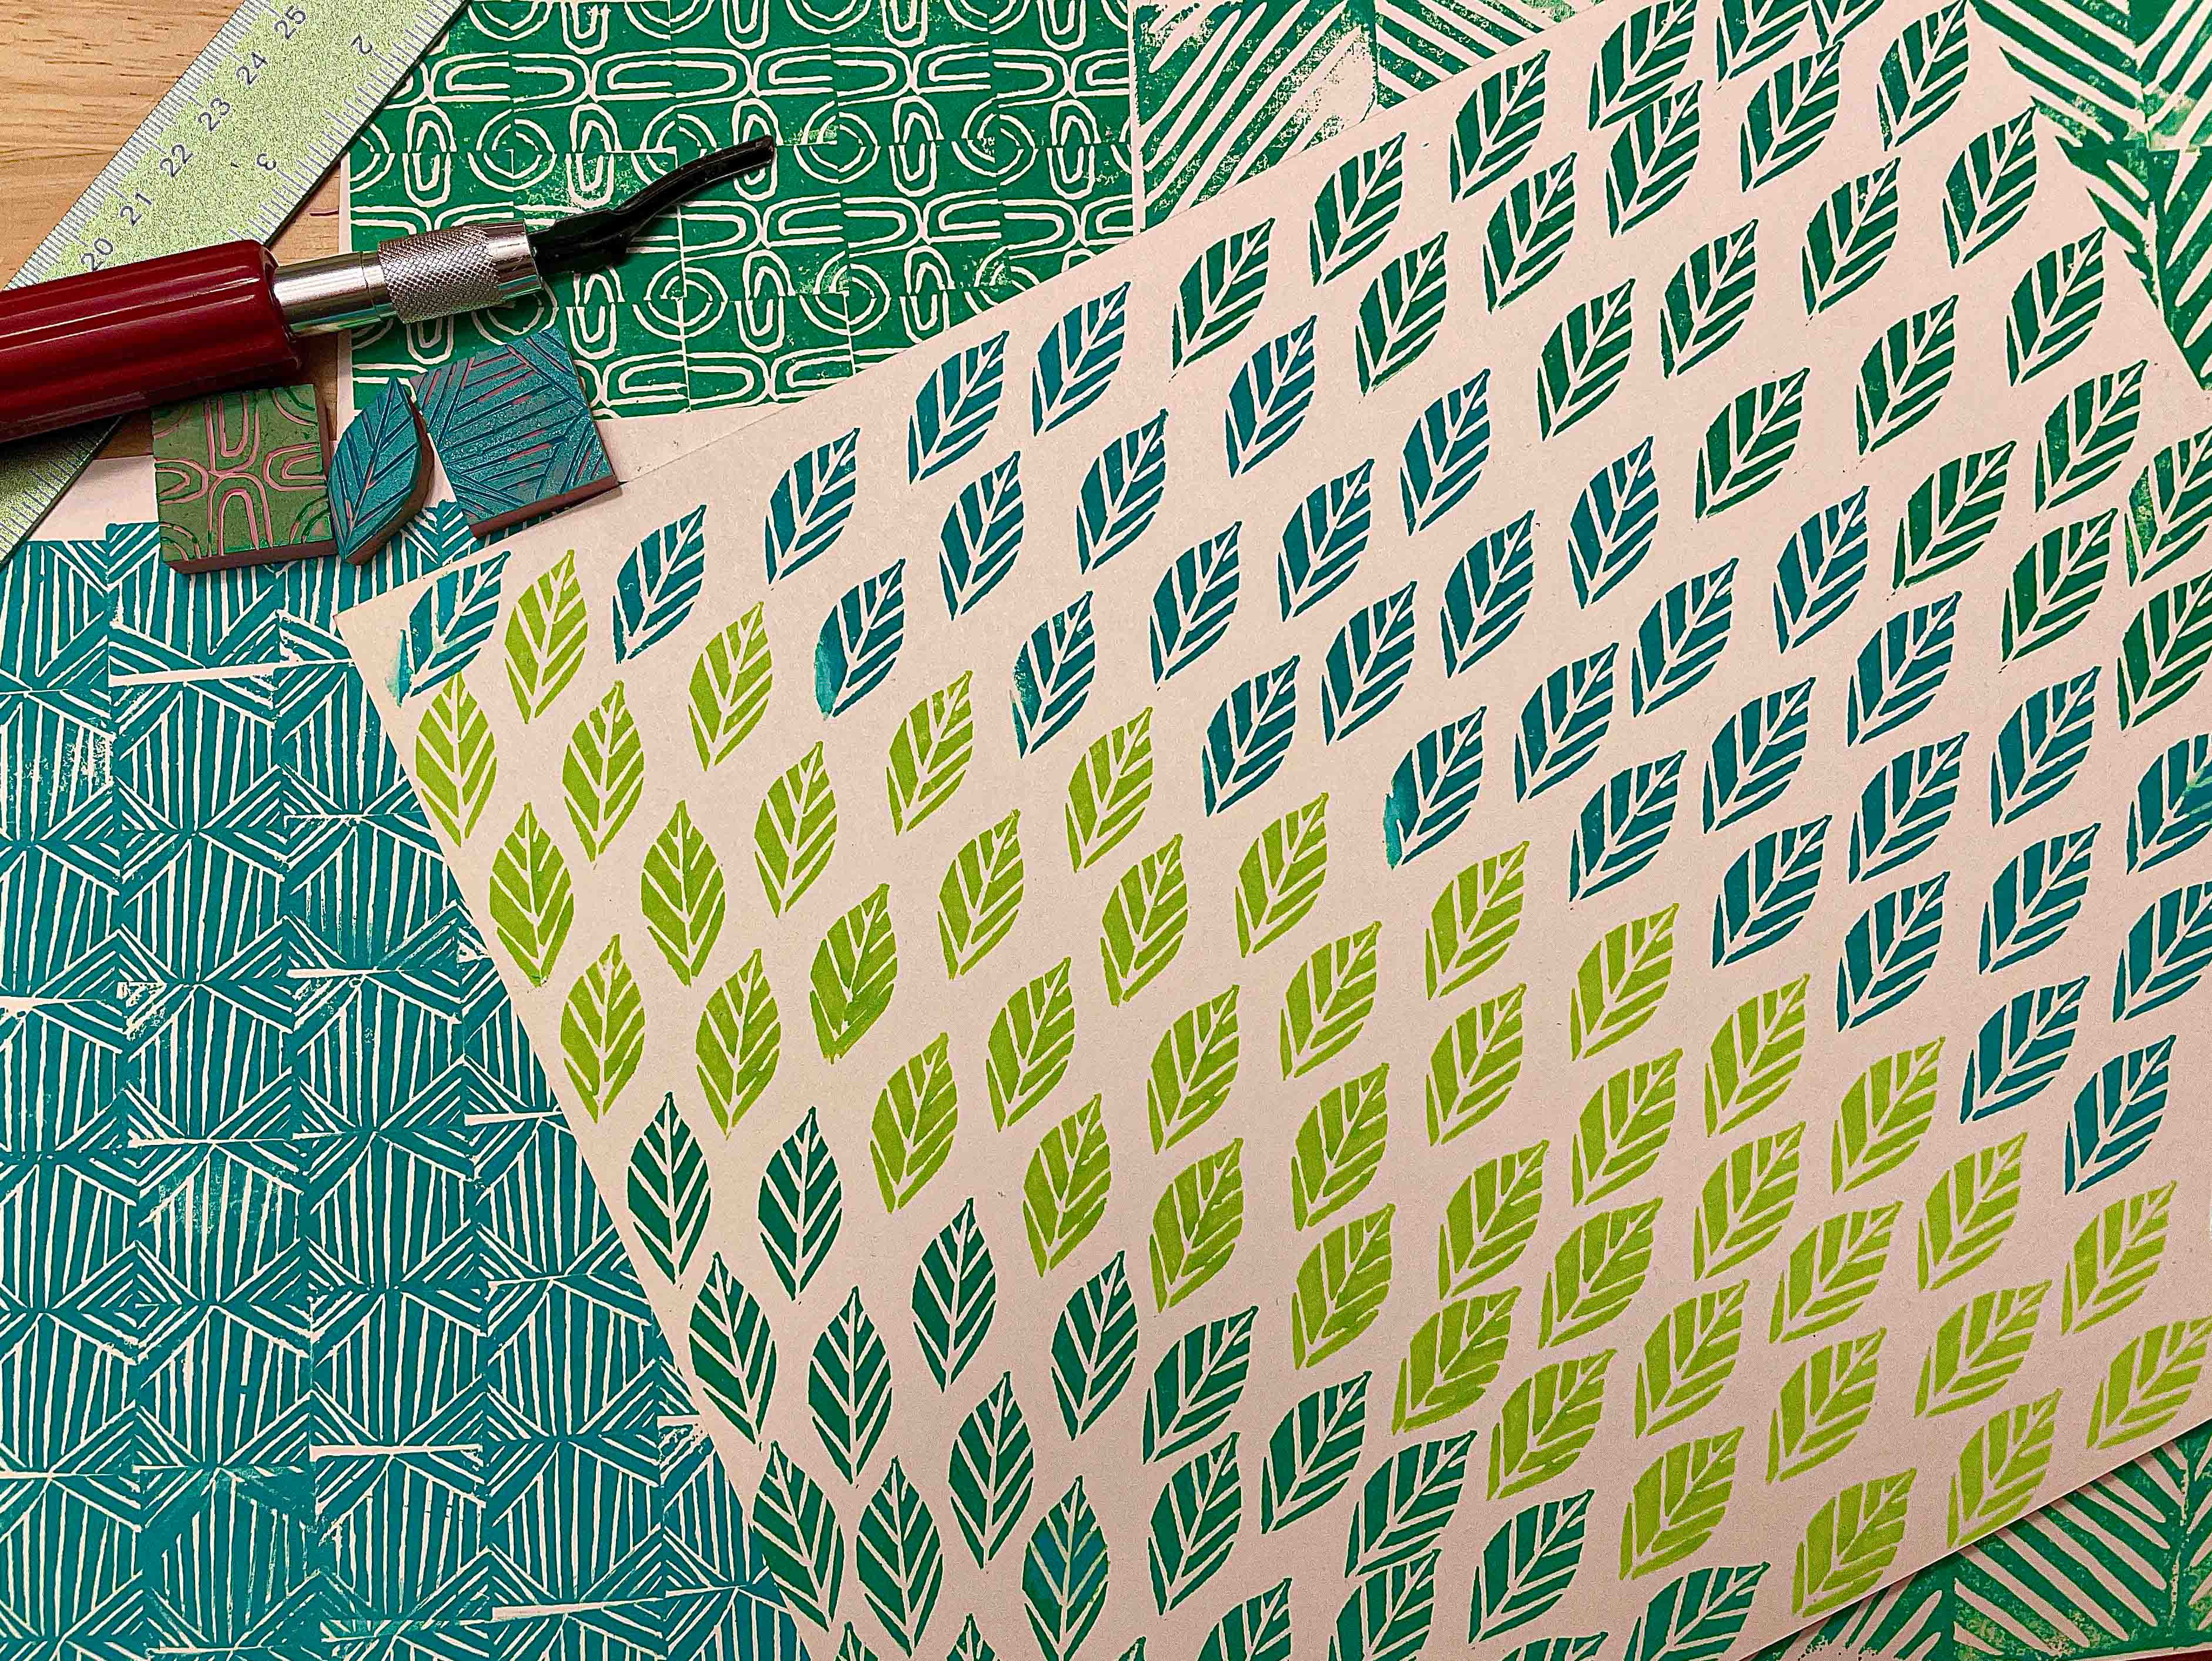
- Cut your rubber into small squares (I prefer 1 inch squares) – this is what I use the x-acto knife for, after measuring it out with the ruler. If you’re doing squares, you’re going to want it to be even for repeated designs.
- Draw out what you want your design to be with a pencil, or don’t if you’re going to freehand.
- Carve your design, scooping away from your body with the tool. Be sure to hold your mouth right.
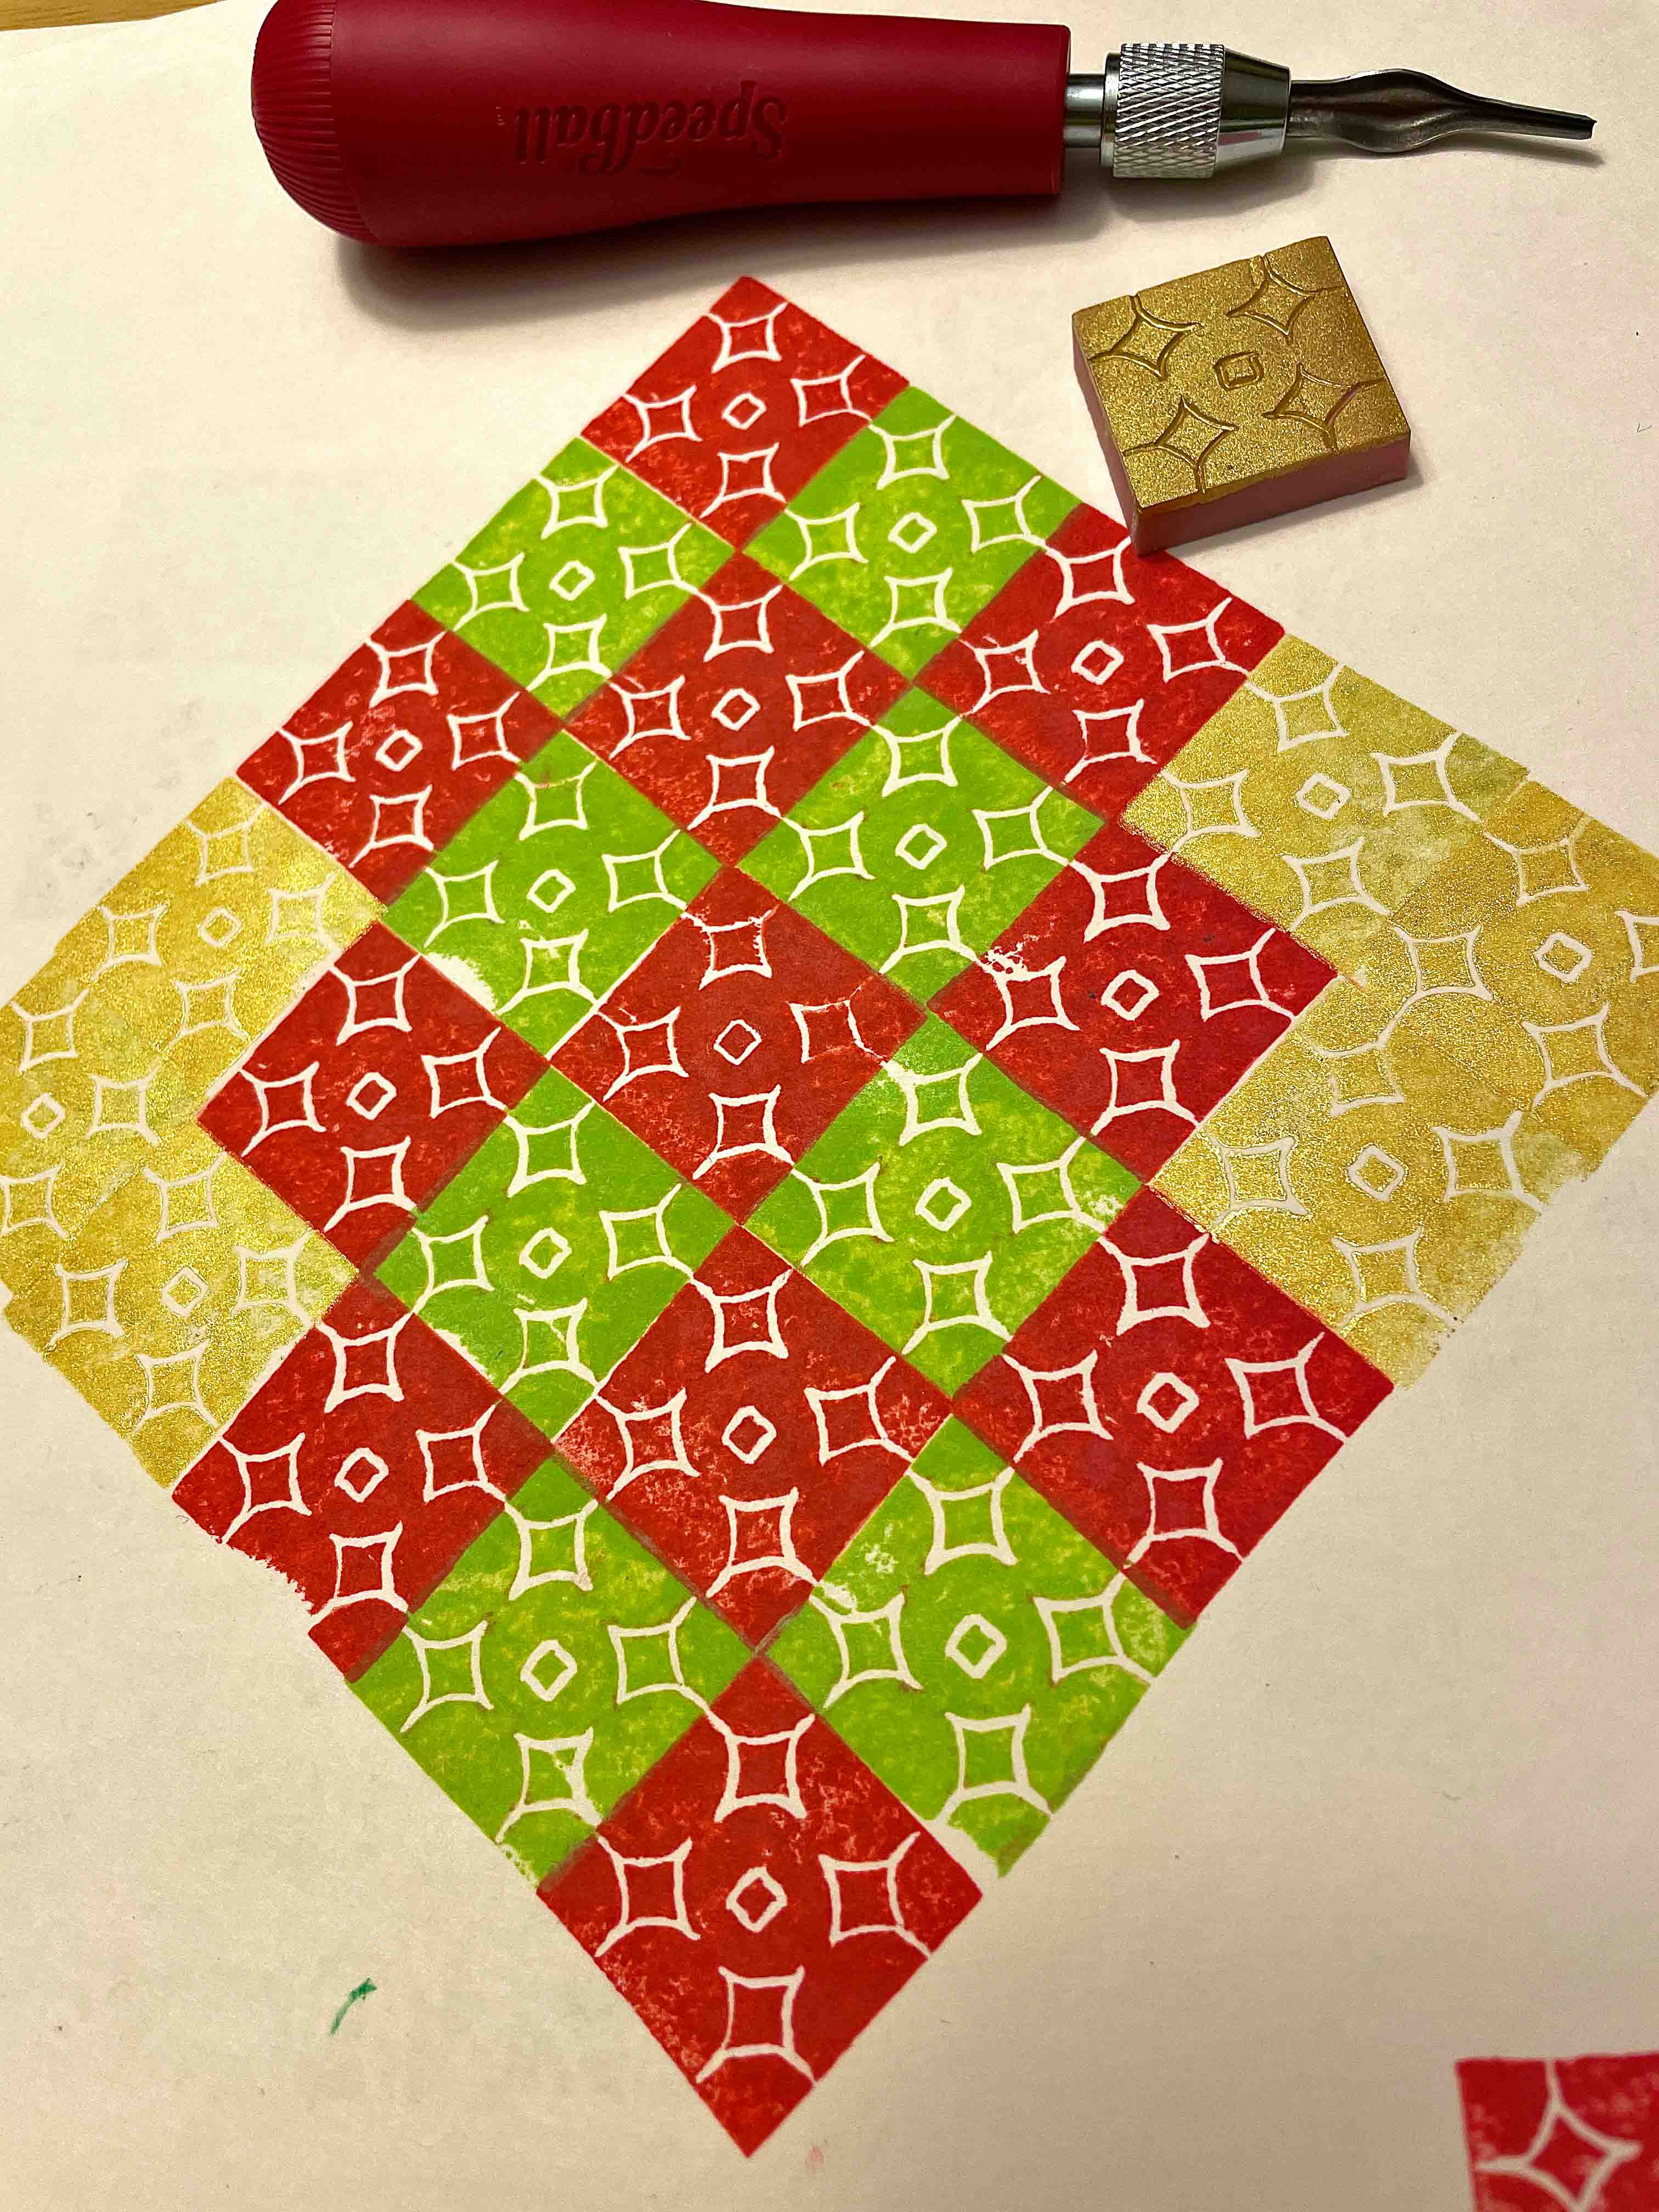
4. Stamp it in a satisfying pattern. If it doesn’t look great – keep going. The more you stamp it, the better your pattern will look.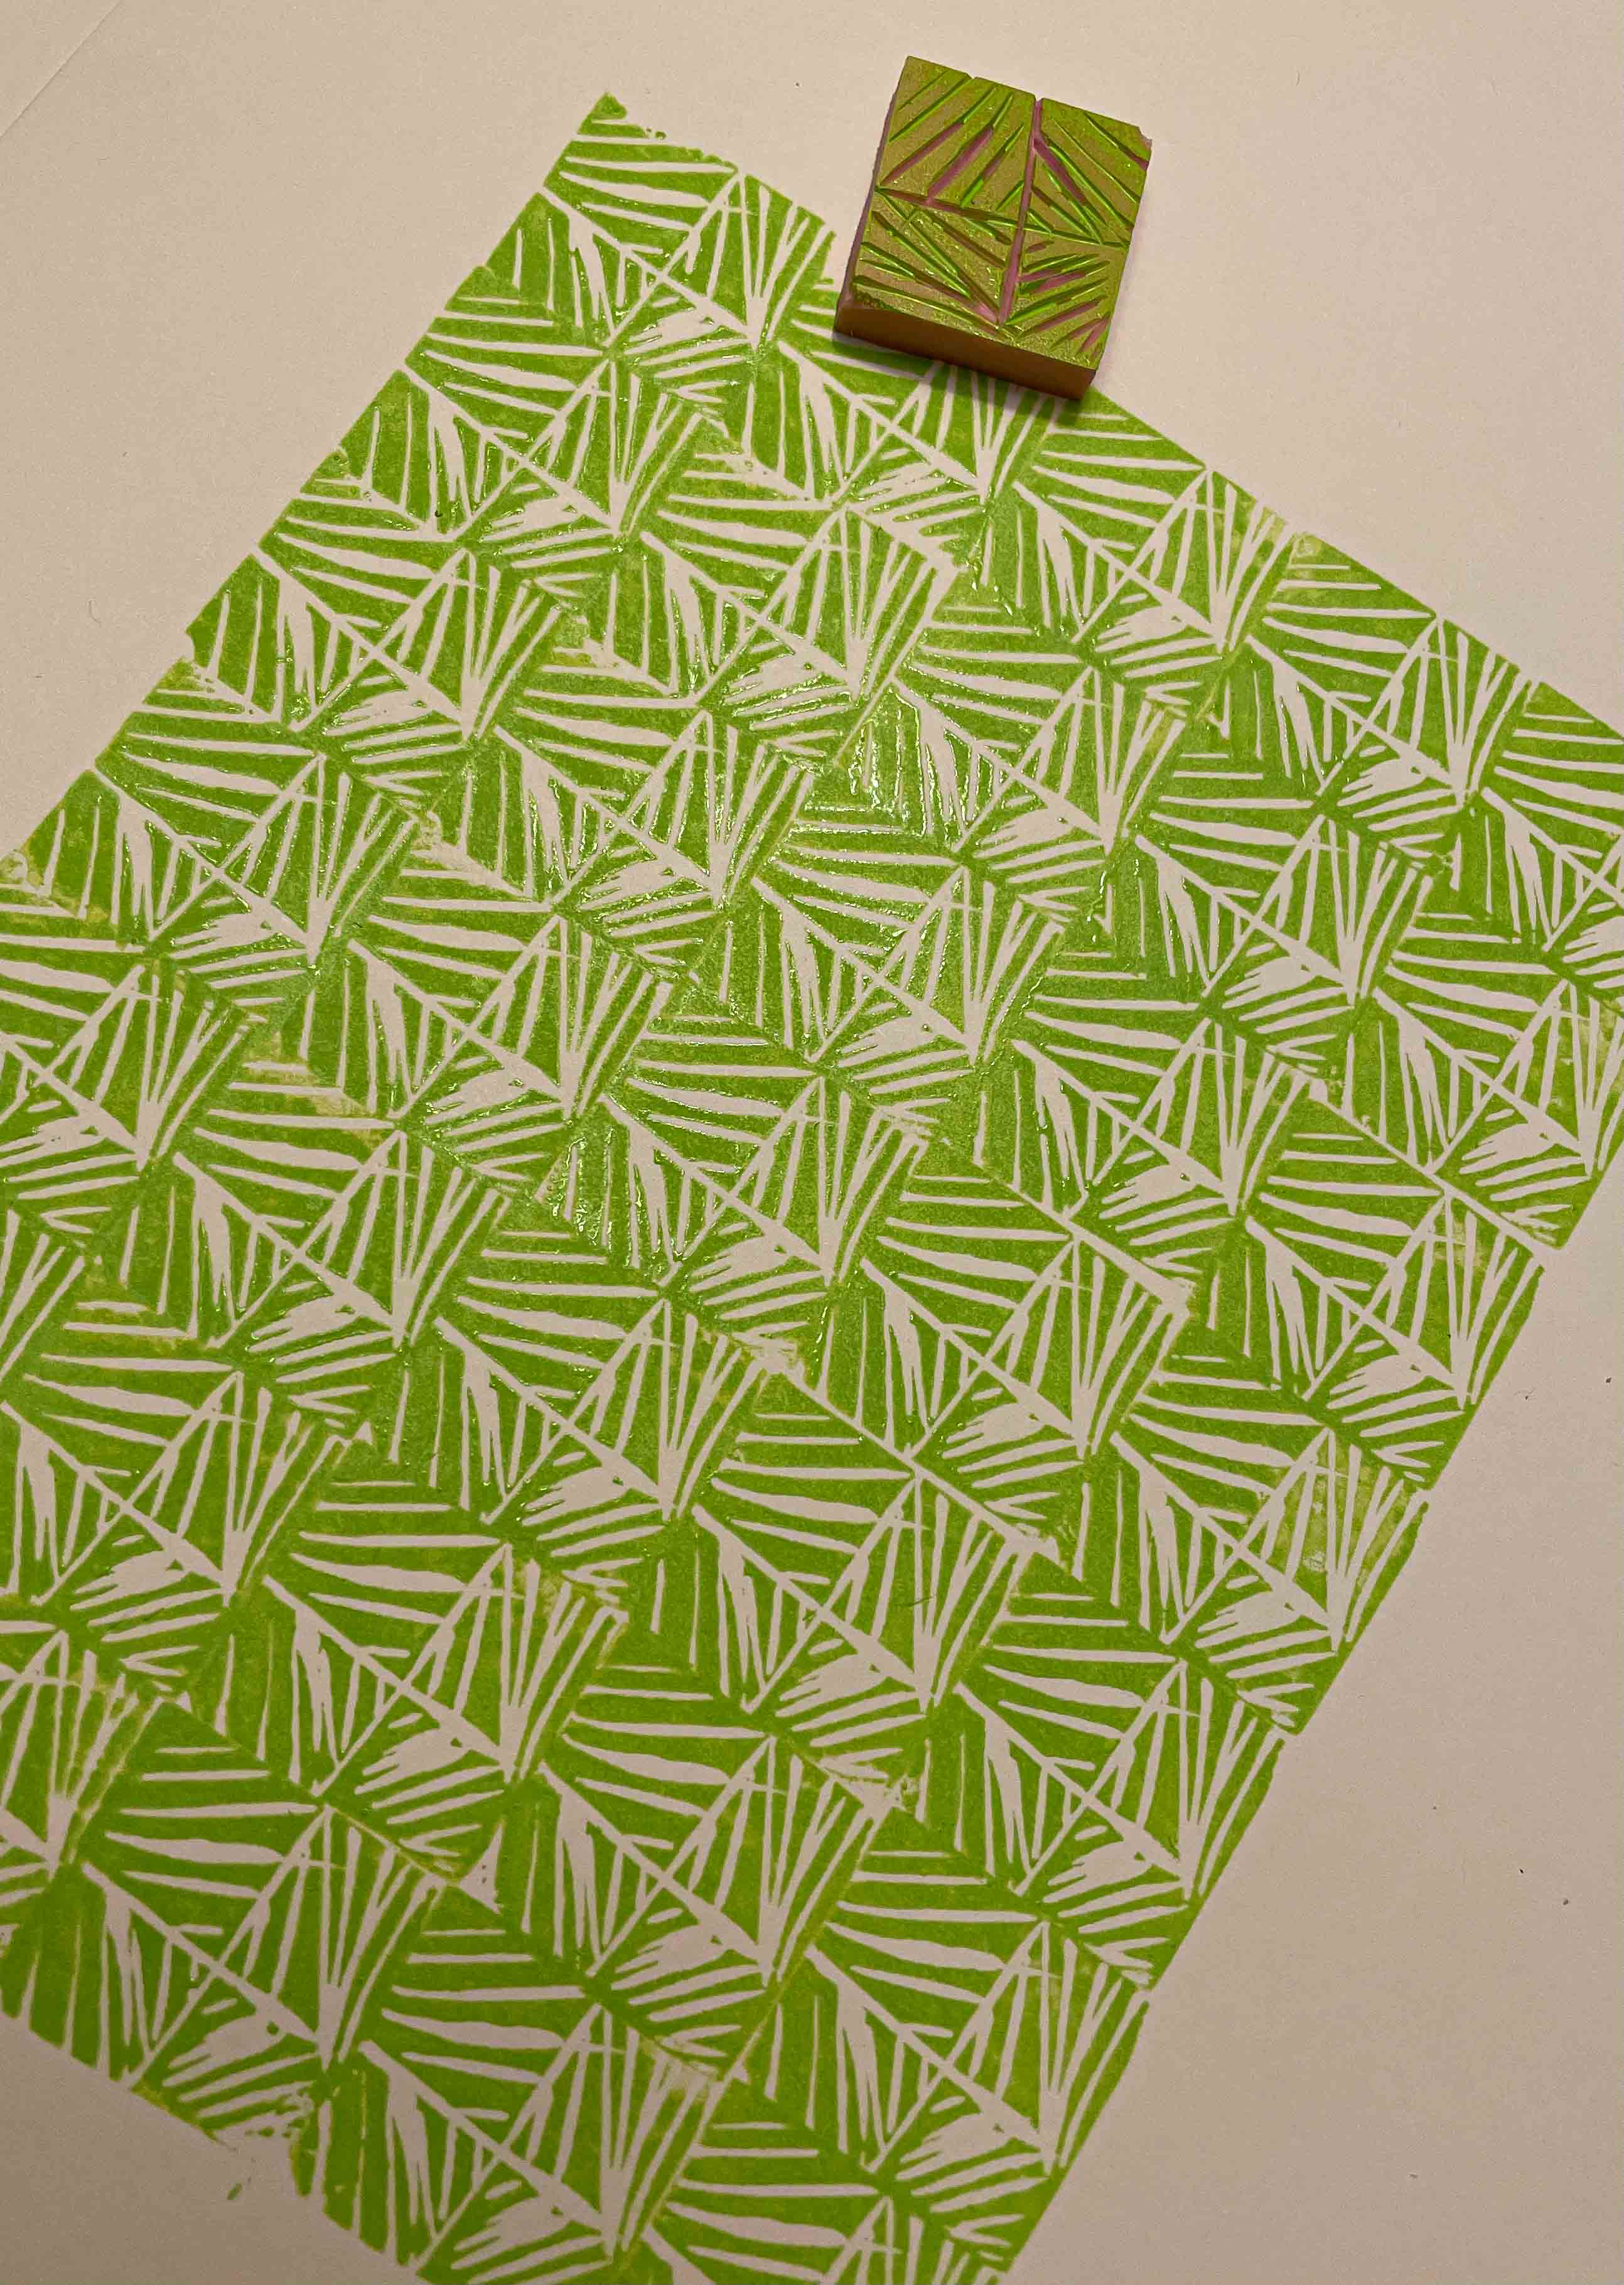
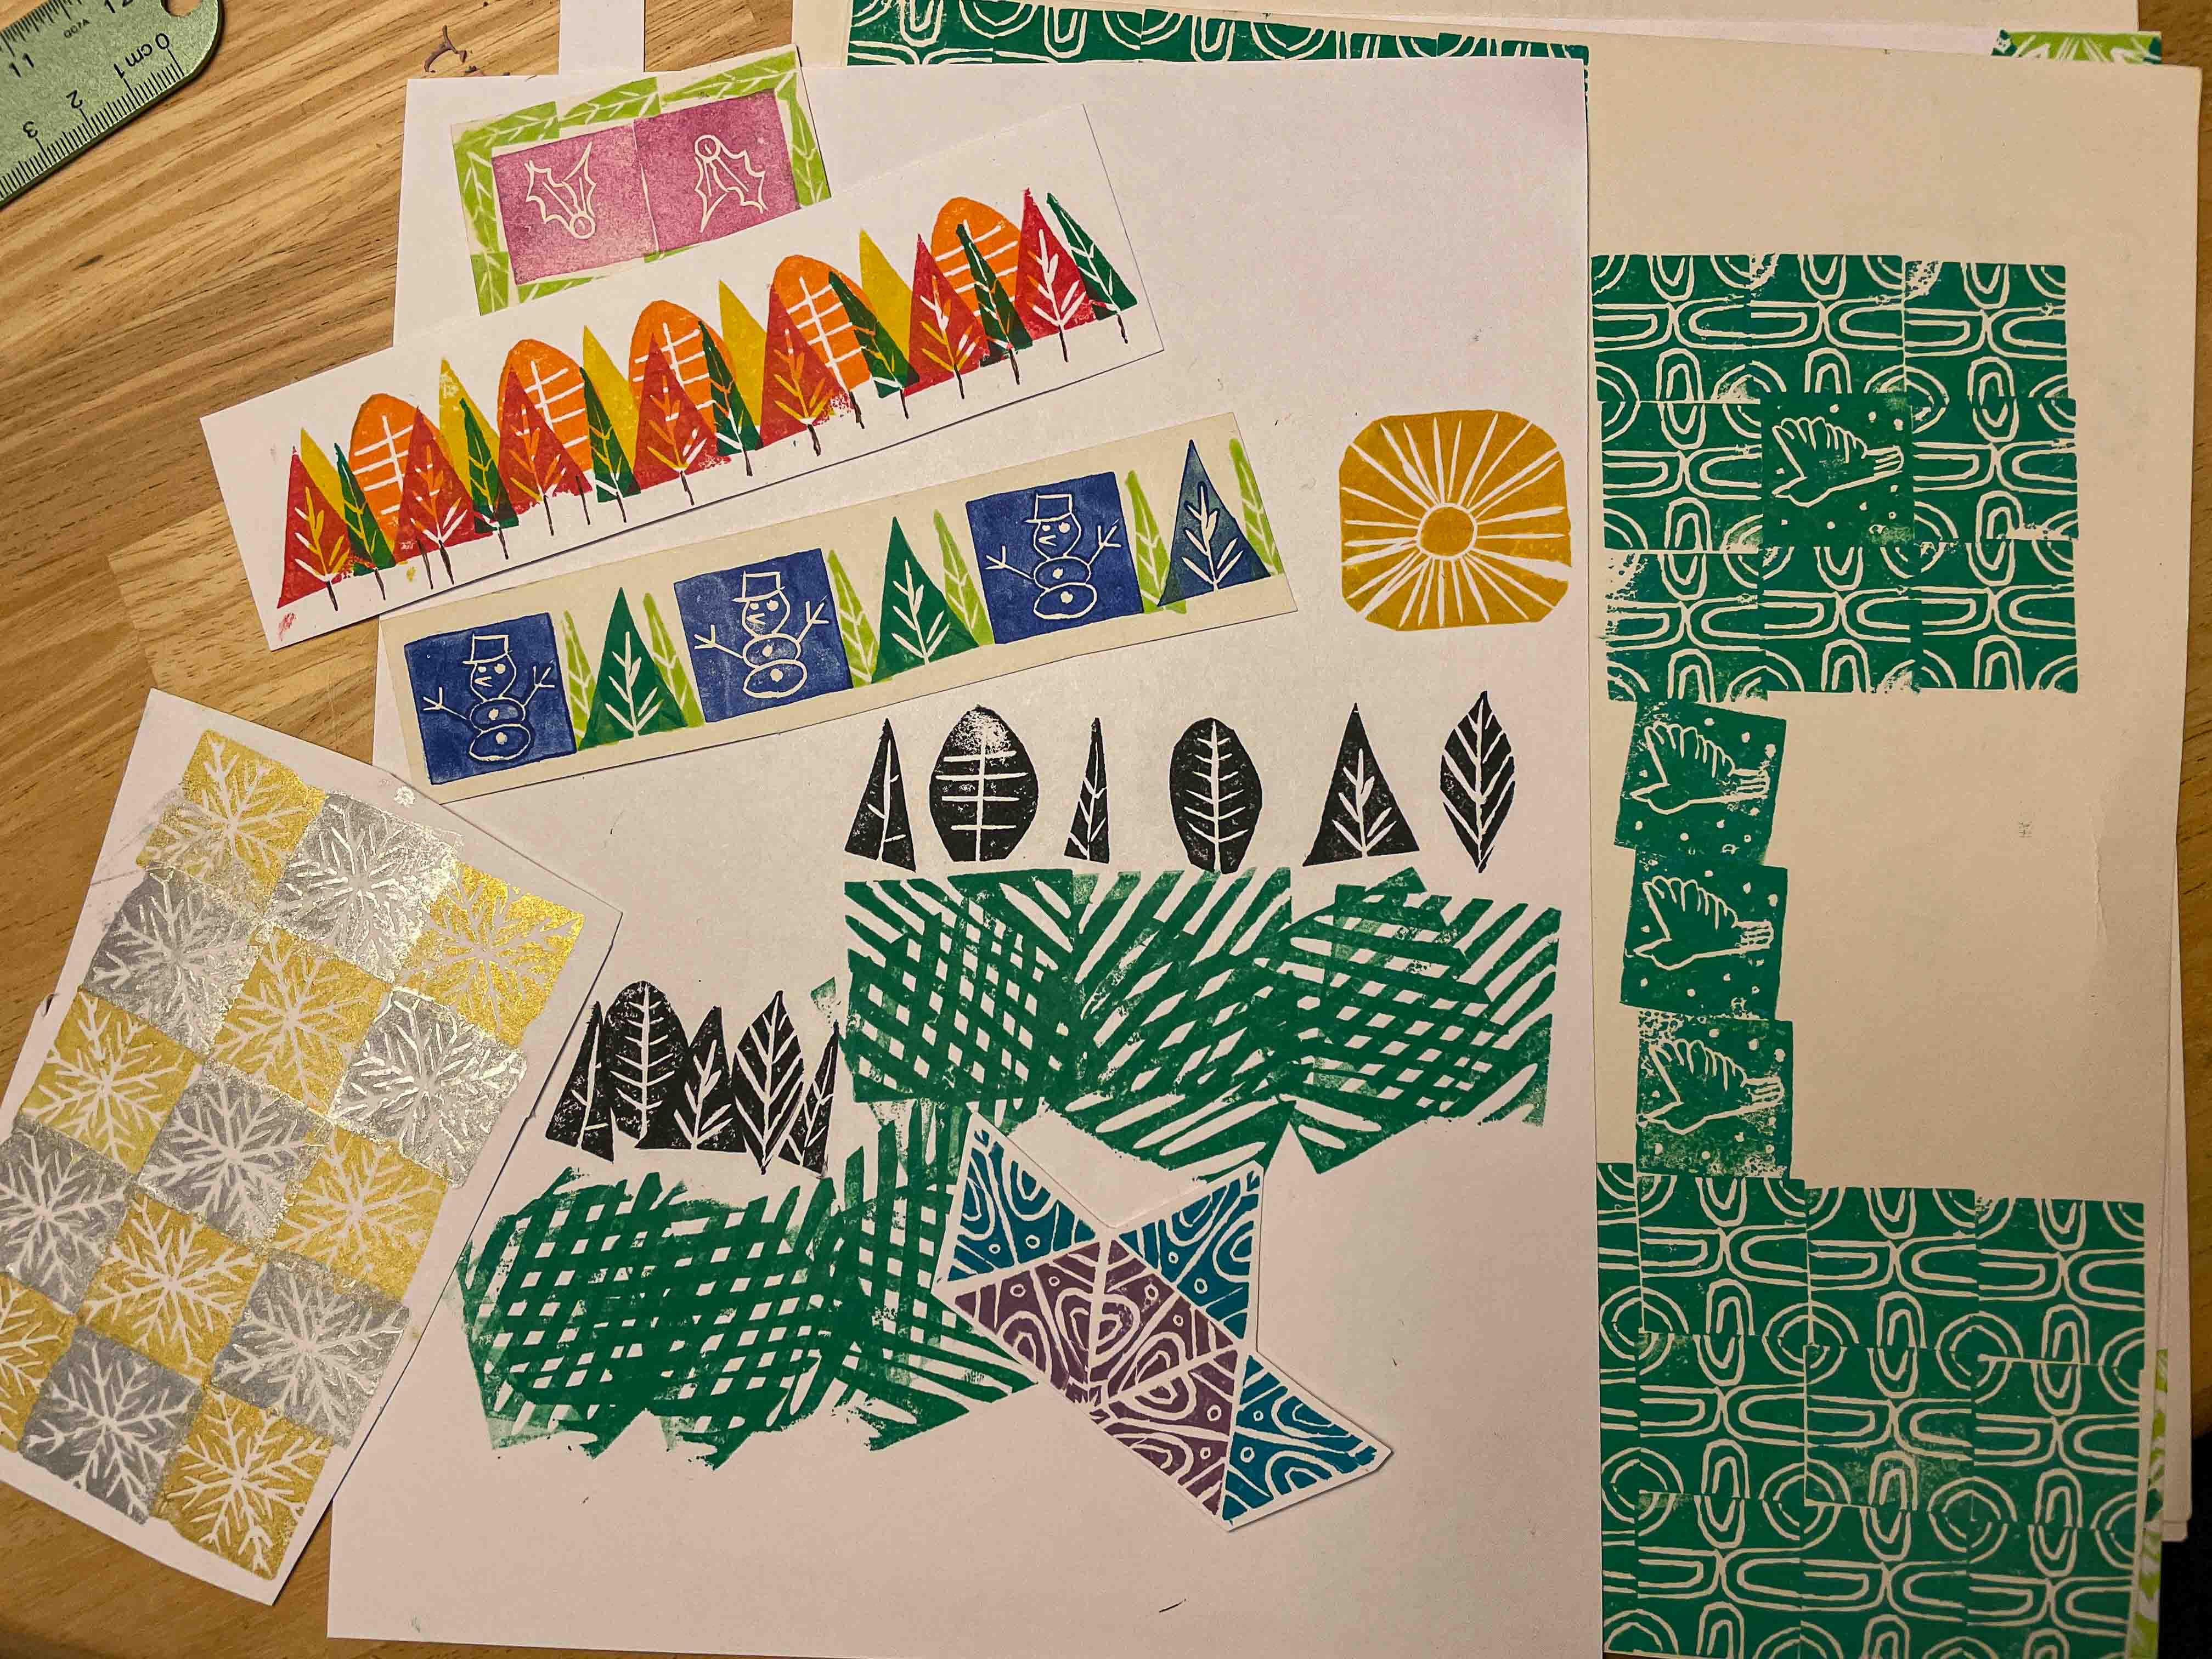
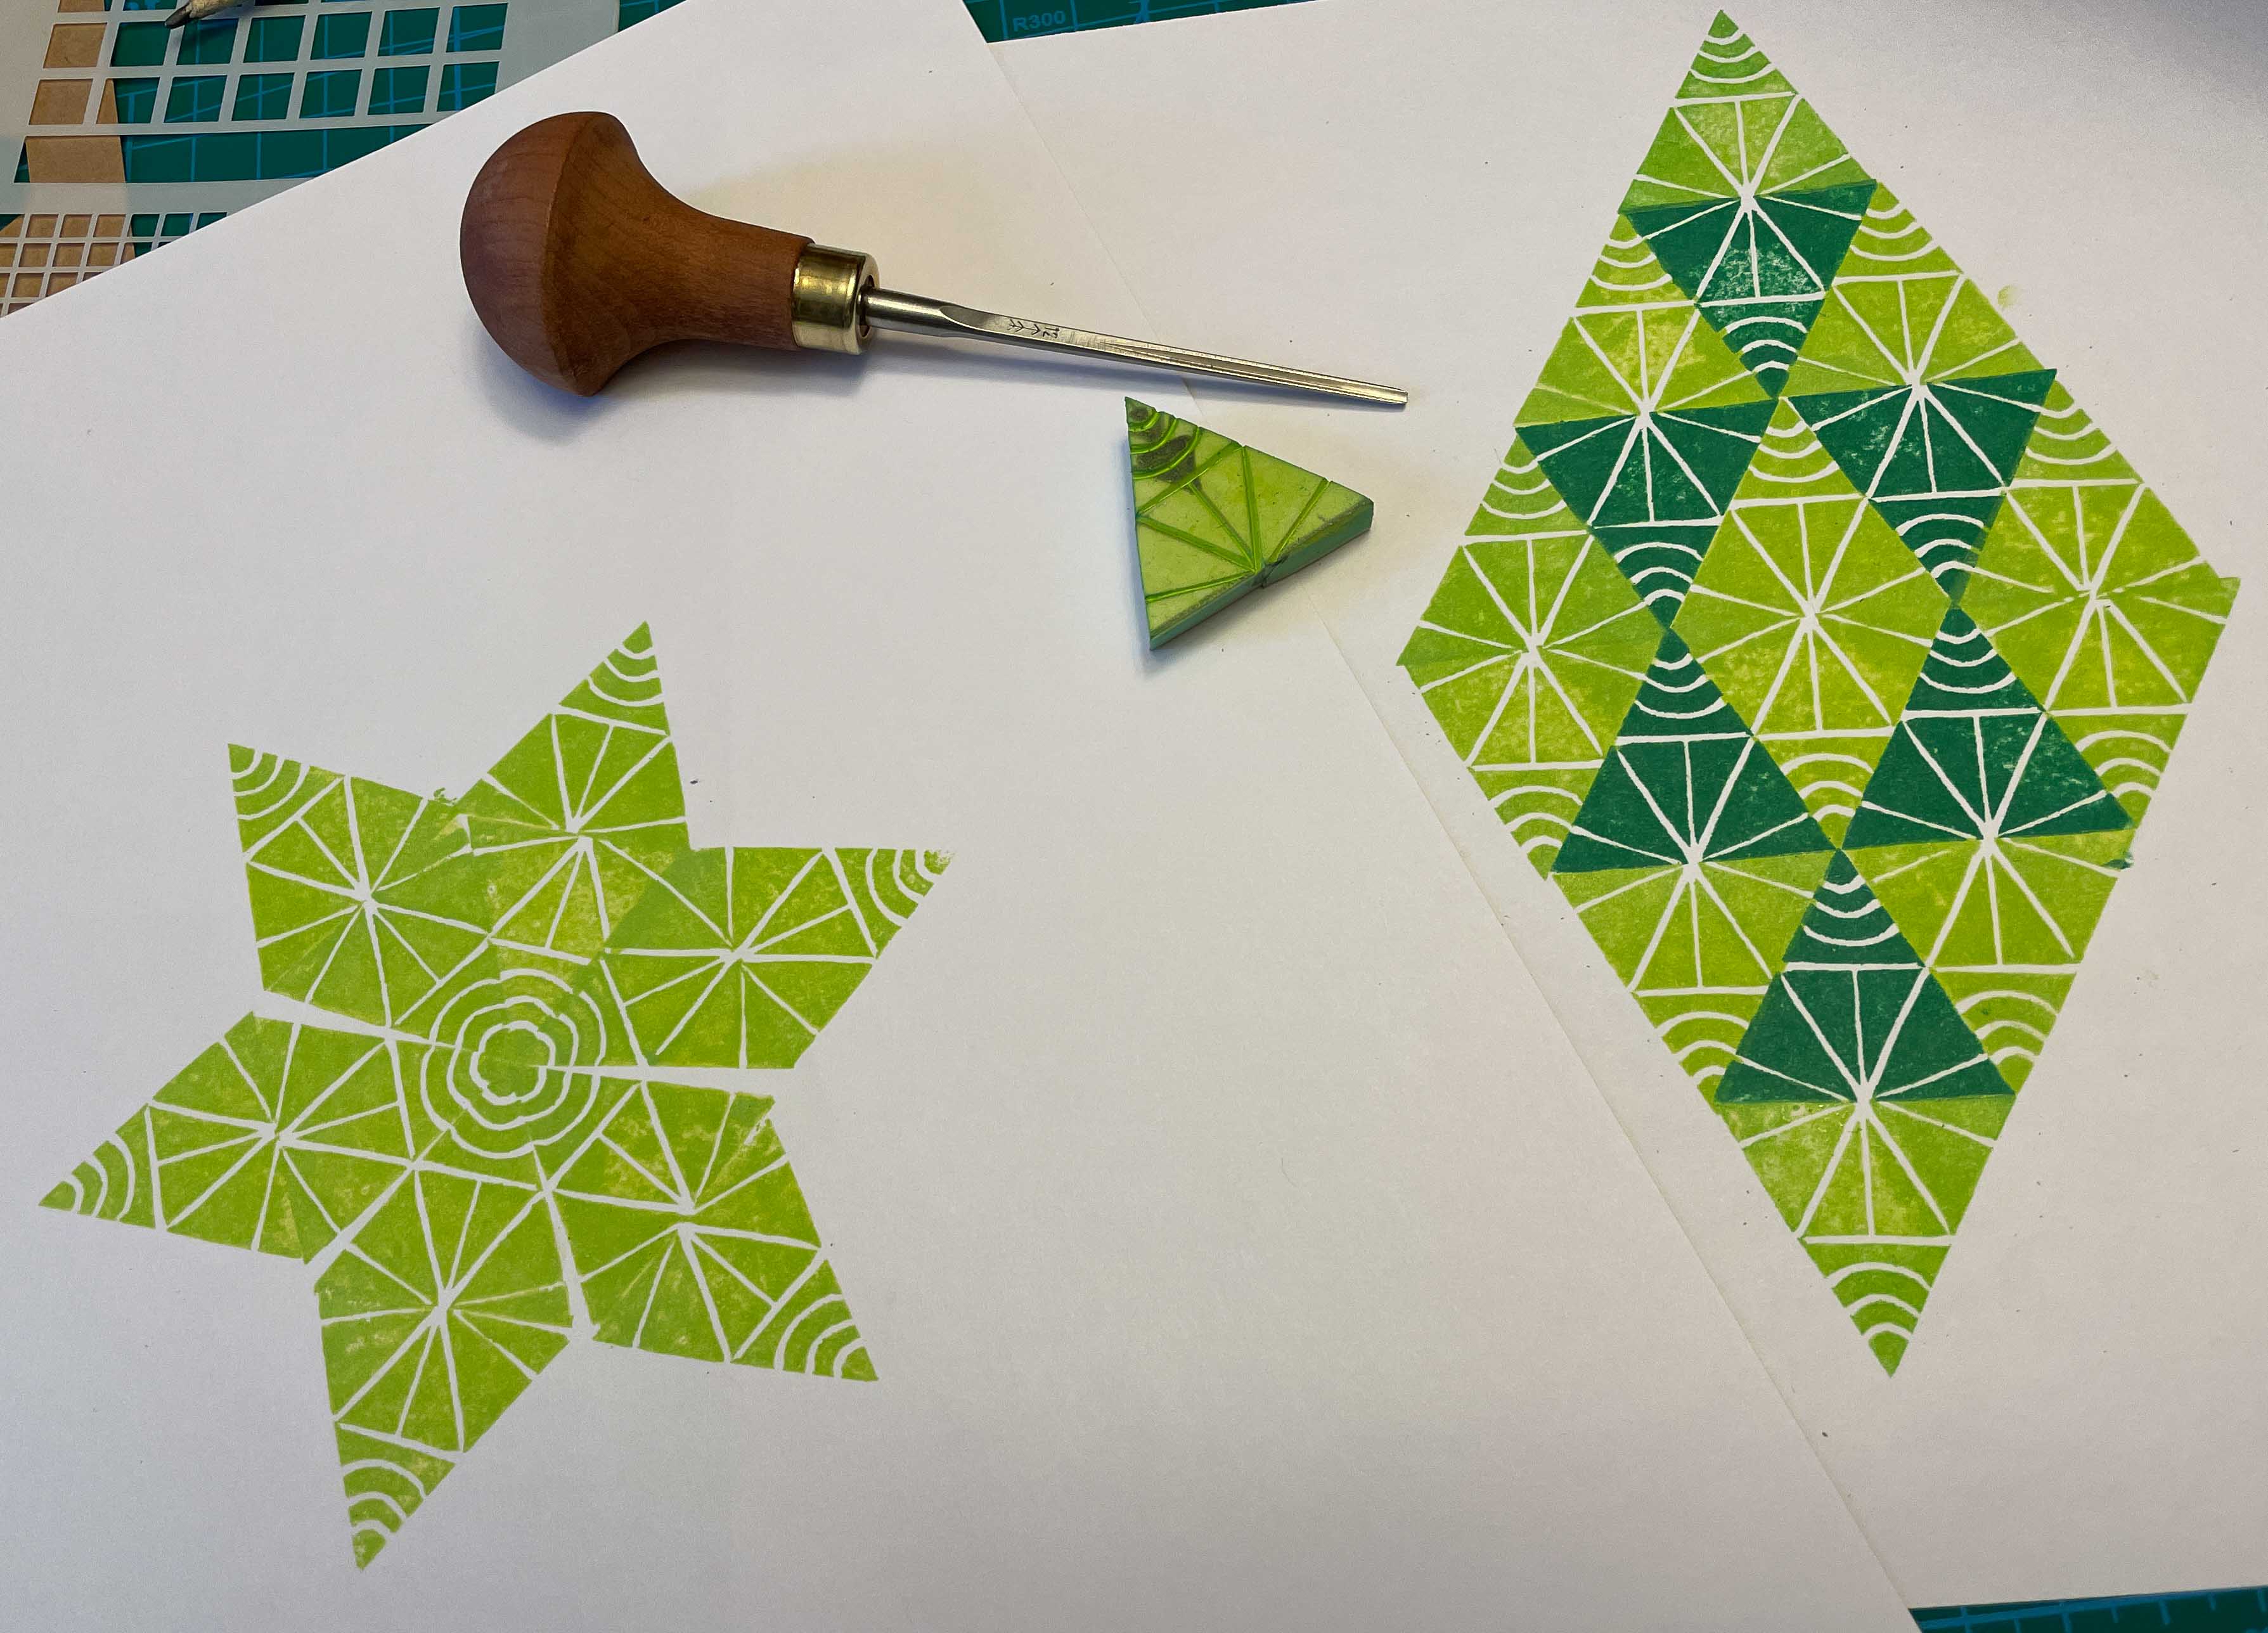
5. Branch out into triangles or hexagons or circles – why not?
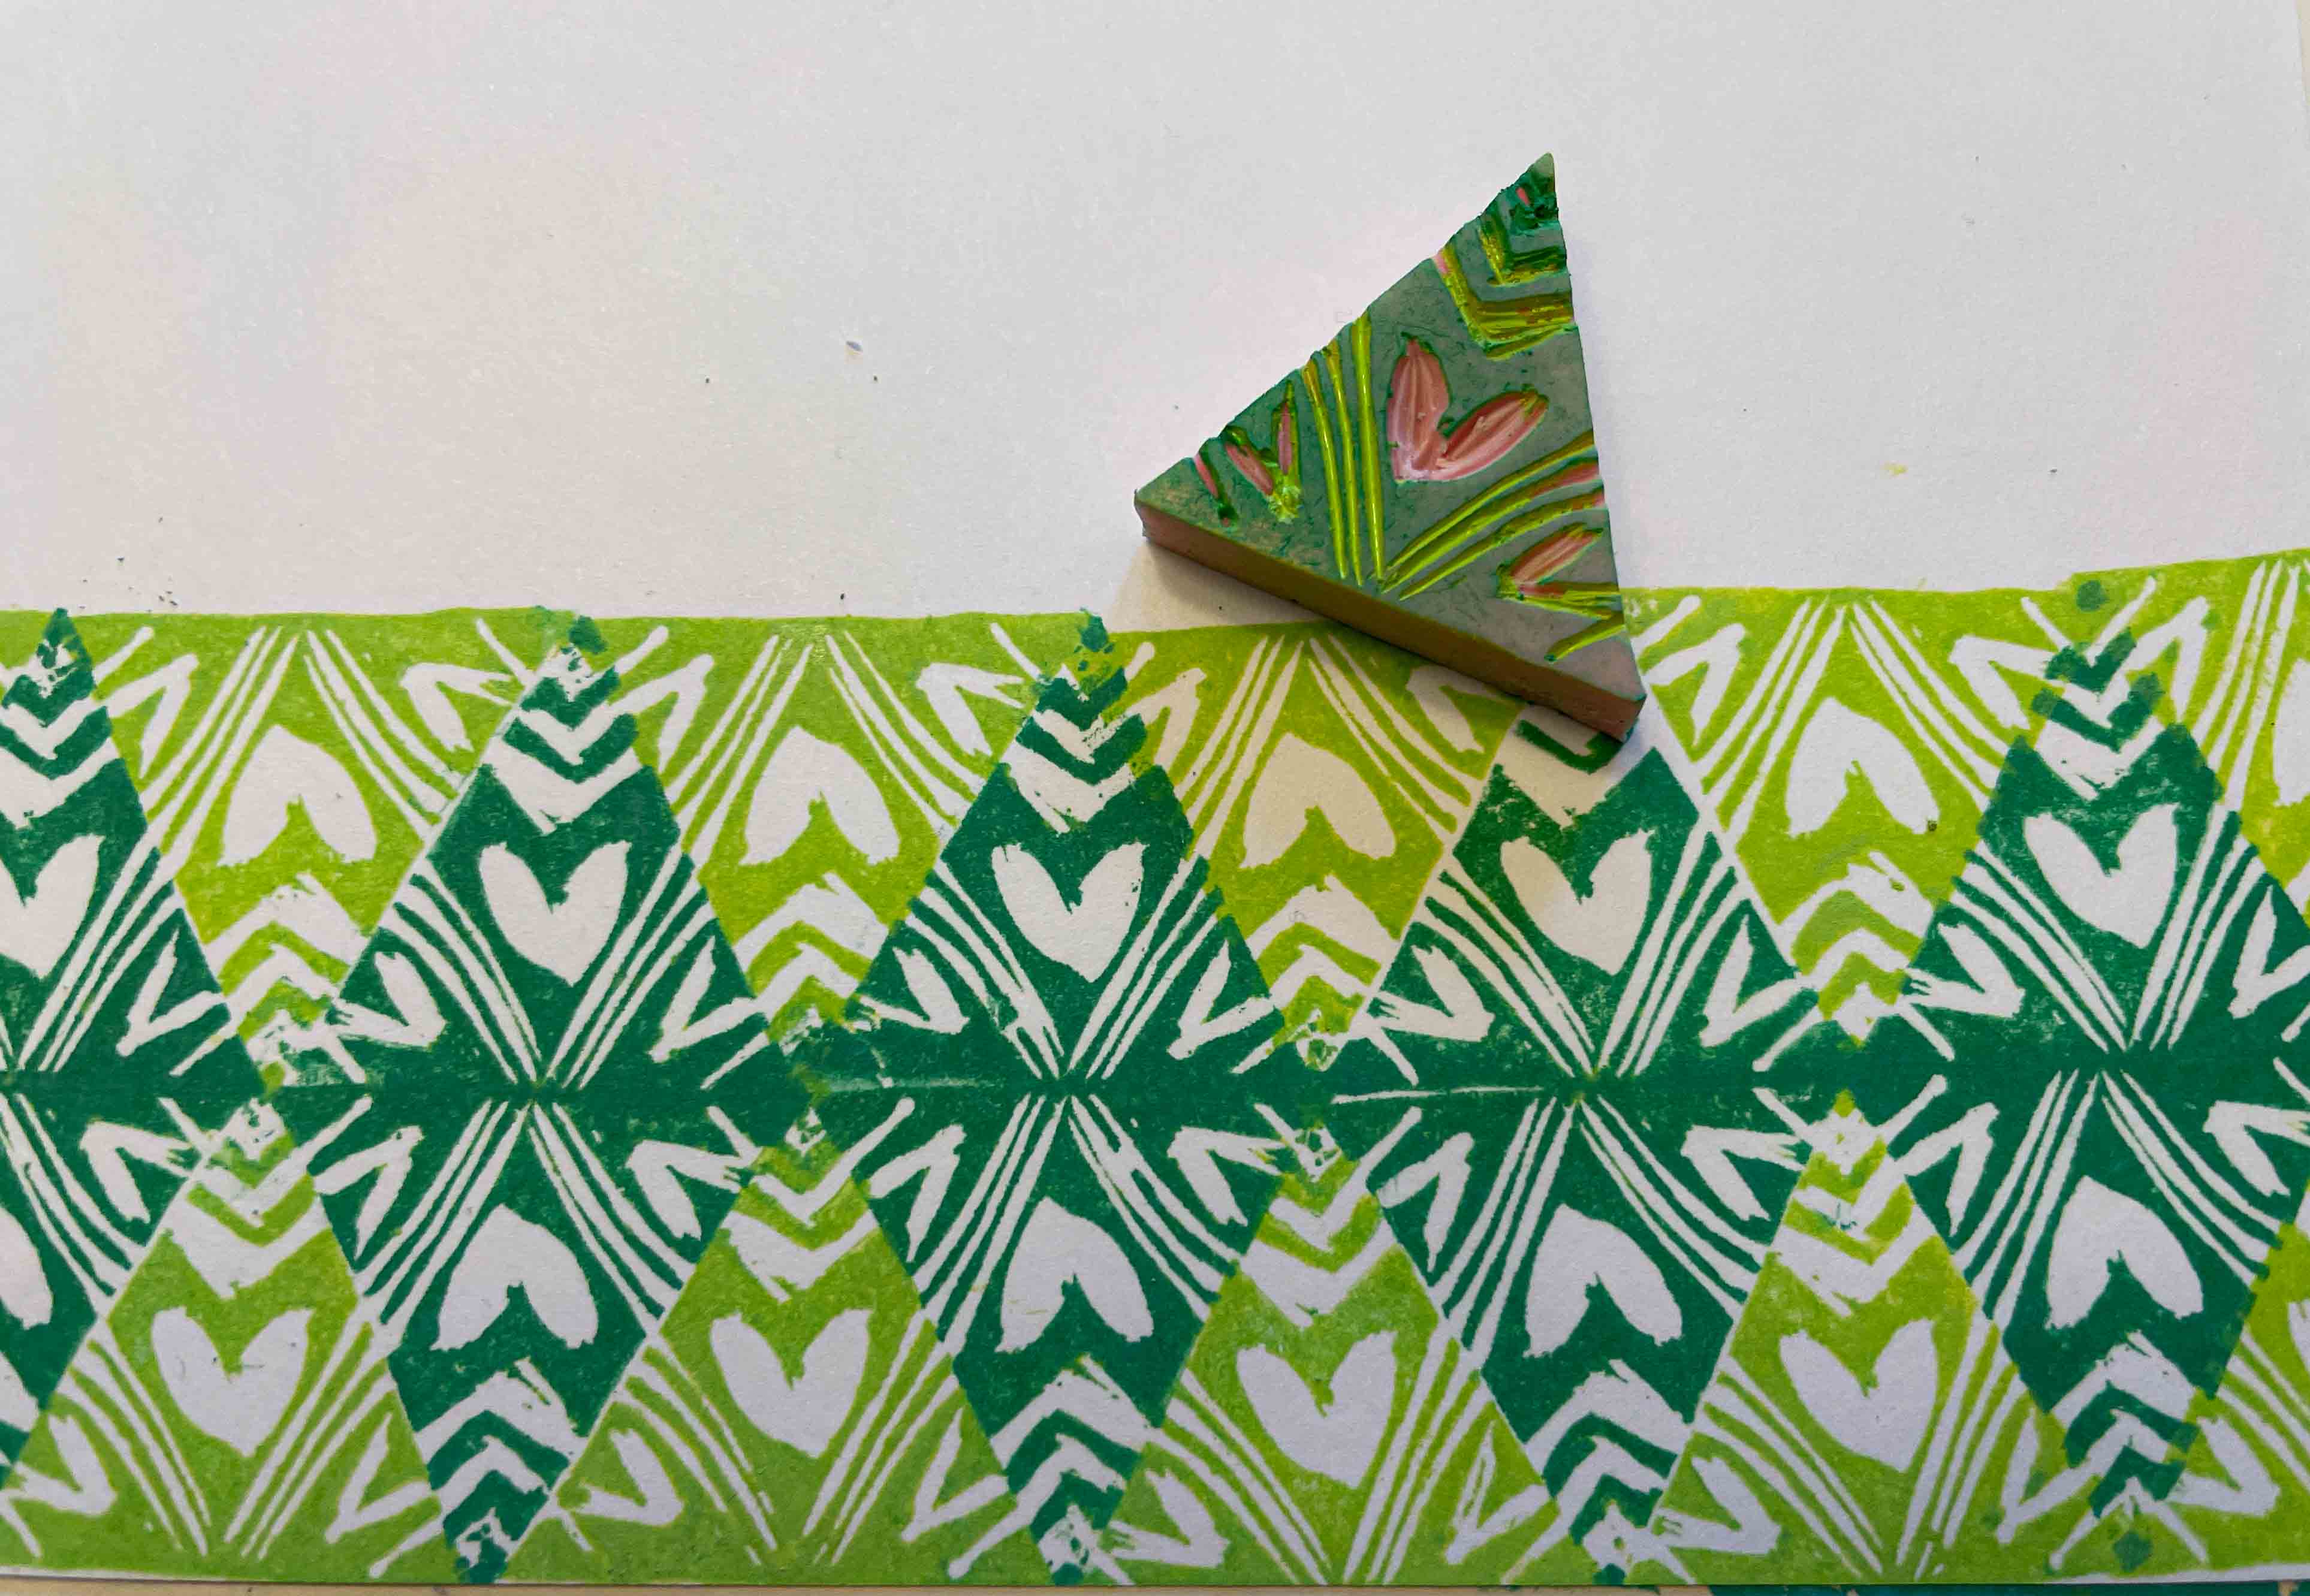
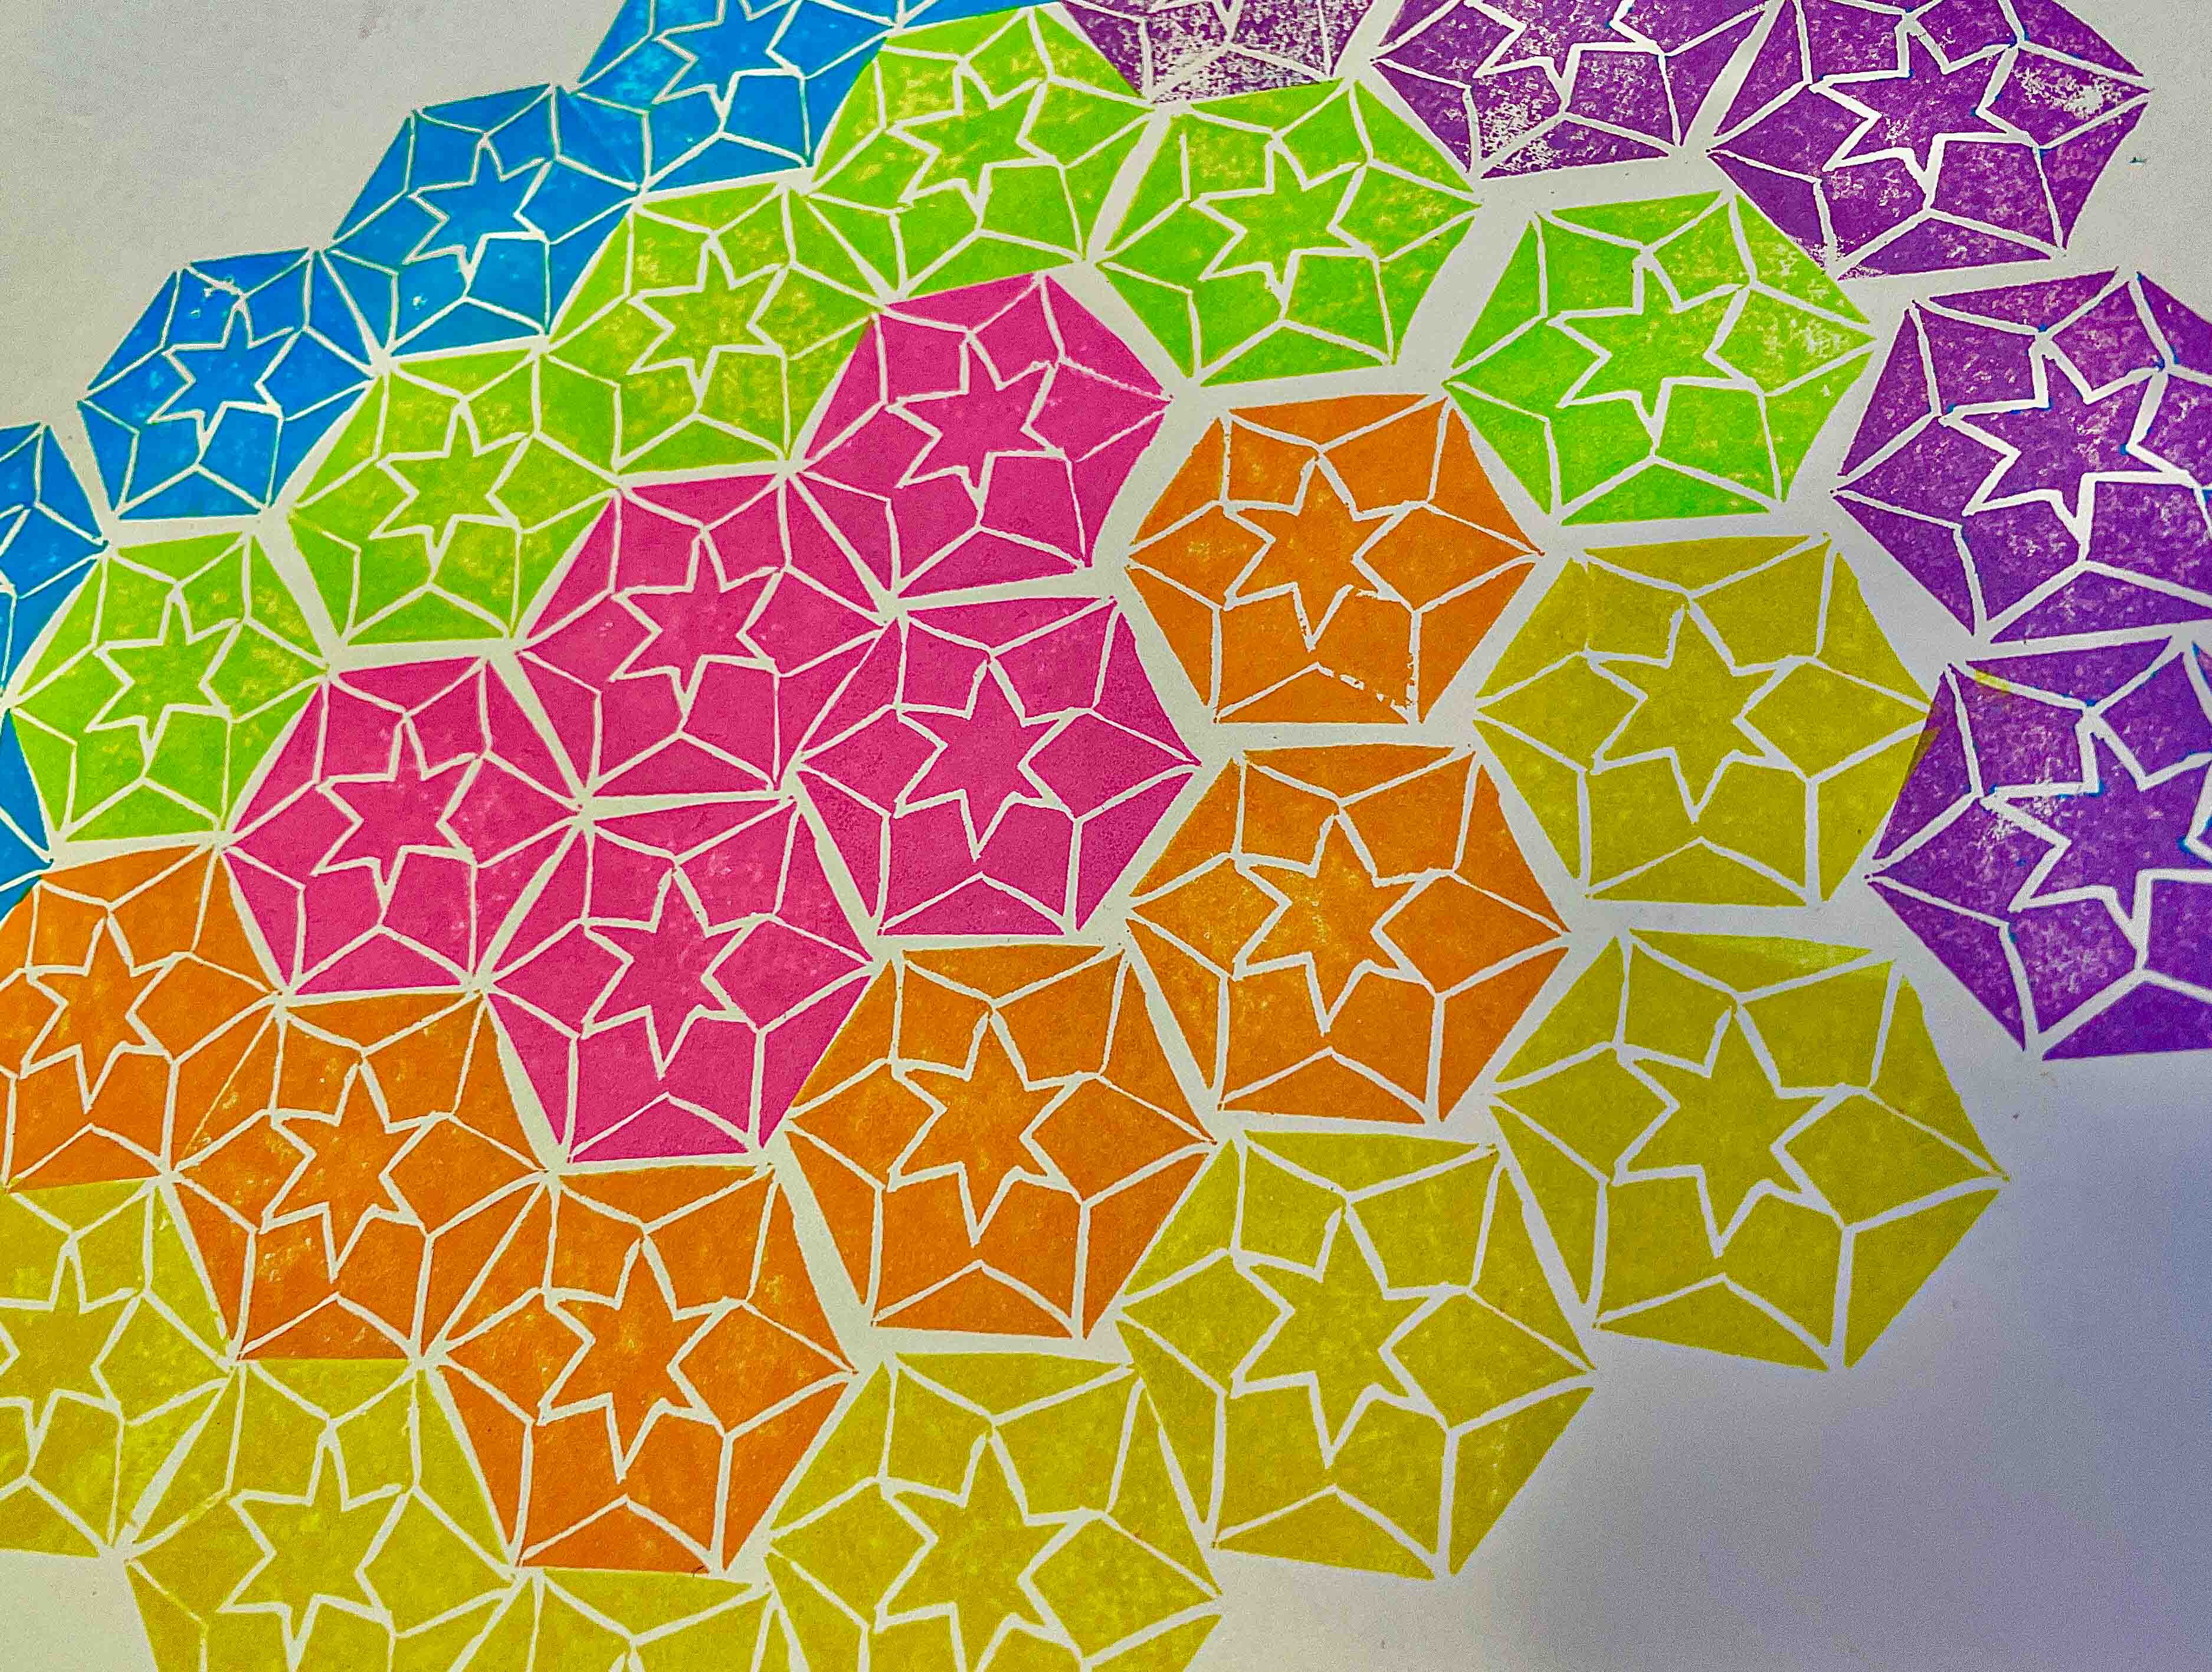
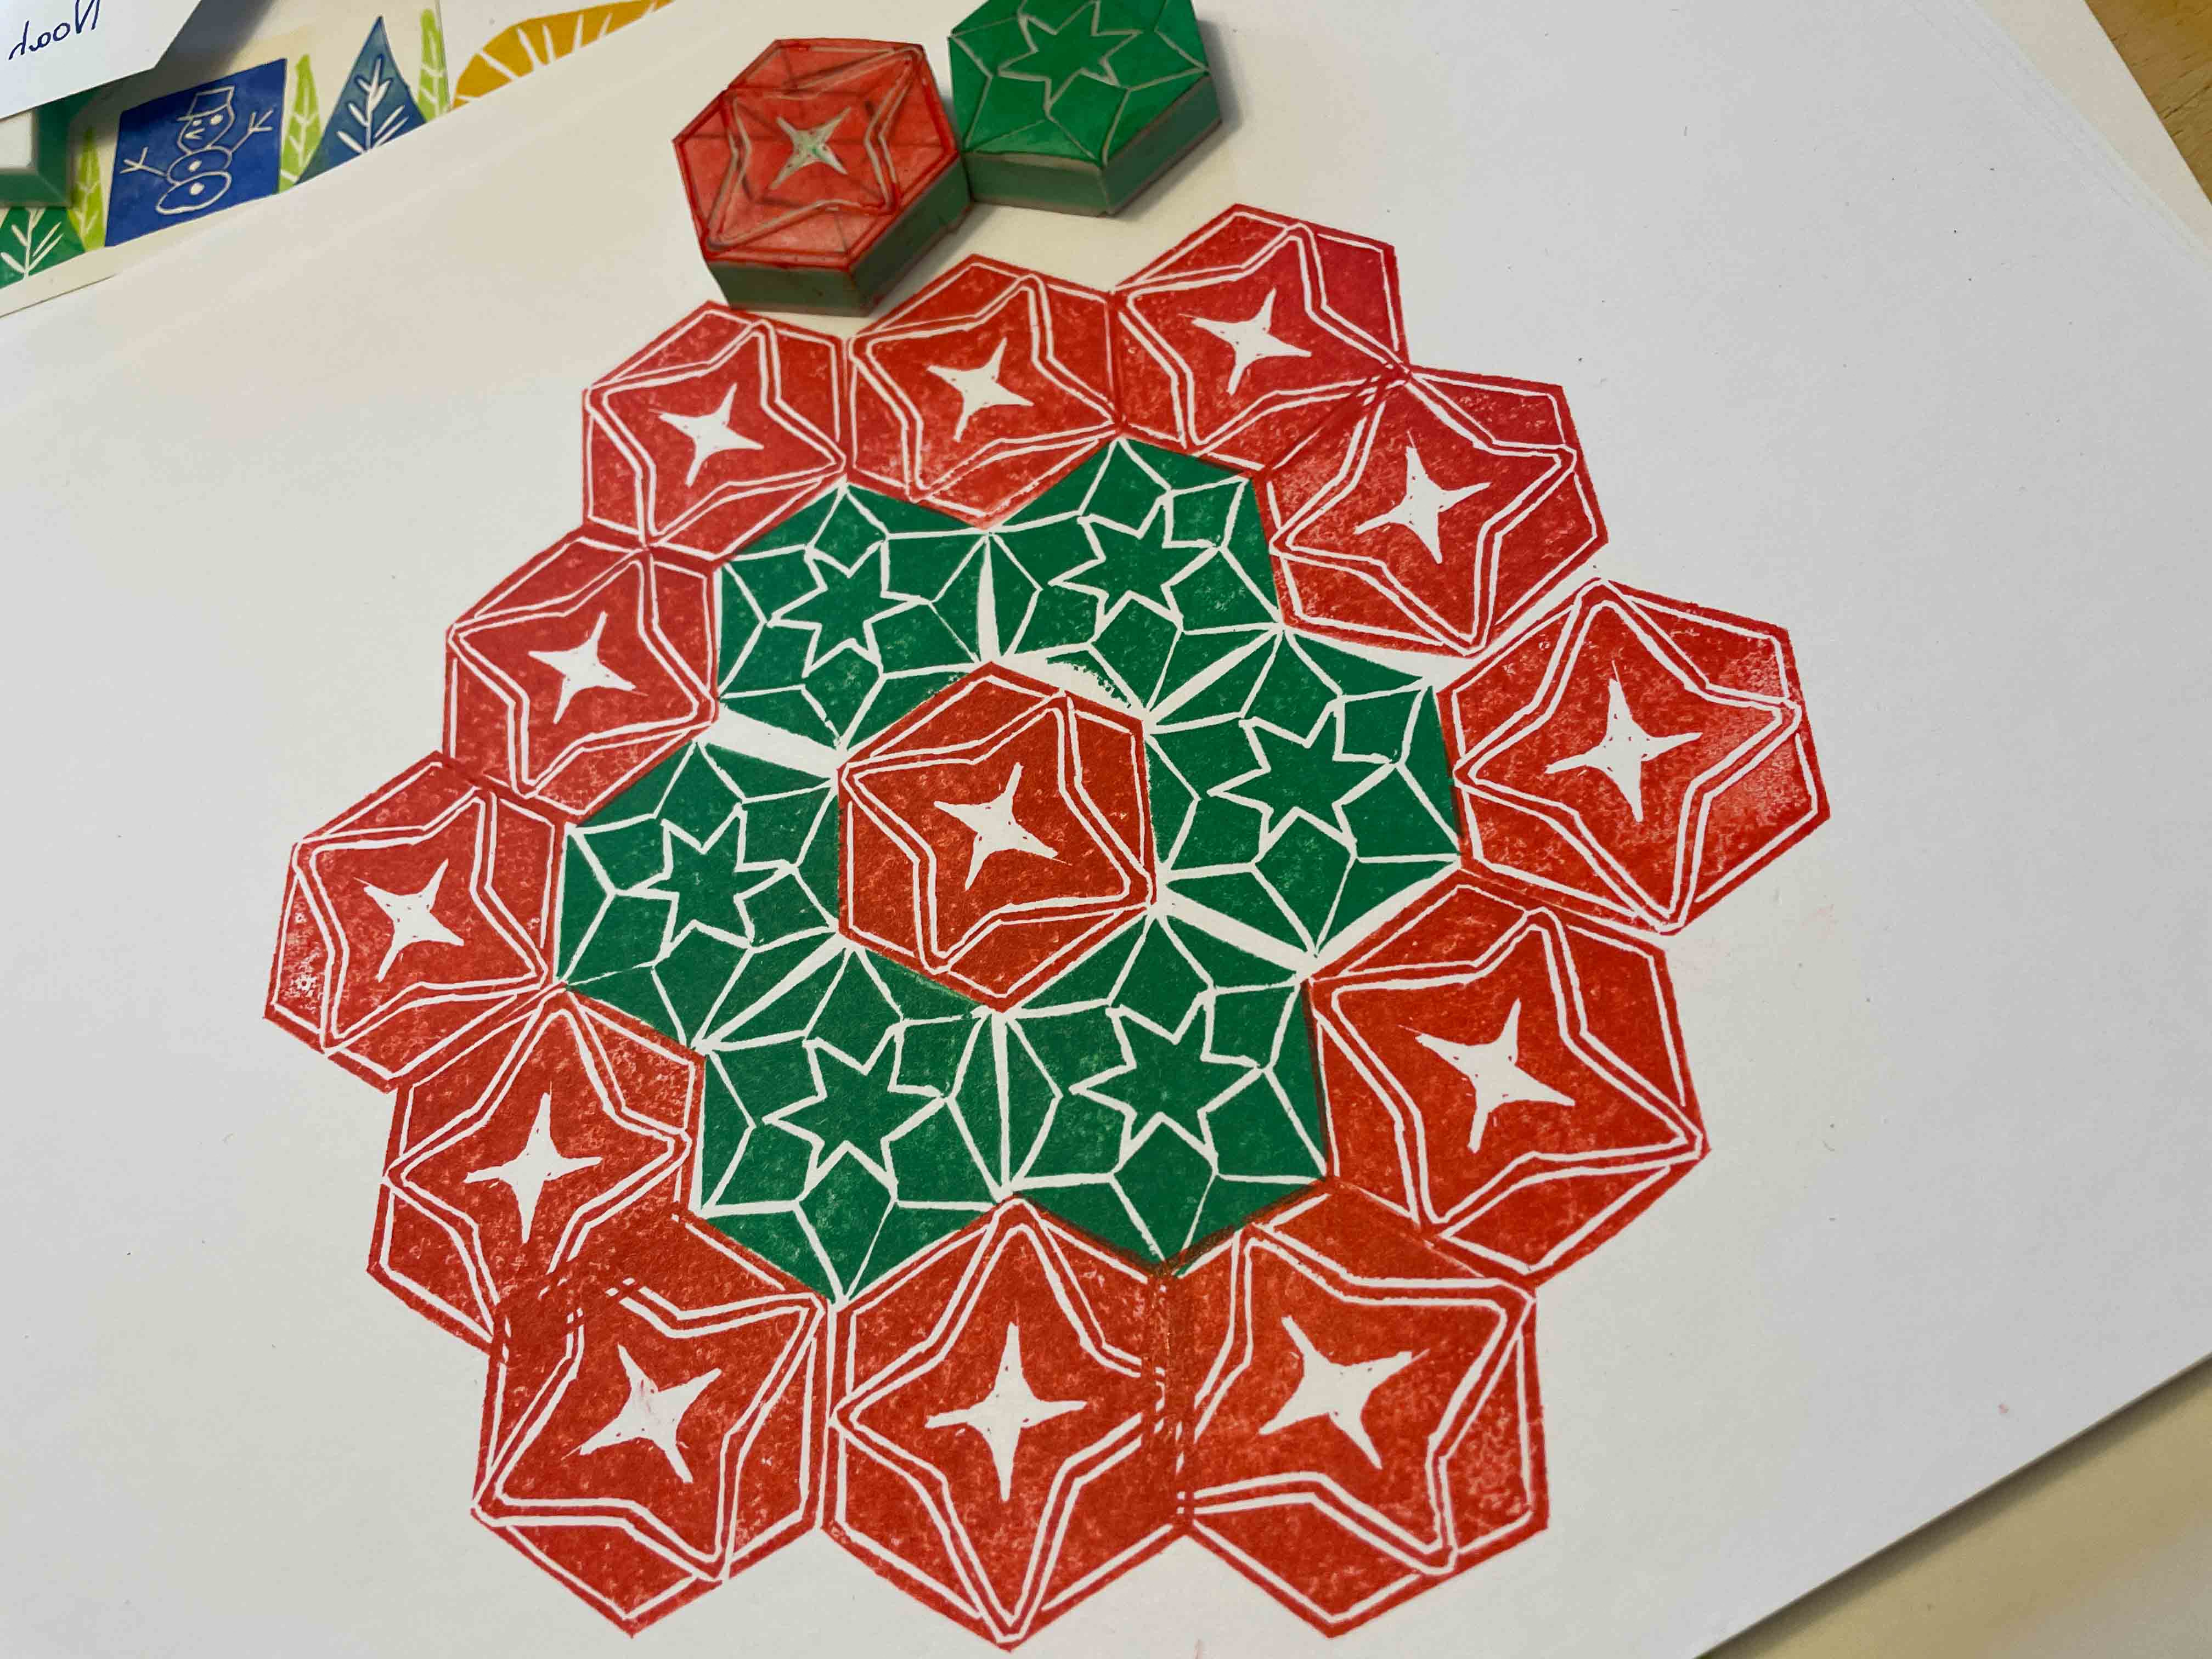
The other fun thing to do is to figure out all the different patterns you can make with the same stamp. I feel like I’ve just scratched the surface of the full therapeutic value this can bring me, because geometric patterns make me SO VERY HAPPY.
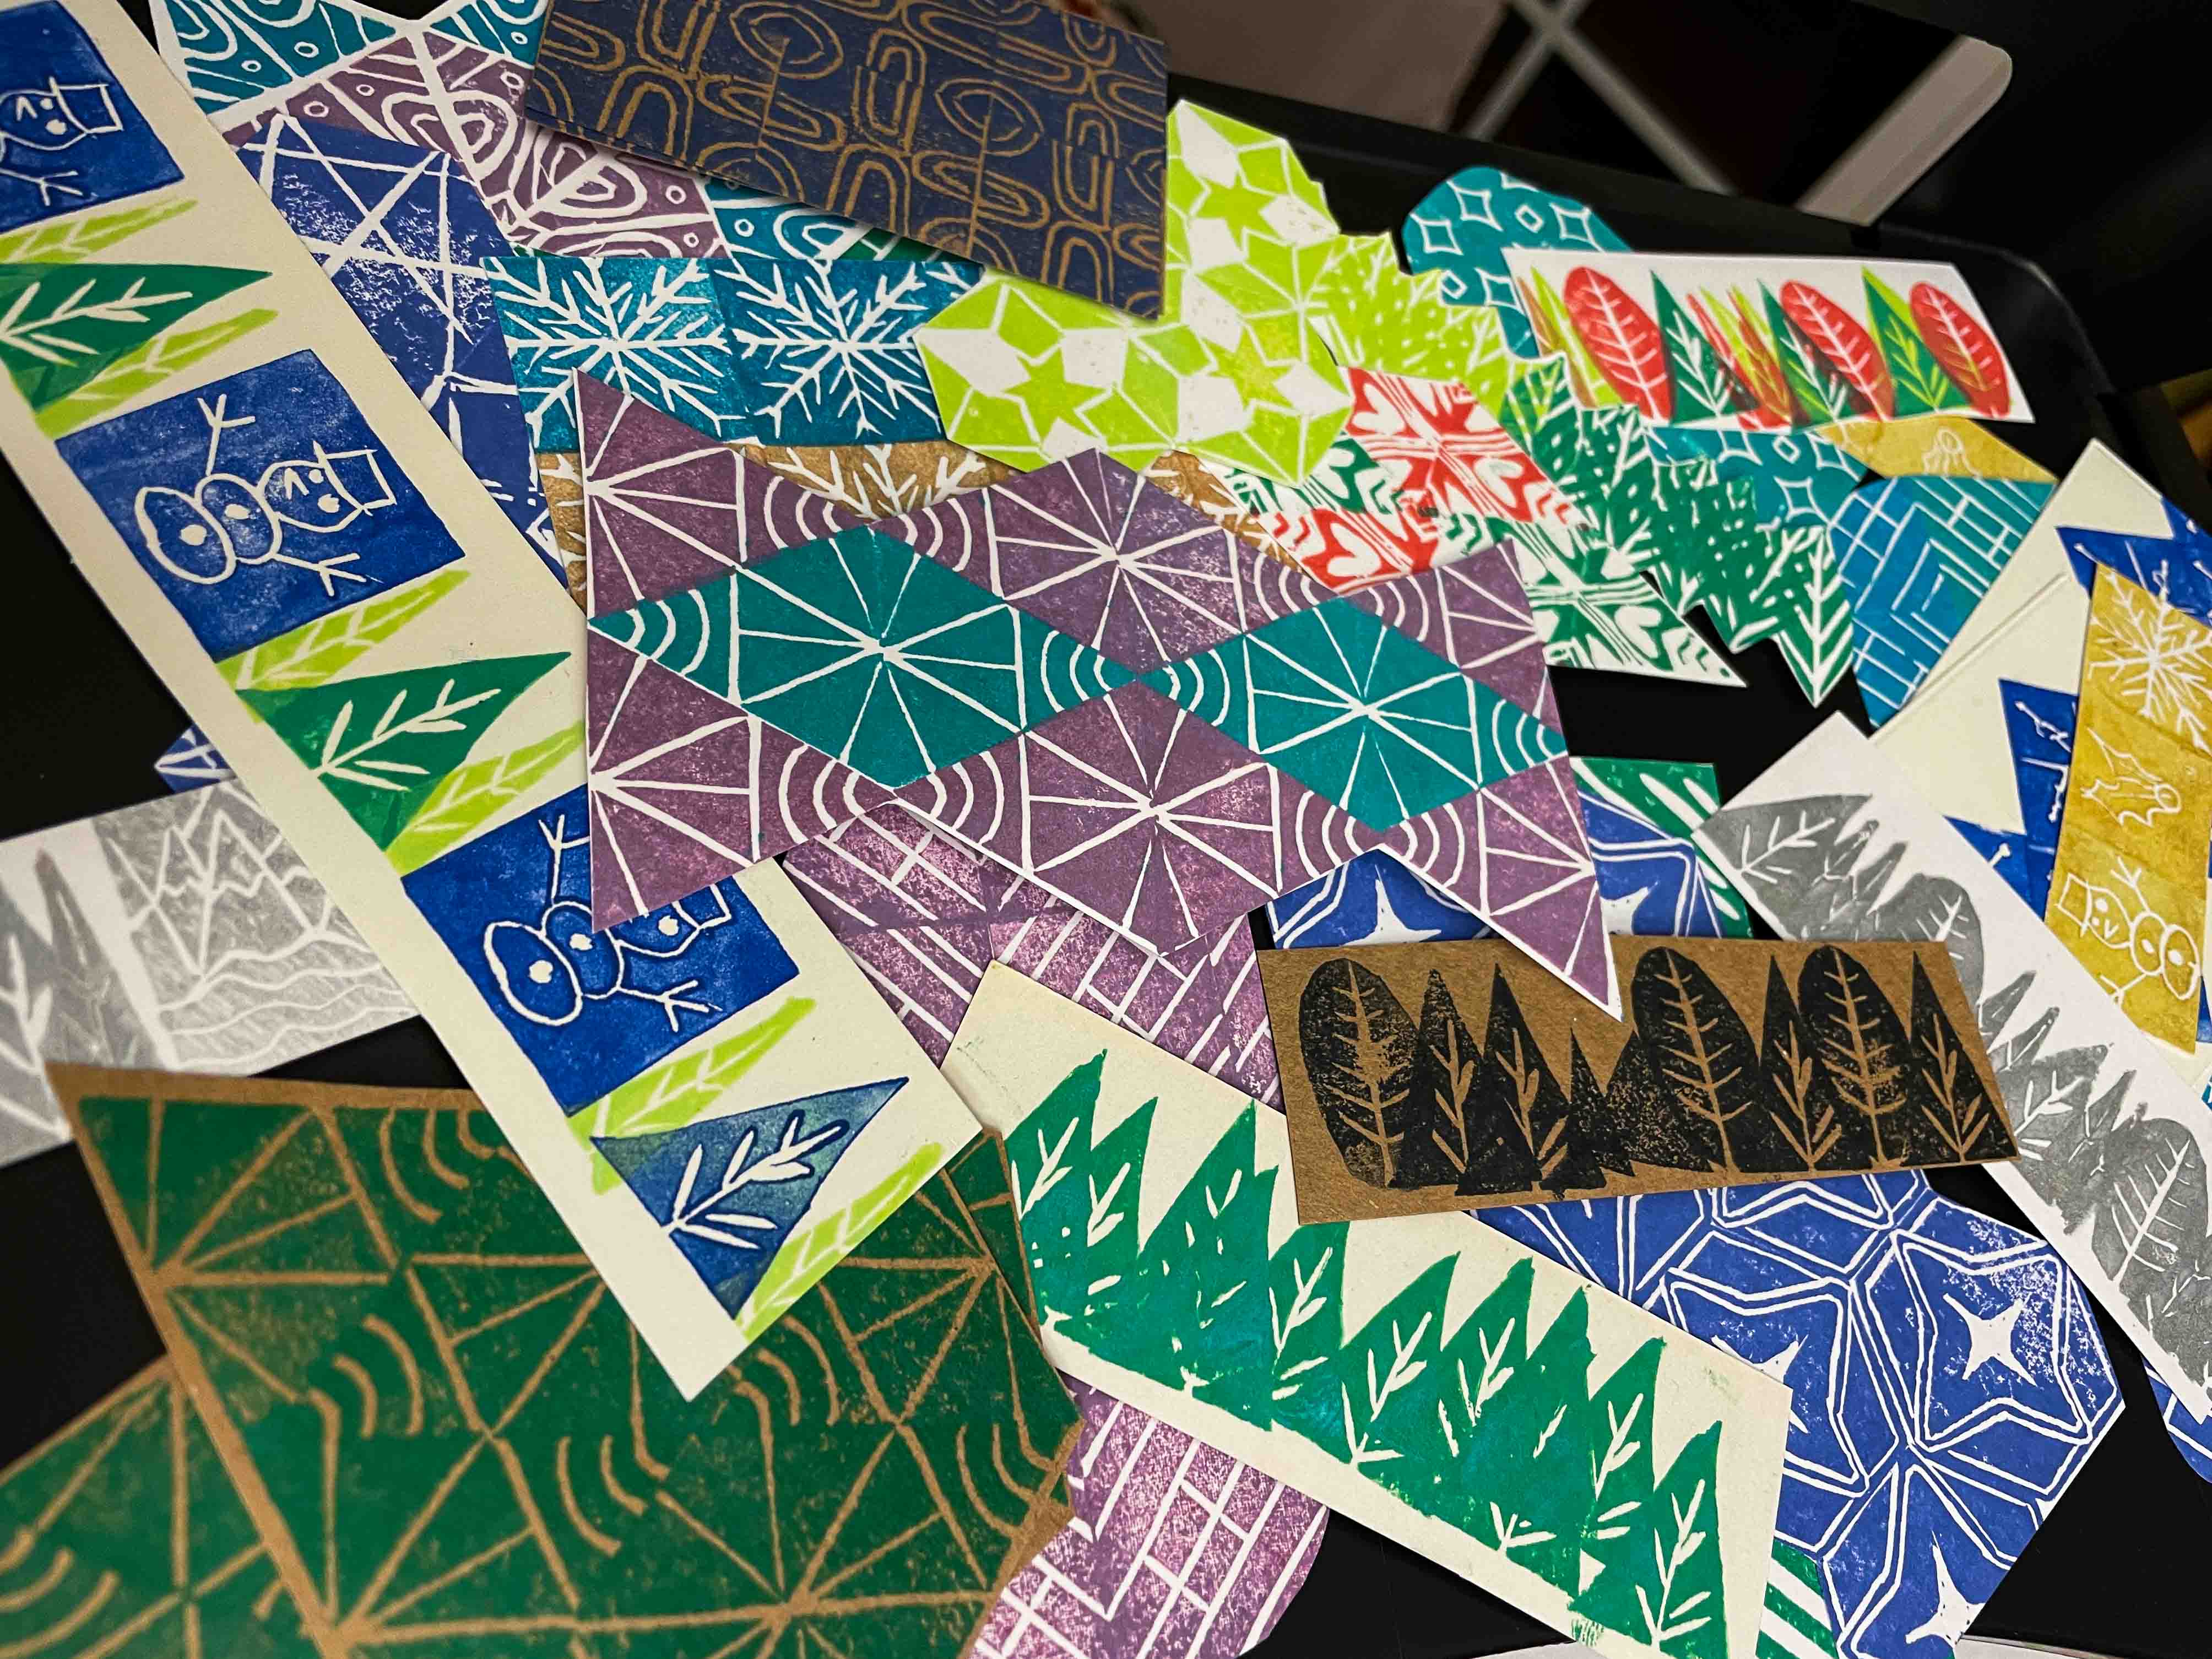
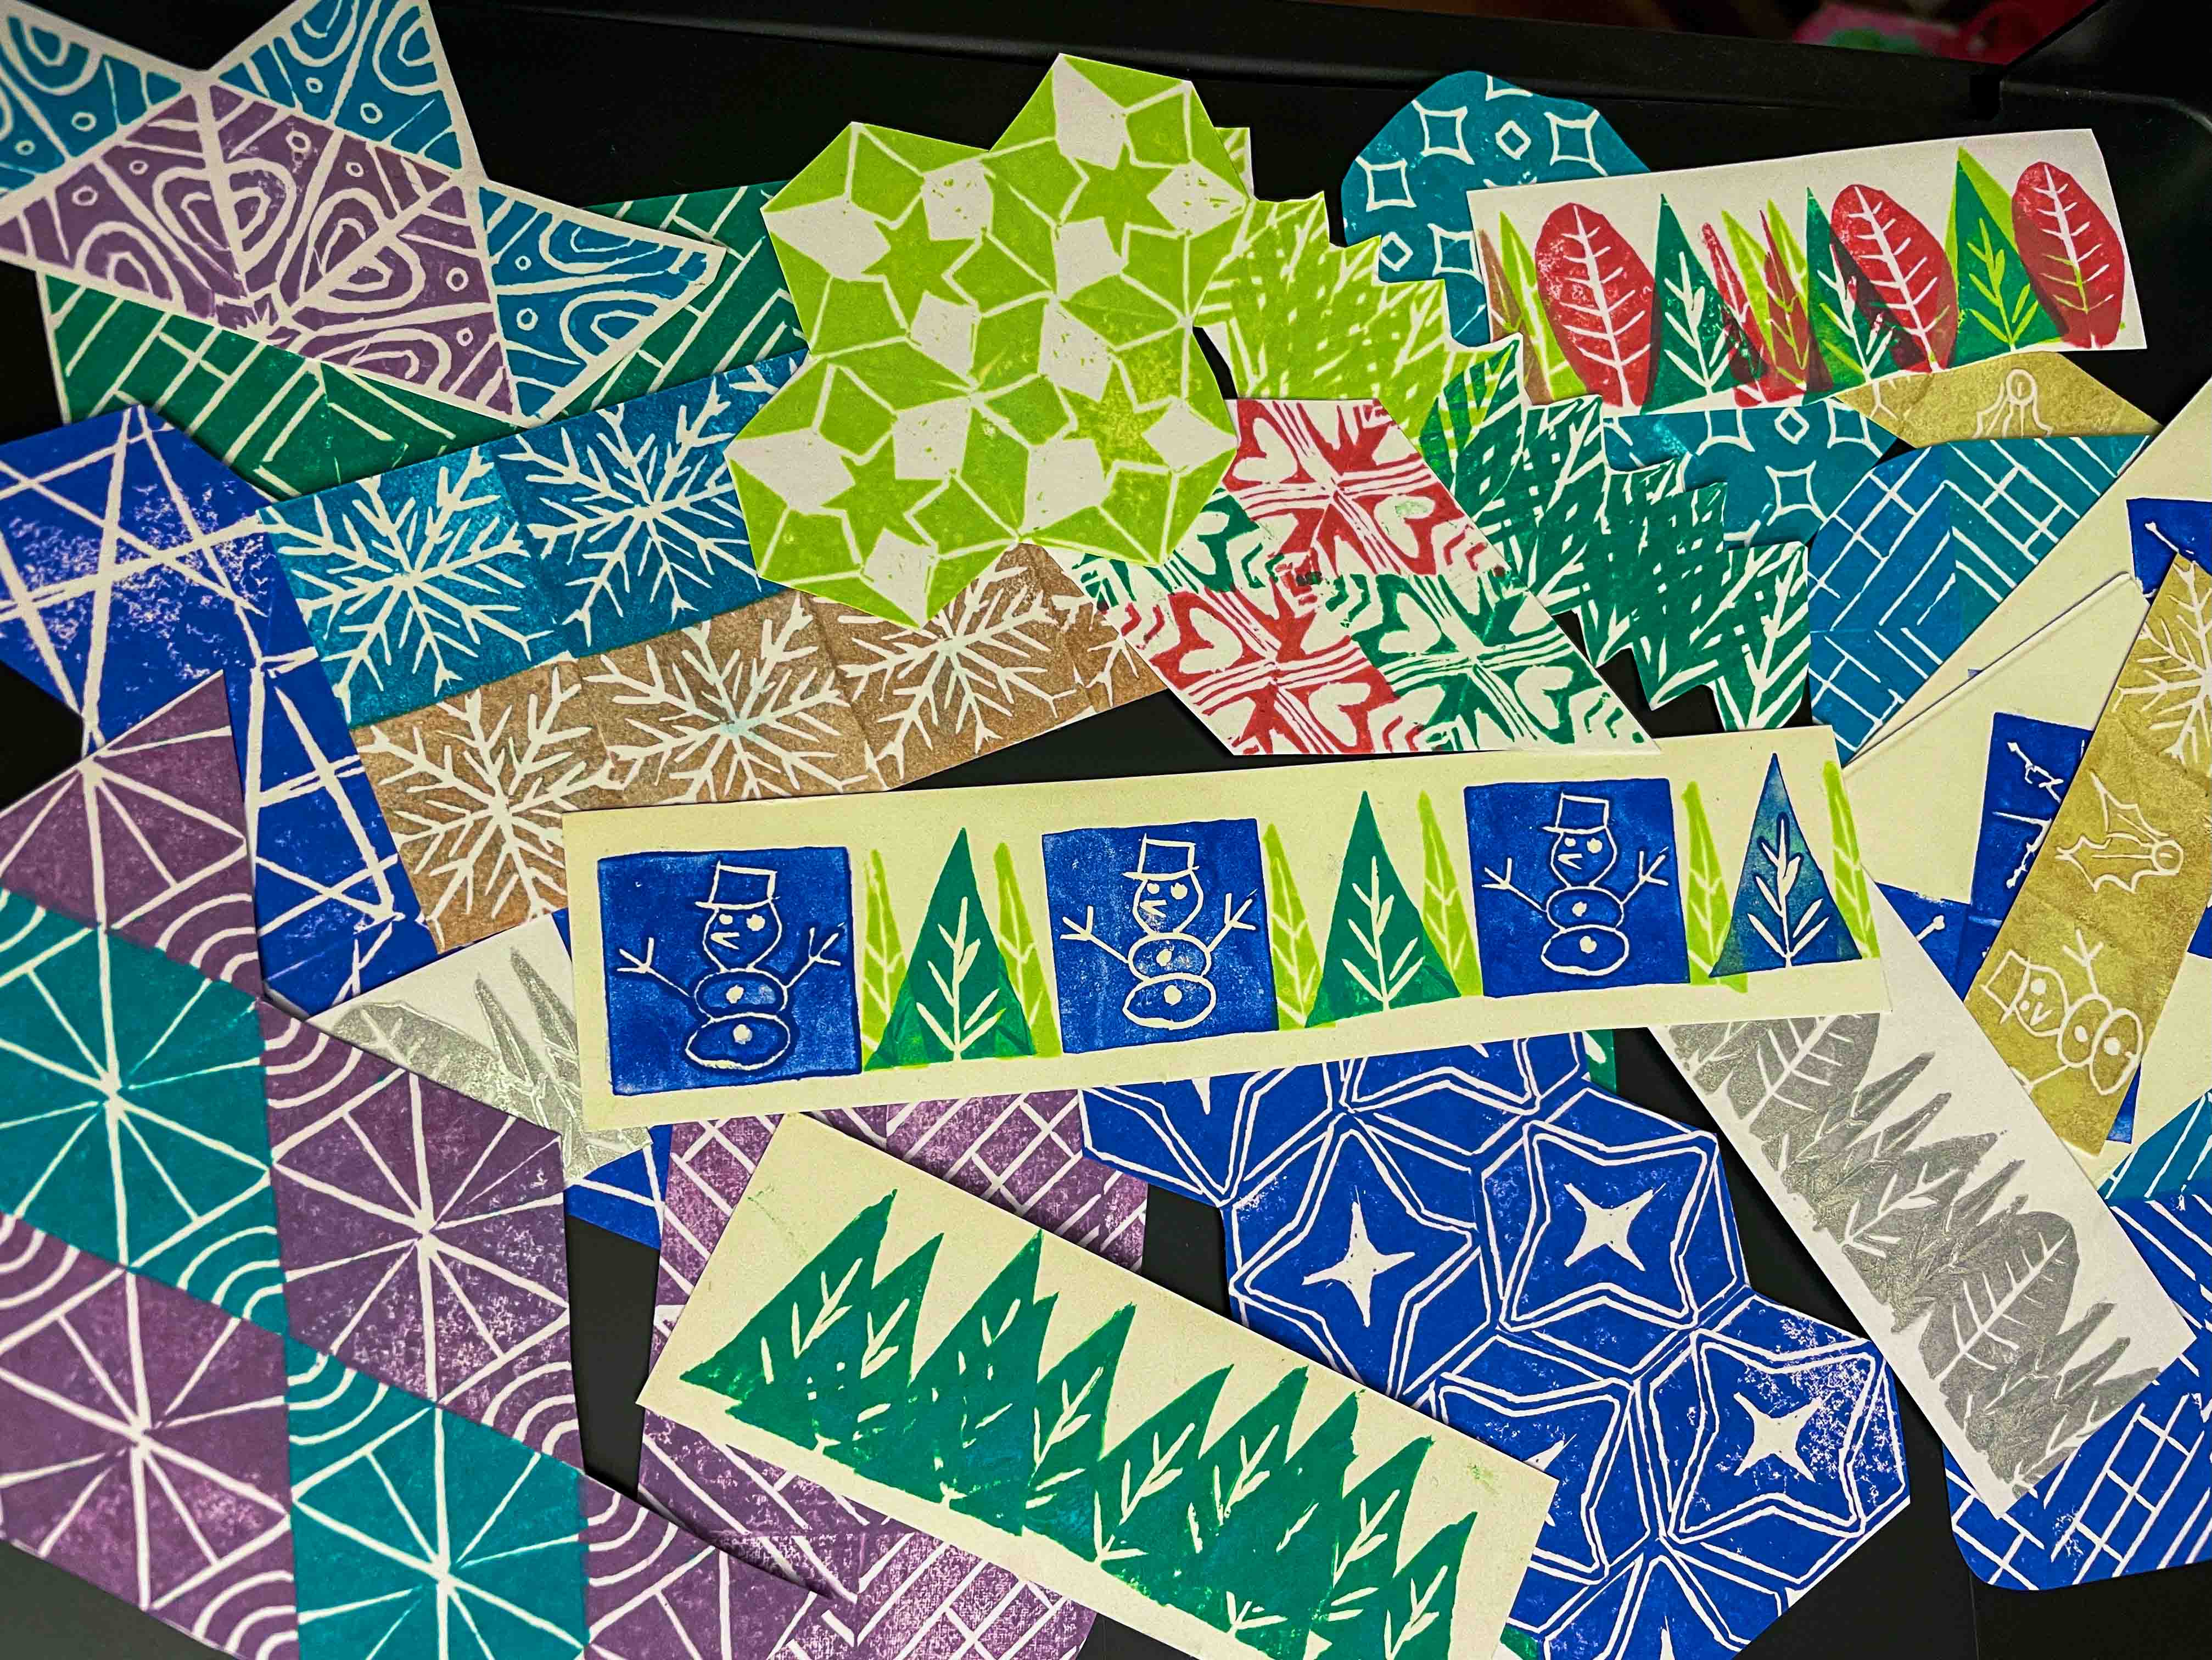
I’ll save our bigger project involving our stamps for a separate post after Christmas, but the first project we used our new-found skillz on were gift tags. It was so easy and fun to make patterns on cardstock, cut them out, and tape them onto presents using our go-to Washi Tape decor.
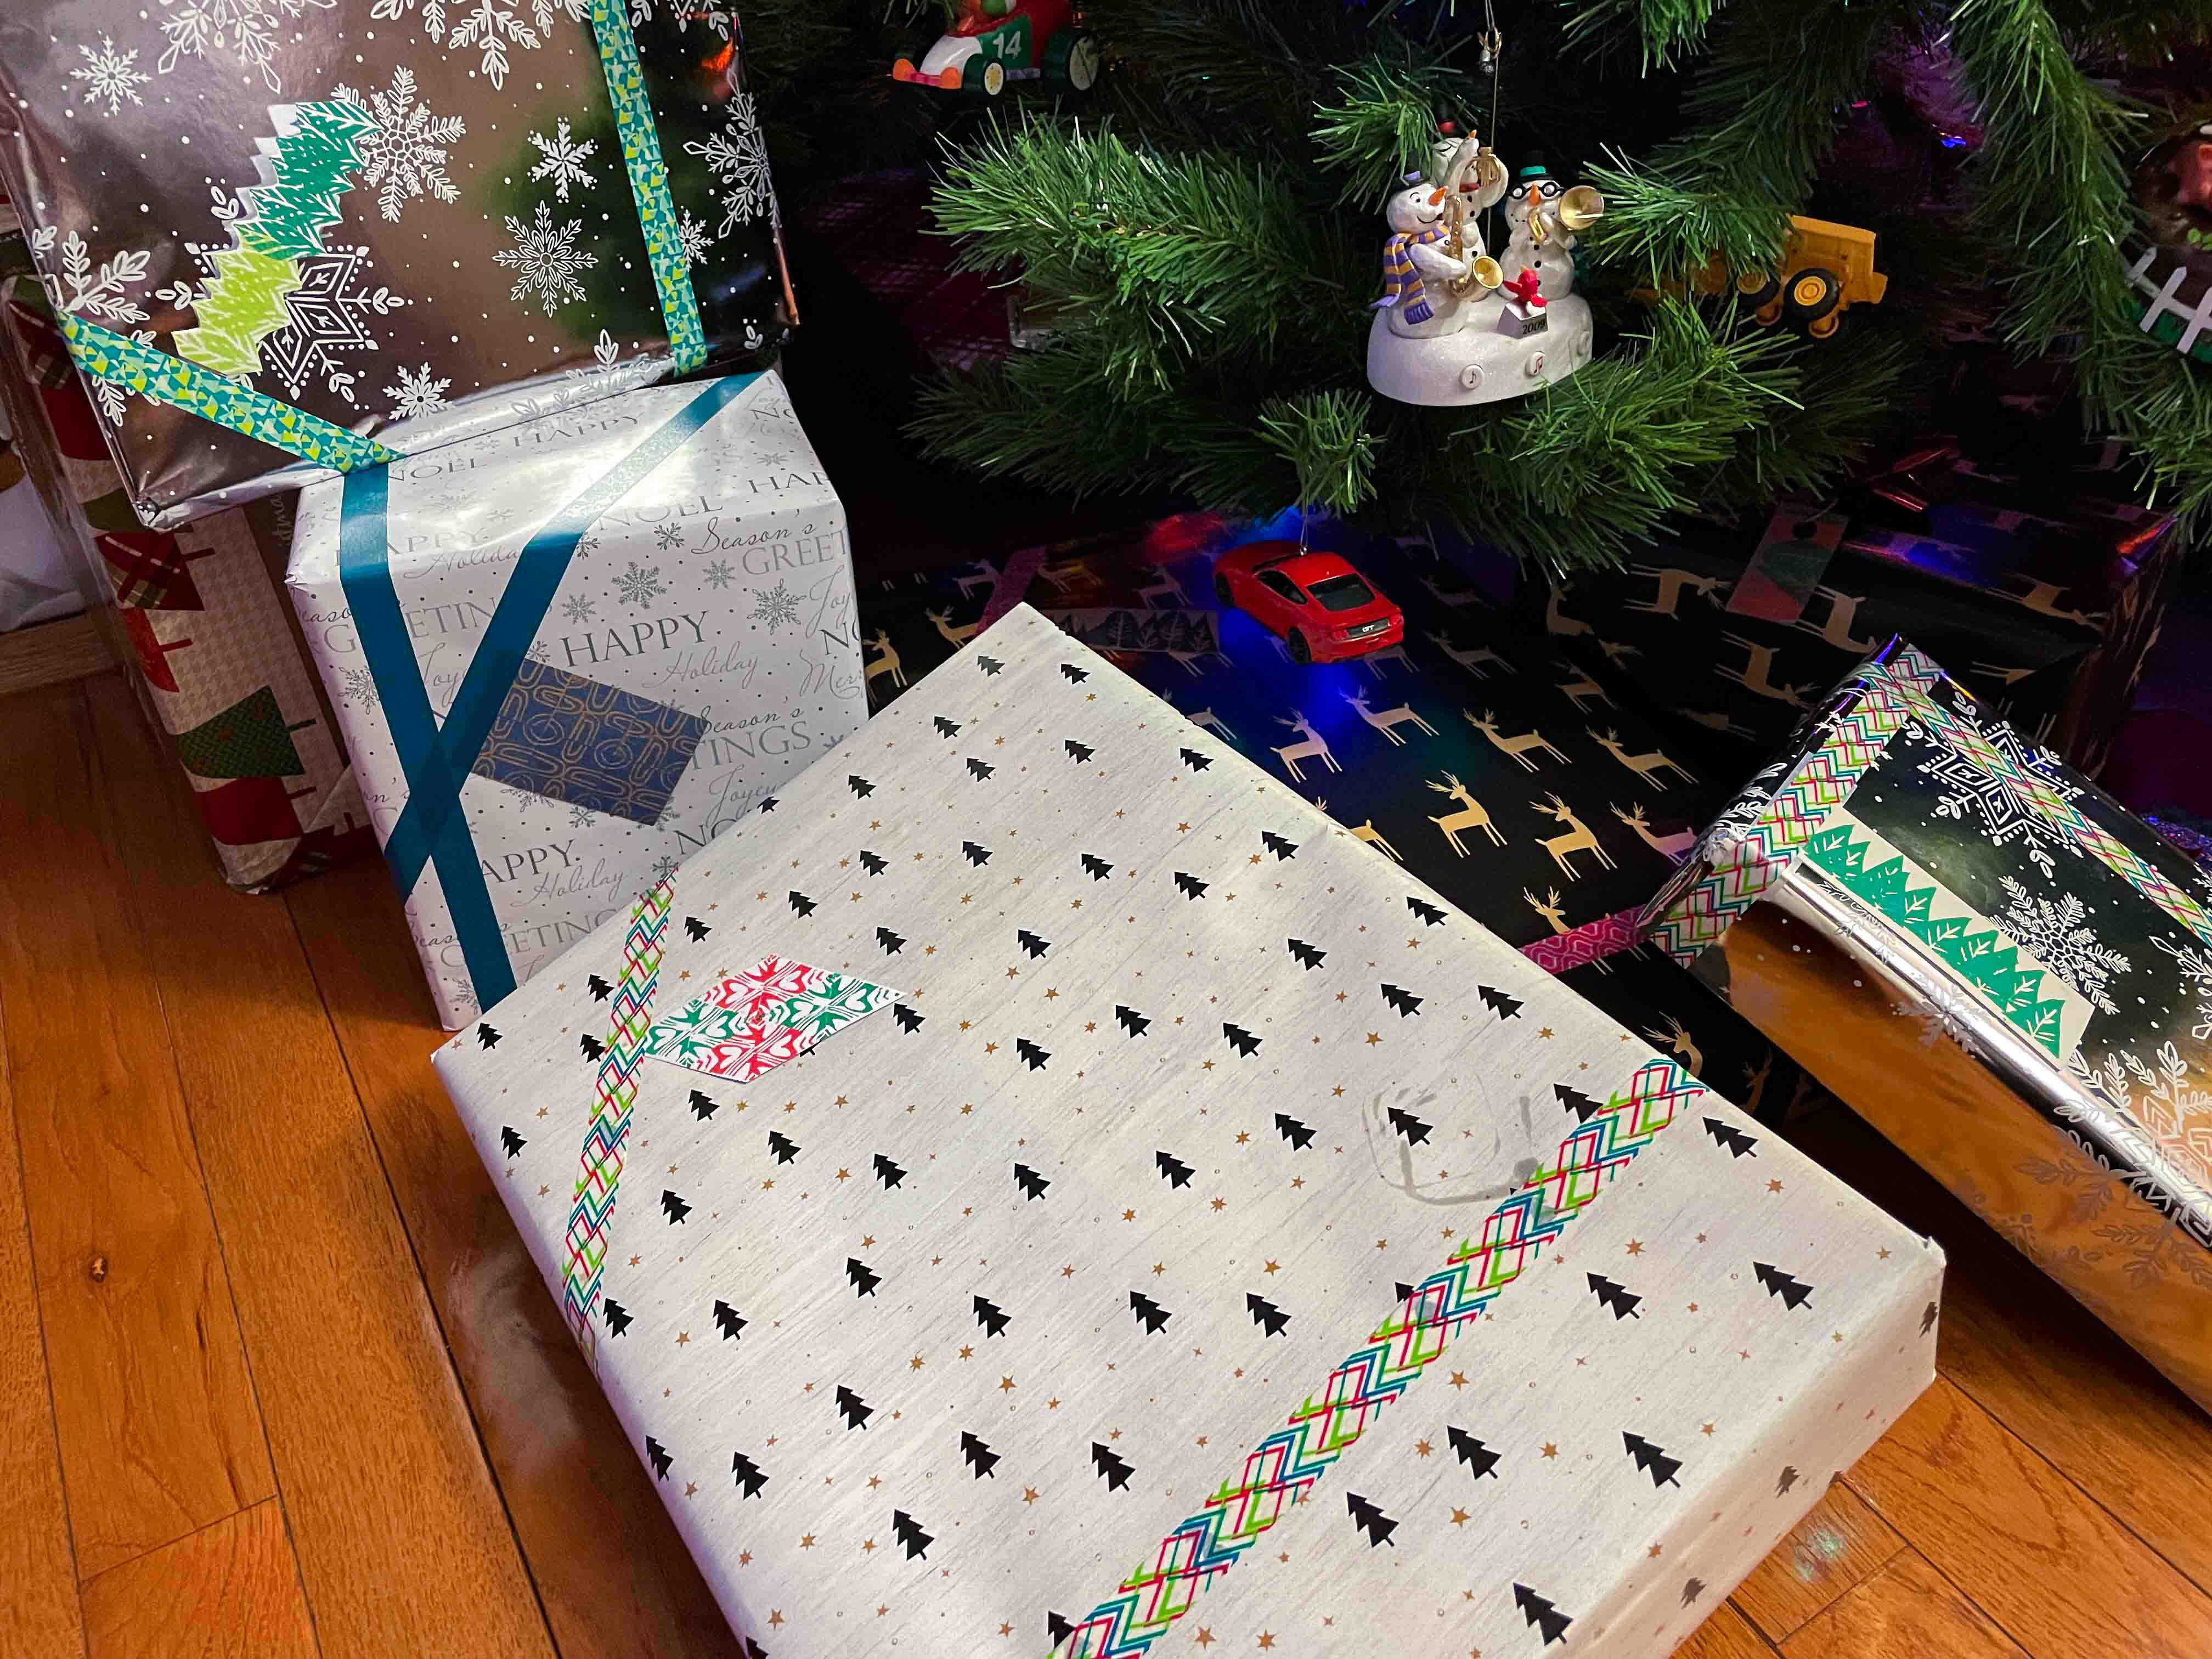
So if you need a cold January craft, or a quarantine craft, or just some satisfying repetitive patterns to make you feel like you accomplished something, I highly recommend stamp carving. It’s done wonders for the inner calmness of my holiday season.

You are so kind as to give me a shoutout! Thank you!! Really, the inspiration is Julie at Balzer Designs (https://balzerdesigns.typepad.com) She’s the originator of carve December and has tons of more inspiration and information for anyone interested in carving. I LOVE what y’all have created and can’t wait to see what else you do with this new skill. Have fun. And, thanks again!! MWAH!
Thanks! I updated my post to link to her site as well.
Oh, thank you for sharing–I’ve never heard of this but it’s right up my alley. Question: Can you leave the blocks bigger if you want to do a larger piece? I would like to do something similar to your trees, but just a few big trees on a 5×7 rather than a small repeating design.
Yes absolutely. The bigger they are the harder it is to get a real clean stamp of it. 5×7 is getting close to doing a linoleum print instead – printmaking. It wouldn’t be as flexible and you’d use a roller to roll paint onto it instead of stamping a stamp pad. But it takes all the same carving tools – stamp carving is a baby cousin of printmaking.
Thank you! That’s exactly the information I was looking for. I know how I’m going to be spending my time off over the holidays…