I discovered this just in time.
I was about to completely lose my mind over the fact that it was COLD. And we didn’t get snow. And what was supposed to be a nice, iced-in, mid-week weekend compliments of the snow that visited everyone but us had turned into just another COLD day.
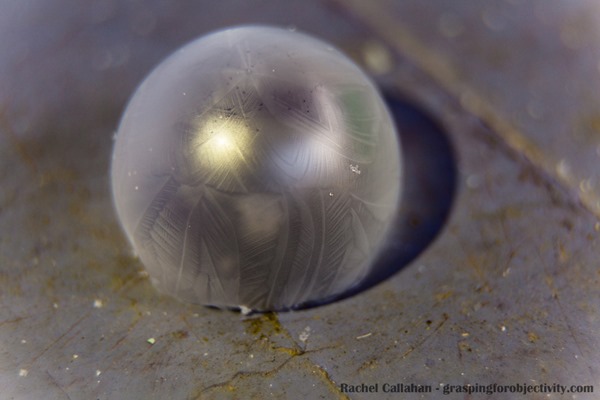
And then on top of that, I tried to freeze bubbles (to make iced lemonade out of my very cold lemons), and they didn’t come out as crisp as I’d hoped.
They were okay, but they weren’t enough to satiate my cold grumps.
My grouchiness increased throughout the day, but melted a tiny bit by a fun package arriving from Amazon. It included all sorts of black light / ultraviolet science experiment fun. The kids and I geeked out through the afternoon, making glowing water beads and seeing what all lit up when we shined our black light on it.
(Lots of things, for the record.)
Then I had an idea. An idea so big it could turn around my mood completely. I could improve on frozen bubbles. It was getting dark, it was getting colder, and I had to try it.
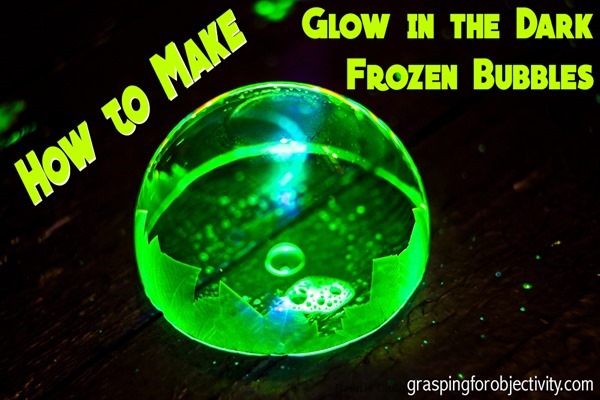
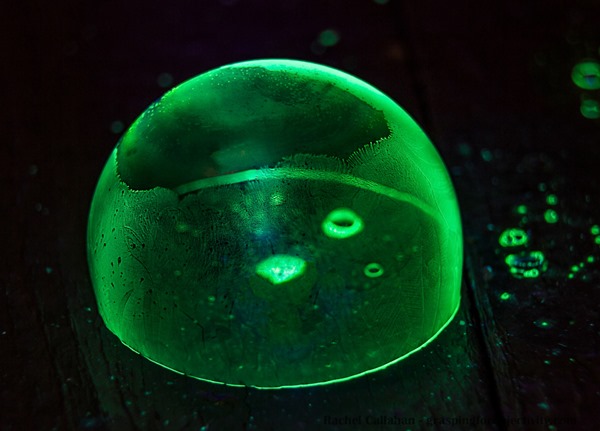
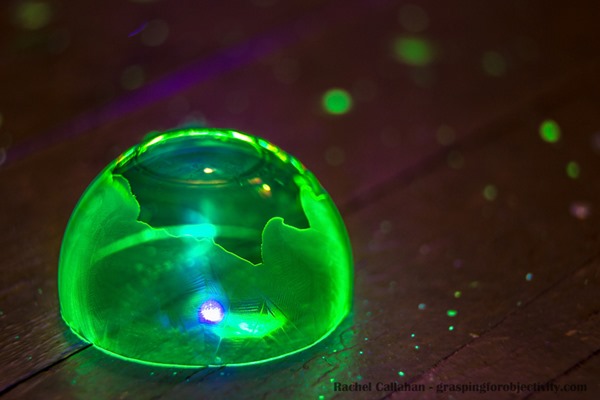
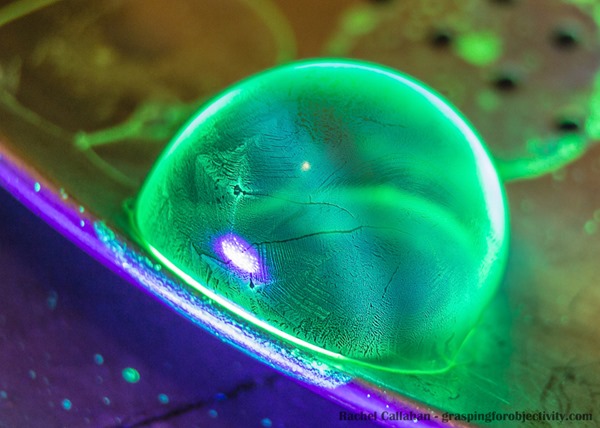
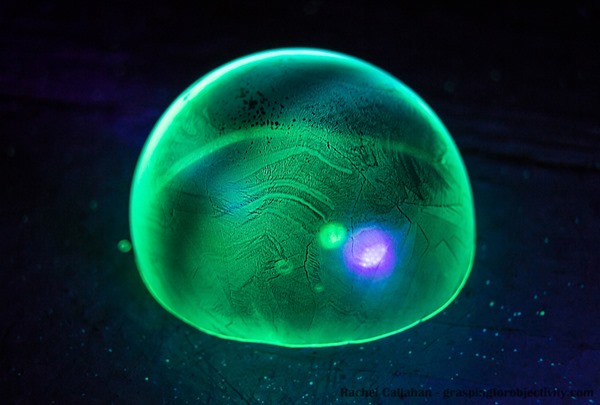
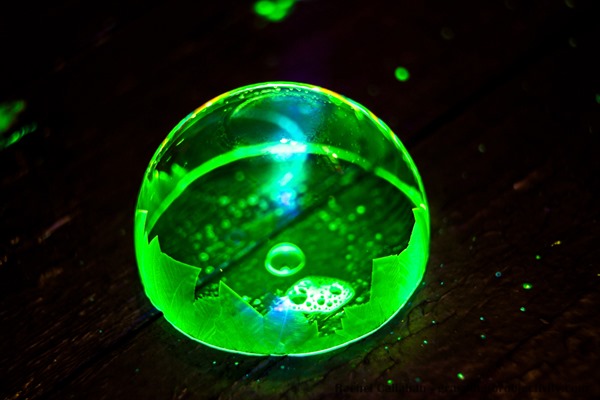
It took a bit of work and many shivering trips out onto the porch, but by the end, I was seeing fronds and detail in the glowing bubbles that I couldn’t get that morning with regular frozen bubbles.
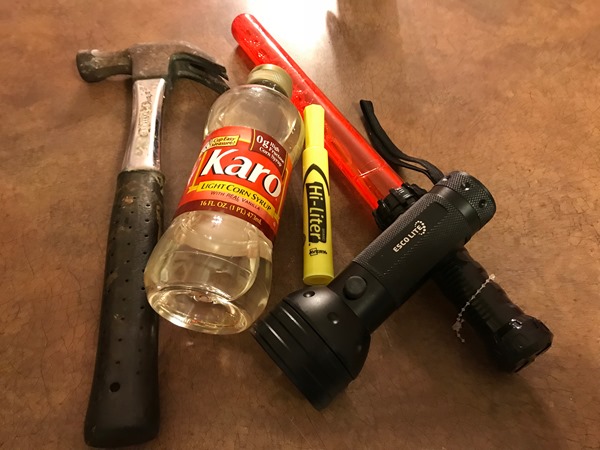
So here’s what you need to make glow in the dark frozen bubbles:
– white corn syrup
– dishwashing detergent
– 2 yellow highlighters that you can bust open (I ordered these for all our UV experiments and they’re very juicy)
– a bubble wand
– a black light (for clarification, these bubbles don’t glow unless a black light is shining on them)
– a hammer
Mix Together:
3/4 cups of water
1/4 cup liquid dishwashing detergent
1/8 cup white corn syrup
Smash open two yellow highlighters with your hammer. Do it gently and on something you don’t mind getting highlighted. Then squeeze the highlighter juice into your mixture.
(I then dumped out one of my kid’s bubble wands and filled it with the new solution (using a funnel) to make it easier to use.)
– Take your bubble mixture outside on a sub-freezing evening (single digits work best, but I did this in 21 degree F and it worked well) and blow bubbles slowly (they need to meander to the ground to have some time to get cold before they land.)
– Have your black light and camera ready. To get the fronds climbing up the bubbles, you have to be ready and quick. Shine your black light onto the bubble and shoot!
I had my black light laying on the porch shining at the bubbles while I laid on the porch with my camera. I shot at many different camera settings, but the above photo was shot at:
Canon 6D
EF 24-105mm ƒ/4L II Lens
ISO 1000
Shutter Speed: 1/20
ƒ/4.0
With 13mm and 21mm extension tubes attached (which is what I use instead of a macro lens.)
It’s also just fun to watch the bubbles – they swirl and freeze in place in a beautiful dance
If you try it, be sure and share your glowing bubble pictures with me!!
Follow me on Instagram at @ObjectivityRach for more photos.

