So. Remember my post about using Facetune, and then feeling guilty for making my skin so smooth?
I eventually did feel guilty enough to replace all of my profile pictures with the unedited images – they looked more like me, anyway. And the skin-so-smooth-I-haven’t-actually-had-that-since-I-was-seven was starting to annoy me.
But one night as I was lying in bed, recovering from a day of motherhood, I had a moment of curiosity: how far could I edit a photo? How far could anyone edit a photo? What are people truly capable of before publishing their Instagram selfies?
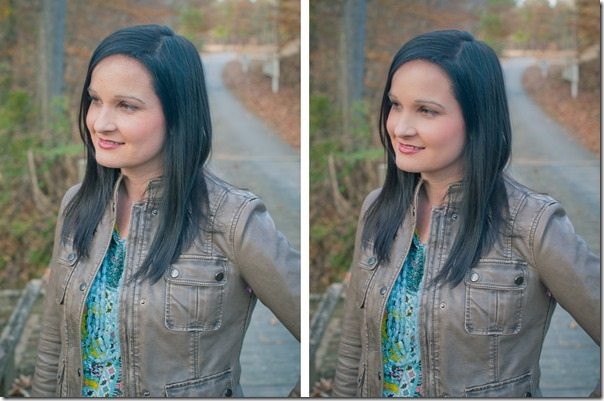
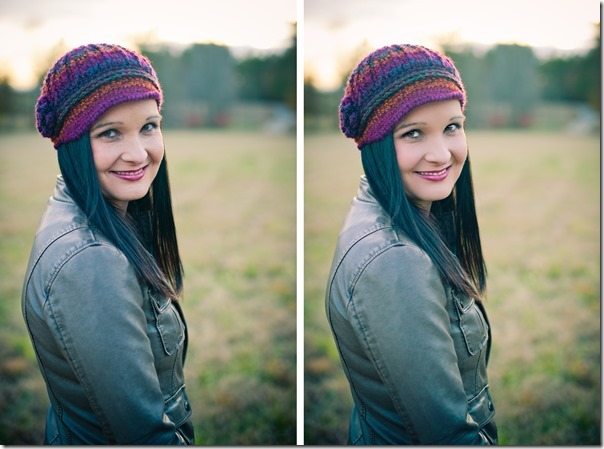
The above photos were taken by a professional photographer, in the right lighting, after I’d applied my makeup as perfectly as I could and brushed my hair just so. My hair was even enjoying a fresh cut and color from the day before.
It’s one thing to edit a photo that was already as good as I could look.
But could I edit a photo that was as bad as I could look?
I felt like the limits of iPhone editing needed to be tested – and it might as well be me.
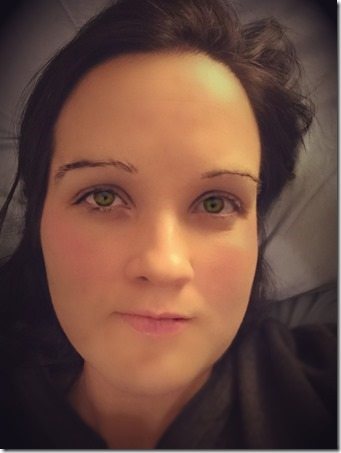
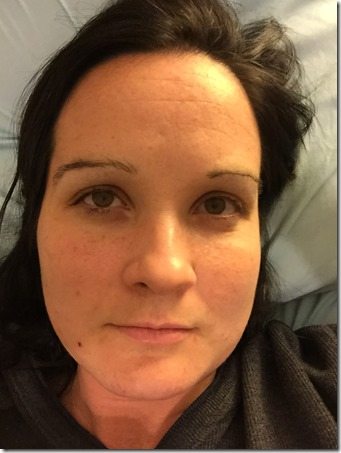
So I took the worst photo I could, using the following “features” to make it especially bad:
– I used my iPhone’s front facing camera – those are always the worst, especially when shooting faces.
– The lighting was dim and atrocious.
– I was laying down, spreading my jowls out like the picnic table benches of my face.
– No makeup, obviously – and a real nice scab. Everyone needs a facial scab to look like the mugshot version of themselves.
– I was super tired, and it showed.
– I didn’t smile. Because this was supposed to be a challenge, after all.
So here’s my bad photo:
I transferred it to FaceTune and began working – I wanted to attempt use every feature they offered.
Here are the 15 Steps I used to “fix” myself:
![]() 1. I used “Smooth” to get rid of all of my pores, sun spots, wrinkles, and freckles.
1. I used “Smooth” to get rid of all of my pores, sun spots, wrinkles, and freckles.
2. I used “Smoother” to eradicate my forehead creases.
3. I used “Whiten” to make my eyes less tired.
4. I used “Details” to make my eyes pop.
5. I used “Reshape” to make my jawbone more contoured (You can’t completely fix a laying-down jawline. But you can try.)
6. I used “Refine” to enlarge my lips, but not Angelina-sized.
7. I used “Patch” on my scab, my forehead Chicken Pox scar, and any and all other blemishes left over after Smooth and Smoother.
8. “Tones” was the most challenging feature to use – it was hard to get it just right without looking like spray paint. But I used it to:
a. Change my eye color,
b. Change my lip color,
c. Put some color on my cheeks,
d. And take away a couple of under-eye shadows.
9. I used “Details” on my Eyebrows to darken them.
10. I used “Patch” on my left eyebrow, making it proportional in length with the other eyebrow – it has always been short on the inside.
11. I used “Patch” on my right eyebrow to get rid of flyaways.
12. I used “Defocus” on my shirt to make it less obvious that I was wearing my husband’s decade-old and quite pilling night shirt.
13. I used a Filter on the whole picture – Orchid.
14. I used a Lens to add depth – Holga.
15. I added a Texture because why not – Lumina.
And here was the final product:
 Just woke up! #Selfie #NoFilter #WokeUpLikeThis
Chris said I looked like I’d been animated – perhaps a Pixar character. I also look like I just got a root canal – but there’s not much you can do with lying-down cheeks.
However. The lesson here is clear. If I can do this in ten minutes with nothing but my finger, my phone, and a $3.99 app,
Don’t believe any face you see on the internet. Ever again.


That is the best $3.99 ever. It is a true selfie though because it is ON THE INTERNET ;)
I’m getting a little Kristen Stewart vibe on the After photo. Also, I think you probably just sold a few thousand copies of FaceTune. ;-)
I hope you are getting a commission off every download of that app!
I wish! But alas, I’m getting nothing. :-)
Wow that is quite amazing! I agree with Chris…you look computer generated or something. I will truly never believe another picture again!
Ok, I just started laughing when I saw the “after” photo. It is something about the jaw and the lips that just do not look natural. Even for being tired you look great in the first photo. My sister gave me some pointers today on how to take a selfie, that is, after laughing at a picture I had taken and telling me I looked like the brown, triangled haired girl on Dilbert. Siblings… lol!